

This guide will show you how to add or remove the Sleep button from the power menu in Windows 11. The Sleep button lets you save power while keeping your work ready to use quickly.
Most Windows PCs have a Sleep button in the power menu by default. Clicking it puts your computer into a low-power state but keeps all your open apps and documents ready to go.
When you wake your computer from sleep, it starts up faster and you can continue working right where you left off.
If you find that you accidentally click the Sleep button or just don’t want to use it, you can remove it from the power menu. Here’s how to do that in simple steps.
Add or Remove the Sleep Button Using Control Panel
The easiest way to show or hide the Sleep button is through the Control Panel. Follow these steps:
- Open Control Panel: Click the Start menu button, type Control Panel, and press Enter.
Learn how to open Control Panel - Inside Control Panel, click Hardware and Sound, then select Power Options.
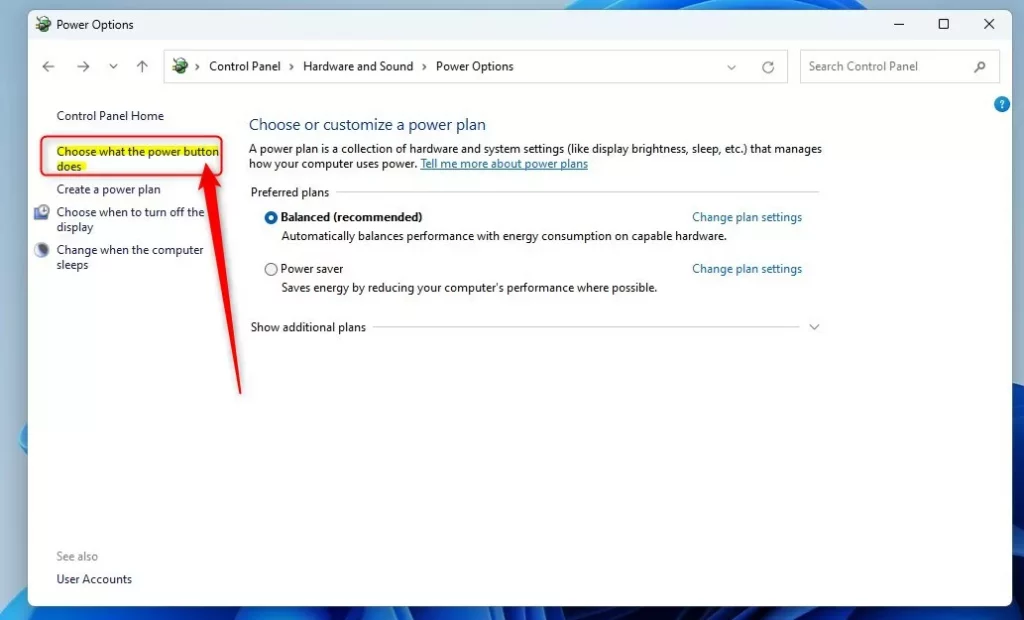
- Click Choose what the power buttons do on the left side.
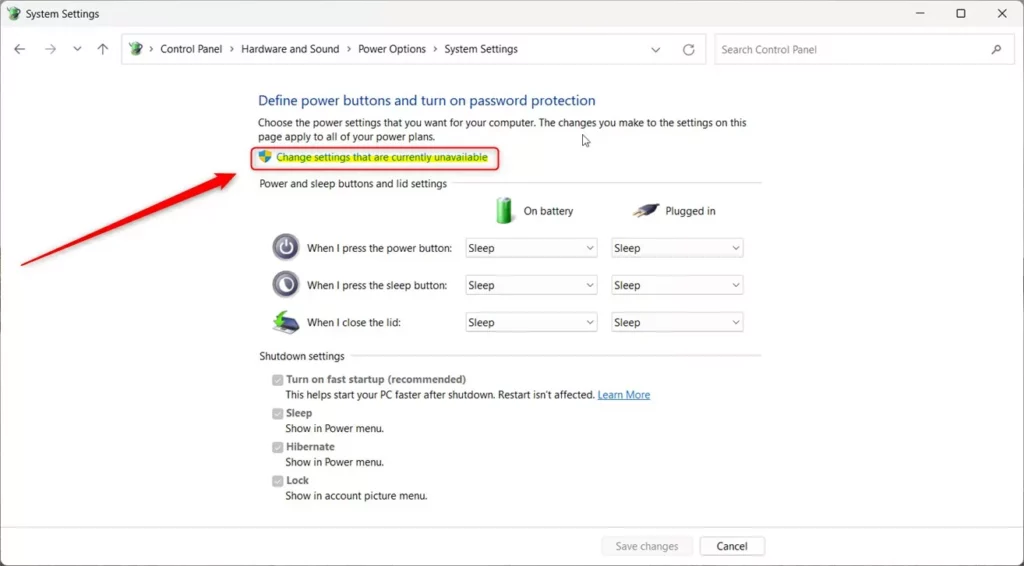
- Click Change settings that are currently unavailable near the top.
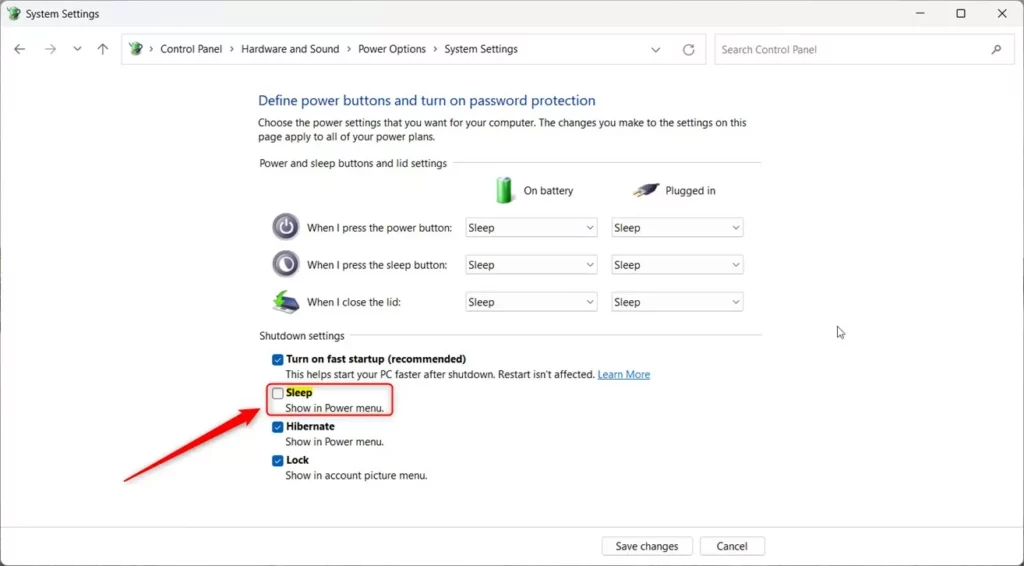
- Under Shutdown settings, check or uncheck the Sleep box to show or hide the Sleep button.
- Click Save changes to apply your settings.
Show or Hide Sleep Button Using Windows Registry Editor
If you’re comfortable with a more advanced way, you can use the Windows Registry Editor to manage the Sleep button.
Be careful: Editing the registry incorrectly can cause problems. Make sure to follow these steps exactly and consider backing up your registry first.
- Open the Registry Editor by typing regedit in the Start menu and pressing Enter.
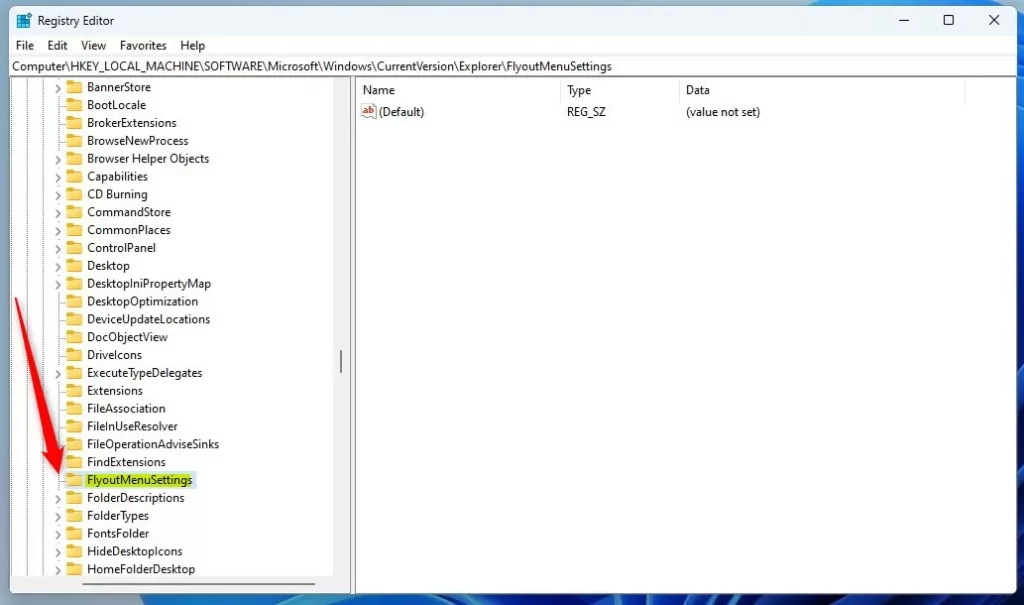
- Navigate to this folder path:
HKEY_LOCAL_MACHINE\SOFTWARE\Microsoft\Windows\CurrentVersion\Explorer\FlyoutMenuSettings - If FlyoutMenuSettings does not exist, right-click on Explorer, choose New > Key, and name it FlyoutMenuSettings.
- Inside FlyoutMenuSettings, right-click on the right side, select New > DWORD (32-bit) Value, and name it ShowSleepOption.
- Double-click ShowSleepOption and set the value to:
- 1 – Show the Sleep button
- 0 – Hide the Sleep button
- Click OK, close the Registry Editor, and restart your computer.
Use Local Group Policy Editor to Manage Sleep Button
If your Windows 11 edition supports it (usually Pro or Enterprise), you can also use the Local Group Policy Editor:
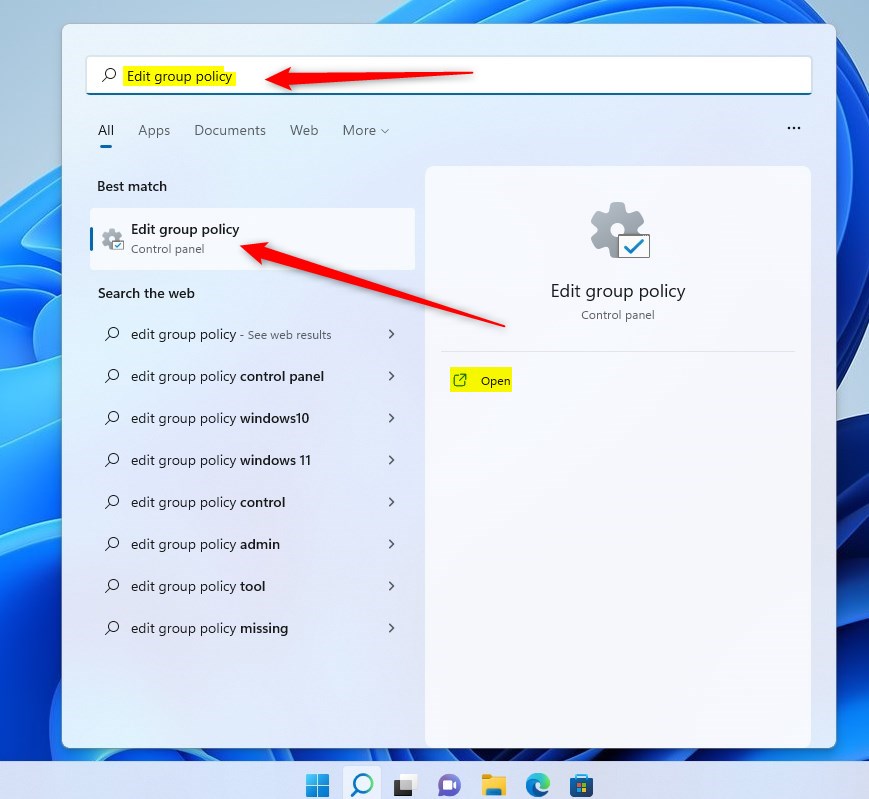
- Click the Start menu and type Edit group policy, then open the Edit group policy app.
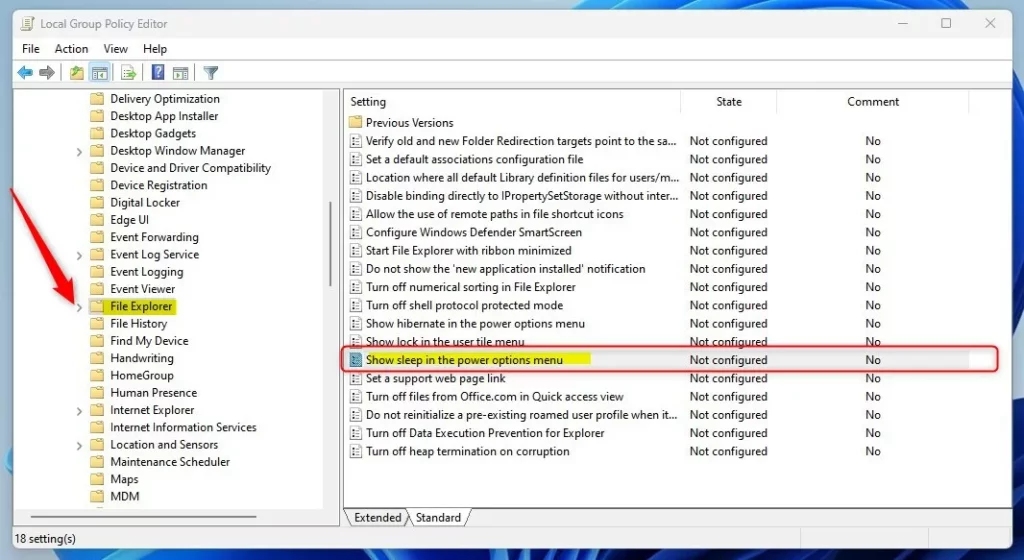
- In the left panel, go to:
Computer Configuration > Administrative Templates > Windows Components > File Explorer - In the right panel, find and double-click Show sleep in the power options menu.
- Choose one of these options:
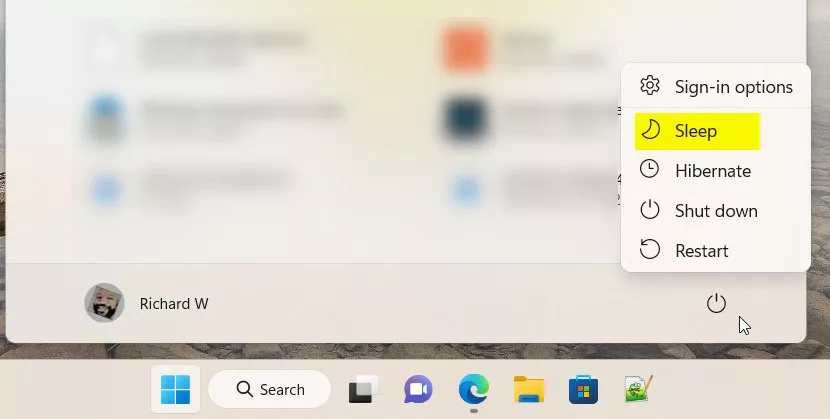
- Not Configured (default) – Sleep button will show.
- Enabled – Sleep button will show.
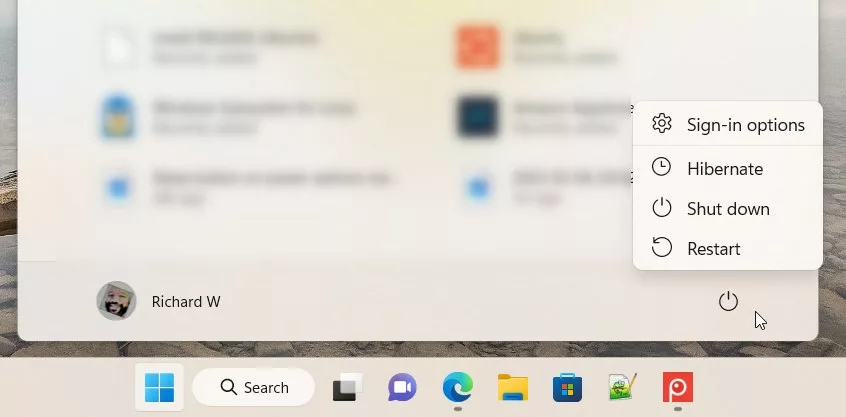
- Disabled – Sleep button will be hidden.
- Click OK, close the window, and restart your PC for changes to take effect.
What Does This Look Like?
Summary
- You can add or remove the Sleep button on the power menu in Windows 11 to suit how you like to use your PC.
- Easy ways include using the Control Panel, but you can also use the Registry Editor or Group Policy Editor if you want more control.
- Just follow the steps above carefully to customize your power menu and make your computer work best for you.
That’s it! Now you know how to manage the Sleep button in Windows 11.

Leave a Reply