How to Link Android Mobile Device to Windows 11

You can link your Android mobile device to Windows 11 using the Phone Link app to access phone features directly from your PC.
This integration allows you to manage calls, send texts, view notifications, and even mirror your phone’s screen on your Windows 11 computer.
For Windows 11 users, you can establish this connection either through the “Link to Windows” feature pre-installed on most Android devices or by downloading the Phone Link app from the Microsoft Store.
This seamless link is invaluable for boosting your productivity, enabling you to transfer files effortlessly or respond to messages without switching between your phone and computer.
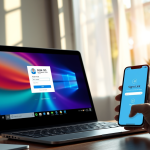
Link your Android device to Windows 11 via the Phone Link app. Open Settings, go to Bluetooth & Devices, select Mobile Devices, and click “Add device.” Then, scan the QR code on your PC with your phone’s Link to Windows app to complete the connection.
What You Need
- A PC running Windows 11.
- An Android phone running Android 8.0 or newer.
- Your phone and PC must be connected to Wi-Fi network (either directly or through a router).
Which Devices Work?
- Android phones running Android 8.0 or newer.
- Link to Windows app version 1.23112.189 or newer.
How to Connect Your Android Phone to 🪟 Windows 11
Android users can connect their phones to Windows 11 using the Link to Windows app.
Here’s how to do it:
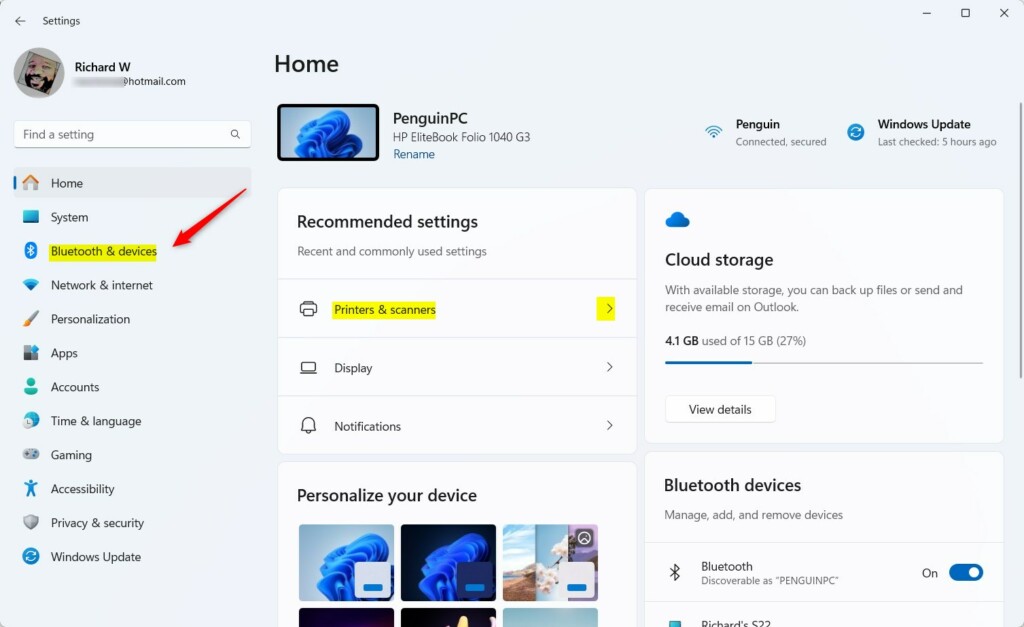
Step 1Open the Settings App
Step 2Go to Bluetooth & Devices
When the Settings app opens, click on Bluetooth & devices on the left side.
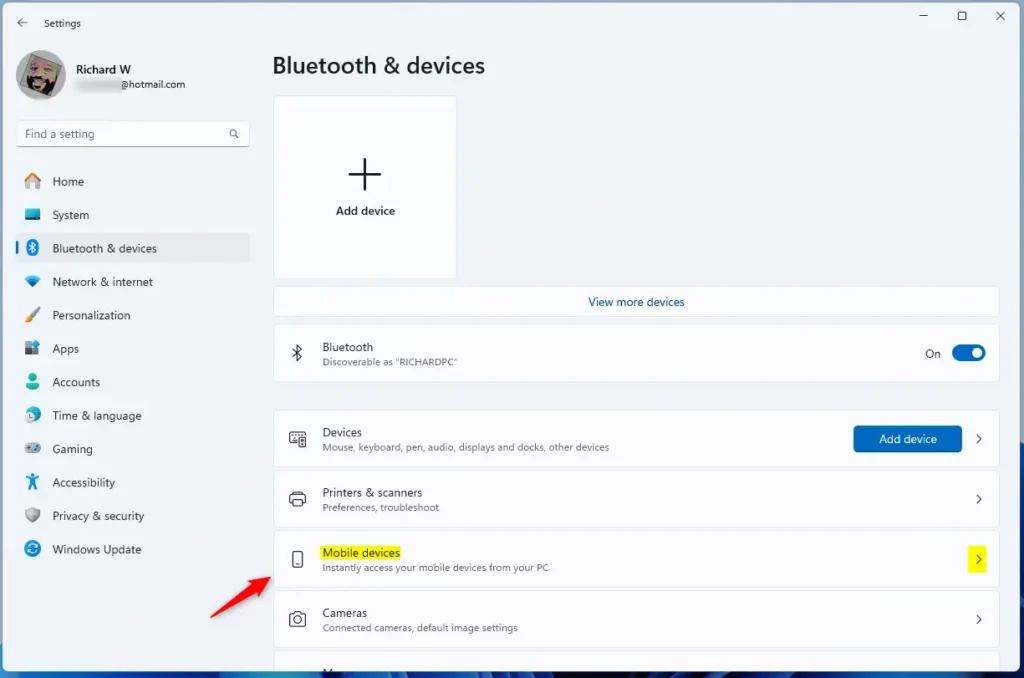
Step 3Select Mobile Devices
Look for the Mobile devices option under ‘ Bluetooth & devices’ on the right side. Click on it to expand it.
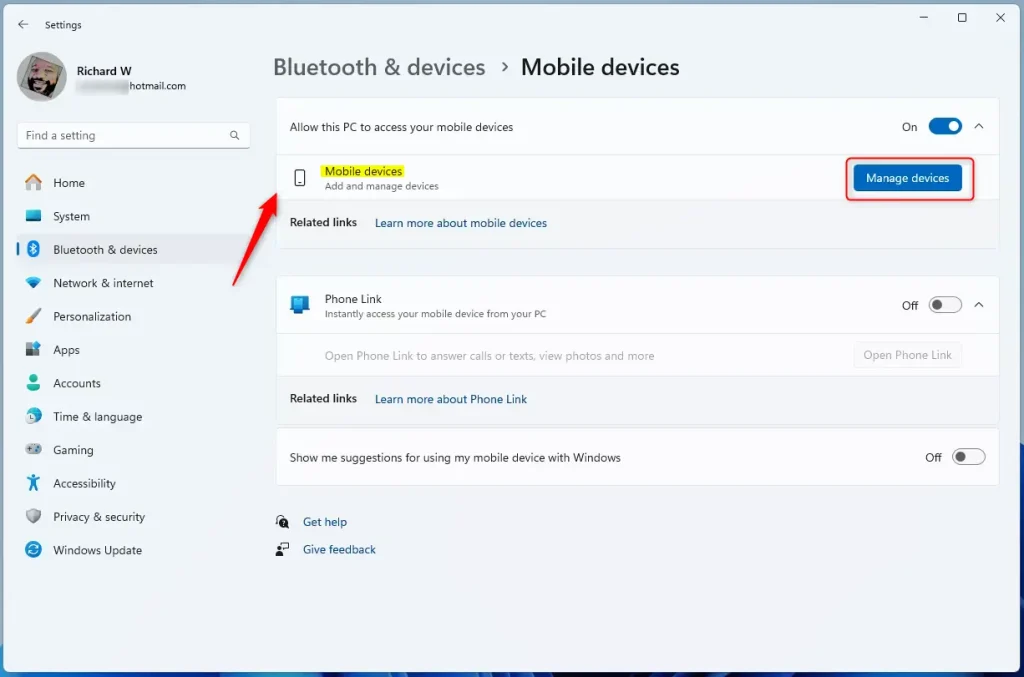
Step 4Manage Your Devices
Click the “Manage devices” button under “Allow this PC to access your mobile device.”
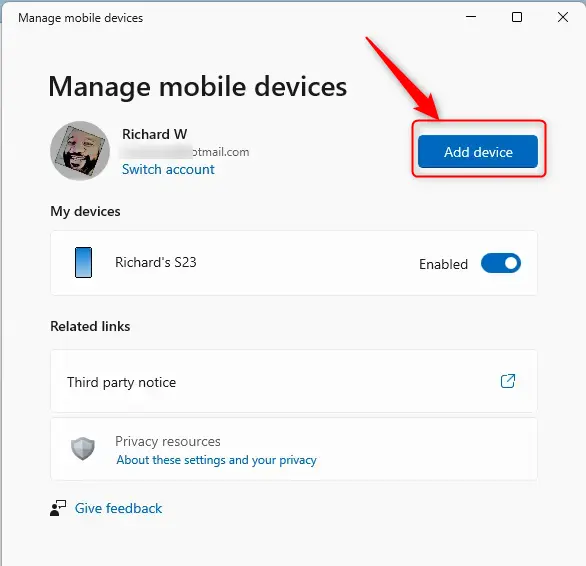
Step 5Sign In to Your Microsoft Account
A window will pop up asking you to sign in. If you haven’t already signed in to your Microsoft account, click the Sign in button. After signing in, click the “Add device” button to add your phone.

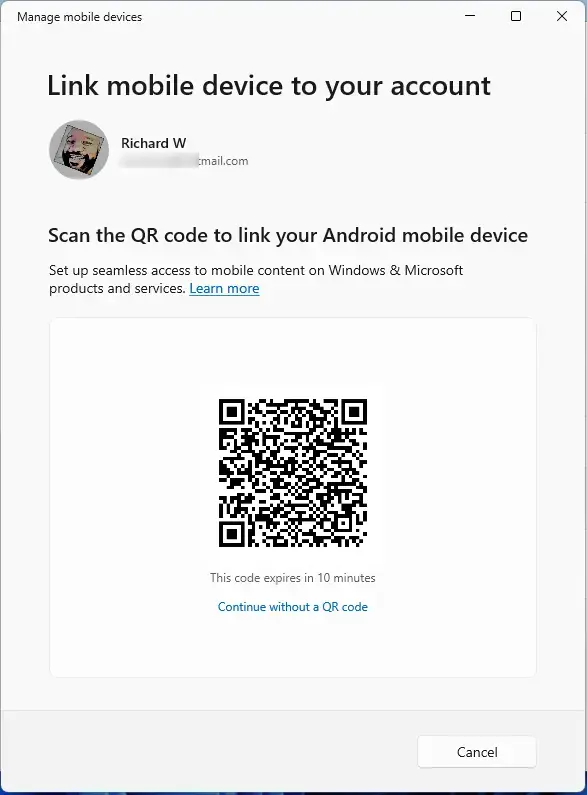
Step 6Scan the QR Code
A popup window with a QR code will appear on your PC screen. Use your phone’s camera to scan this QR code.
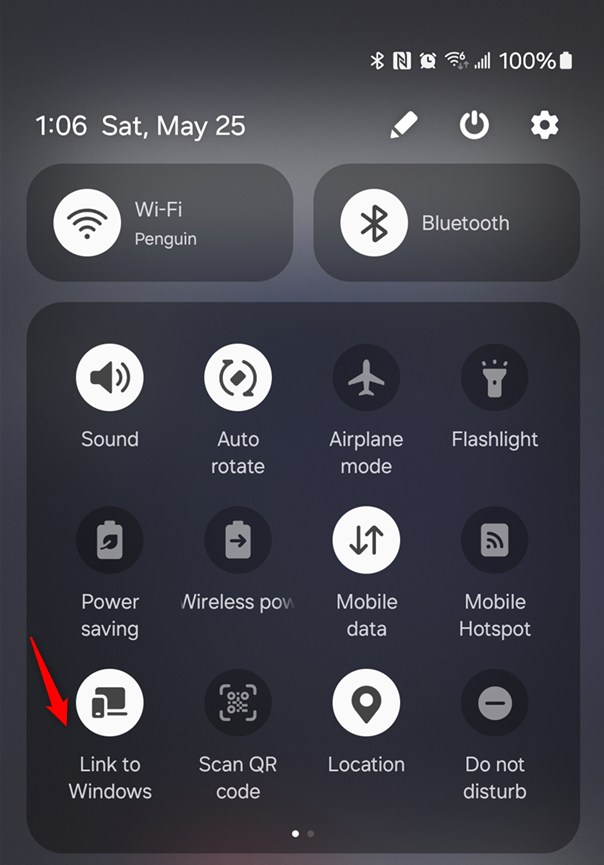
Step 7Open Link to Windows on Your Phone
The Link to Windows app on your Android phone opens when you find it in your Quick Settings menu, allowing you to connect your phone to your Windows 11 computer.
Press and hold the Link to Windows button in Quick Settings. This will show you the connection screen. Choose “Sign in using the QR code on your PC.”
Step 8Confirm Your Connection
To confirm you successfully link your Android to Windows 11, check that the code on your phone matches the code on your PC. Your phone might ask for permissions to let your PC see its content, so approve these on your phone. When everything looks right, tap Done on your phone.
Your phone may ask for special permissions, such as File Access, to let you access your phone's content from your PC. Approve these permissions by following the prompts on your phone's screen.
When you’re done, select Done on your phone.
Step 9Check Your Windows PC
Go back to the mobile device settings on your Windows PC. You should now see your phone connected and ready to use.
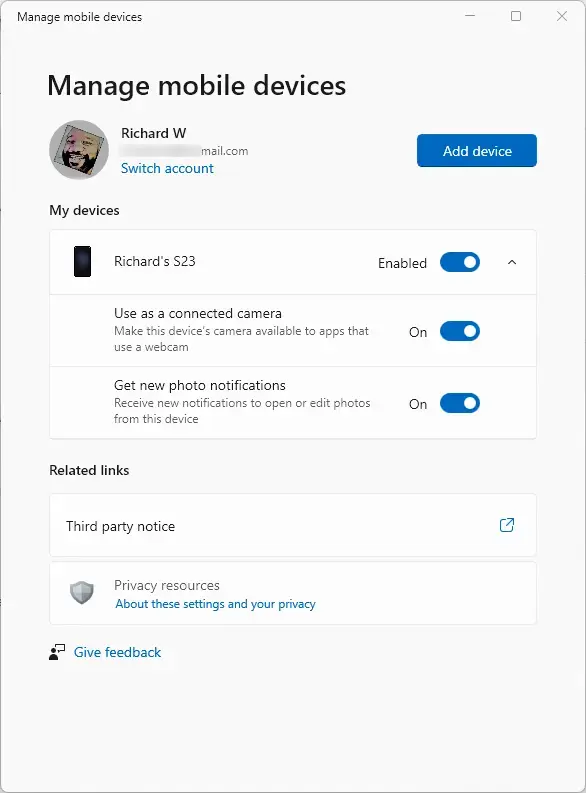
That’s it! You’re all set.
Summary
Linking your Android phone to Windows 11 is a simple process that lets you manage your phone from your PC.
Can I connect an Android phone to 🪟 Windows 11?
Android users with Windows 10 and 11 can use Phone Link. Customize individual app settings to get the most out of your devices.
Was this guide helpful?

About the Author
Richard
Tech Writer, IT Professional
Richard, a writer for Geek Rewind, is a tech enthusiast who loves breaking down complex IT topics into simple, easy-to-understand ideas. With years of hands-on experience in system administration and enterprise IT operations, he’s developed a knack for offering practical tips and solutions. Richard aims to make technology more accessible and actionable. He's deeply committed to the Geek Rewind community, always ready to answer questions and engage in discussions.

[…] Learn more about linking your phone to Windows 11. […]
[…] your phone to Windows 11 with the Phone Link […]
[…] Here’s a helpful article on linking your Android device to your PC: Link Your Android Mobile Device to Your Microsoft Account. […]
[…] How to Link Your Android Mobile Device to Your Microsoft Account on Windows 11 […]