How to Install WildFly on Ubuntu Linux
WildFly is a free Java application server that lets you run Java programs on your computer, and installing it on Ubuntu Linux involves downloading its files and setting up Java correctly.
It’s like a special toolbox for Java software, building on the popular JBoss. This server helps you build and run Java applications smoothly.
This guide shows you how to install WildFly on Ubuntu 22.04 LTS. You’ll learn to get your system ready to host your Java projects.
Install WildFly on Ubuntu by first installing OpenJDK, creating a WildFly user, downloading the WildFly archive, and then configuring its environment variables and systemd service. Execute the provided commands to complete these steps.
Install OpenJDK
To install WildFly on Ubuntu, you first need Java. This guide shows you how to install OpenJDK, the free version of Java, using simple commands. Installing this open-source Java will prepare your system for WildFly.
For this tutorial, we will install the open-source version of Java.
To do that, run the commands below:
sudo apt update
sudo apt install default-jdk
After installing OpenJDK above, you can run the commands below to validate that it is installed.
java -version
You should see similar lines below:
openjdk version "10.0.2" 2018-07-17
OpenJDK Runtime Environment (build 10.0.2+13-Ubuntu-1ubuntu0.18.04.4)
OpenJDK 64-Bit Server VM (build 10.0.2+13-Ubuntu-1ubuntu0.18.04.4, mixed mode)
If you see the lines above, then Java is installed and ready.
Setup WildFly User
Setting up a dedicated user account for WildFly is a good security practice on Ubuntu. This section explains how to create a special ‘wildfly’ user and group. Running a few simple commands will set up this account and group to make your WildFly installation safer.
Run the commands below to create an account and group called wildfly.
sudo groupadd -r wildfly
sudo useradd -r -g wildfly -d /opt/wildfly -s /sbin/nologin wildfly
After that, continue below to download and configure WildFly packages.
Download and Configure WildFly
After setting up Java and a dedicated user account, you’re ready to download WildFly on Ubuntu. This section guides you through downloading the latest version of WildFly using a simple command. You can always check the official download page for the newest releases.
You can check its download page to get the latest when they become available.
Using wget command, you can easily download it using the commands below:
cd /tmp
wget https://download.jboss.org/wildfly/16.0.0.Final/wildfly-16.0.0.Final.tar.gztar xvf wildfly-16.0.0.Final.tar.gz sudo mv wildfly-16.0.0.Final/ /opt/wildfly sudo chown -RH wildfly: /opt/wildfly
Next, create the WildFly service folder in the /etc/ directory by running the commands below.
sudo mkdir -p /etc/wildfly
sudo cp /opt/wildfly/docs/contrib/scripts/systemd/wildfly.conf /etc/wildfly/
sudo cp /opt/wildfly/docs/contrib/scripts/systemd/launch.sh /opt/wildfly/bin/
sudo sh -c 'chmod +x /opt/wildfly/bin/*.sh'
After that, copy its systemd file to the /etc/systemd/system/ directory by running the commands below.
sudo cp /opt/wildfly/docs/contrib/scripts/systemd/wildfly.service /etc/systemd/system/
Now, you can use the commands below to stop and automatically enable WildFly services to start at boot time.
sudo systemctl stop wildfly.service
sudo systemctl start wildfly.service
sudo systemctl enable wildfly.service
To check it started, run the commands below:
sudo systemctl status wildfly.service
You should see its status service info as shown below:
● wildfly.service - The WildFly Application Server
   Loaded: loaded (/etc/systemd/system/wildfly.service; enabled; vendor preset: enabled)
   Active: active (running) since Wed 2019-04-03 10:49:06 CDT; 17s ago
 Main PID: 2252 (launch.sh)
    Tasks: 109 (limit: 4683)
   CGroup: /system.slice/wildfly.service
           ├─2252 /bin/bash /opt/wildfly/bin/launch.sh standalone standalone.xml 0.0.0.0
           ├─2253 /bin/sh /opt/wildfly/bin/standalone.sh -c standalone.xml -b 0.0.0.0
           └─2336 java -D[Standalone] -server -Xms64m -Xmx512m -XX:MetaspaceSize=96M -XX:MaxMe

Apr 03 10:49:06 ubuntu1804 systemd[1]: Started The WildFly Application Server.
Now that you’ve downloaded and configured the WildFly service, run the commands below to create a user account that will connect and manage the app server web console.
sudo /opt/wildfly/bin/add-user.sh
You’ll be prompted. Type a to continue.
What type of user do you wish to add?
 a) Management User (mgmt-users.properties)
 b) Application User (application-users.properties)
(a): a
Type in a new username and create a password:
Enter the details of the new user to add.
Using realm 'ManagementRealm' as discovered from the existing property files.
Username : superadmin
Password recommendations are listed below. To modify these restrictions edit the add-user.properties configuration file.
 - The password should be different from the username
 - The password should not be one of the following restricted values {root, admin, administrator}
 - The password should contain at least 8 characters, 1 alphabetic character(s), 1 digit(s), 1 non-alphanumeric symbol(s)
Password :
WFLYDM0102: Password should have at least 1 non-alphanumeric symbol.
Are you sure you want to use the password entered yes/no? yes
Type yes for the other options and complete the setup.
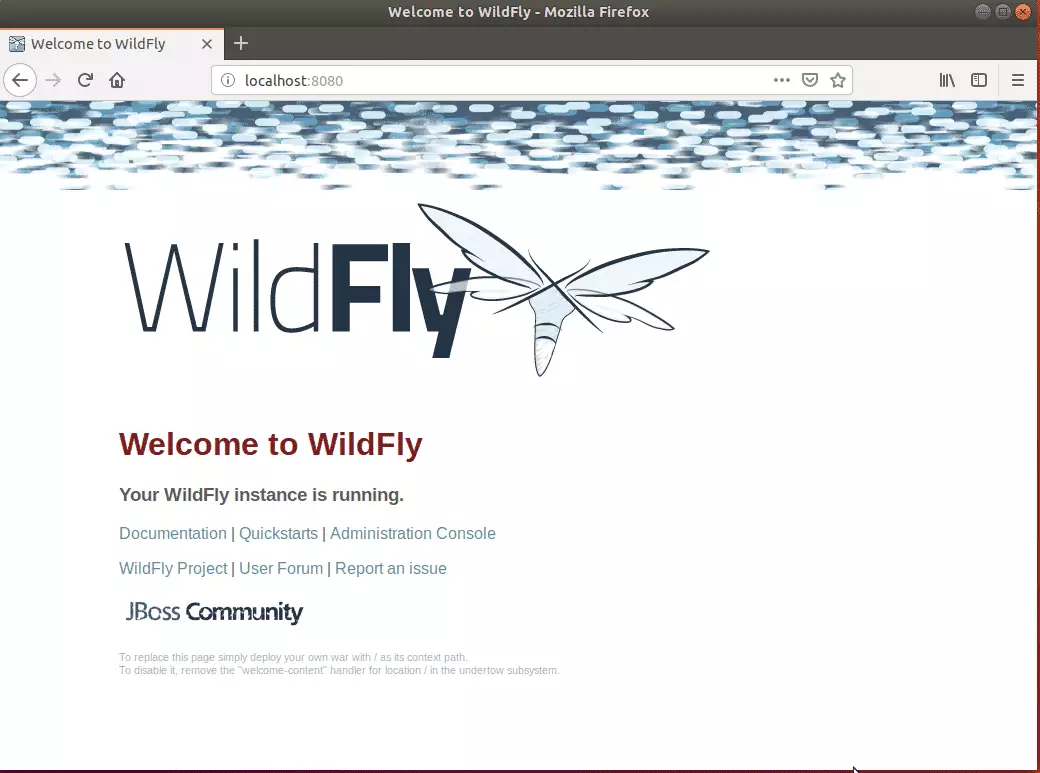
WildFly should be installed and ready.
You can access the WildFly server by opening your browser and going to the server's hostname or IP address, followed by port 8080, which is WildFly's default port for web access.
http://localhost:8080
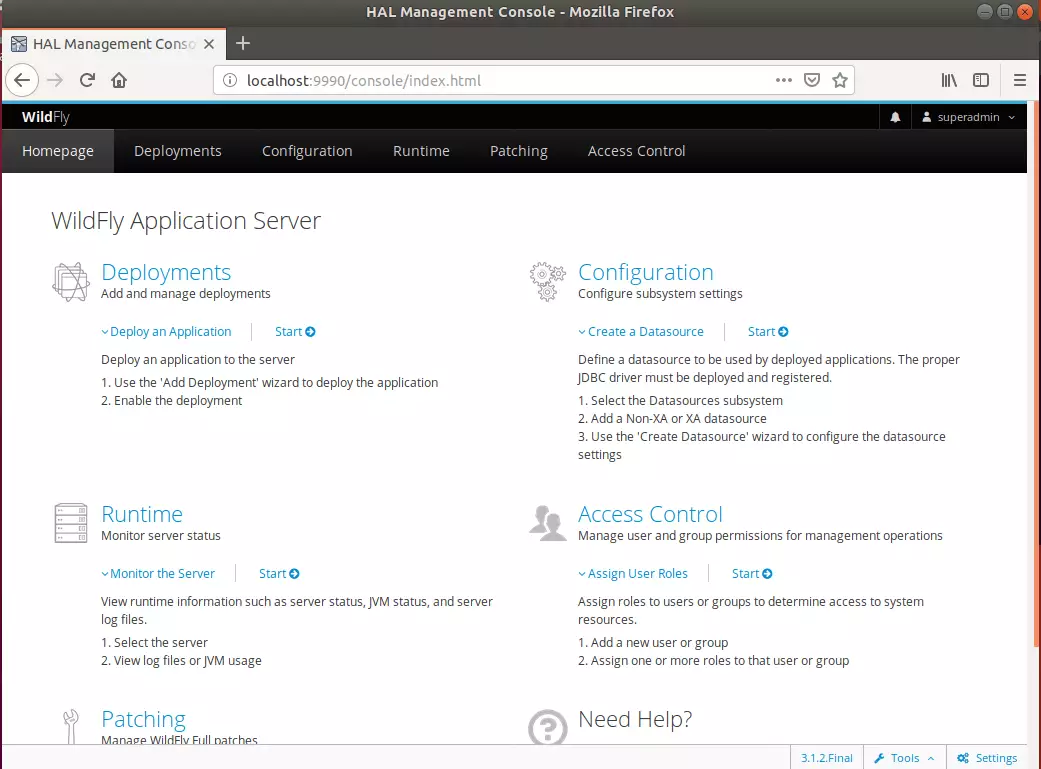
The admin console is at:
http://localhost:8080/console
Out of the box, the server console is restricted to the local server only. To connect remotely, Open its configuration file by running the commands below.
sudo nano /etc/wildfly/wildfly.conf
Then, add the highlighted line in the file and save.
# The configuration you want to run
WILDFLY_CONFIG=standalone.xml

# The mode you want to run
WILDFLY_MODE=standalone
# The address to bind to
WILDFLY_BIND=0.0.0.0

#WildFly Console bind
WILDFLY_CONSOLE_BIND=0.0.0.0
After that, run the script below to create an account to log on to the admin console.
sh /opt/wildfly/bin/jboss-cli.sh --connect
You’ll be prompted to enter the account and password you created above.
Authenticating against security realm: ManagementRealm
Username: superadmin
Password:
[standalone@localhost:9990 /]
Next, open the launch script
sudo nano /opt/wildfly/bin/launch.sh
And edit the highlighted lines,
#!/bin/bash

if [ "x$WILDFLY_HOME" = "x" ]; then
    WILDFLY_HOME="/opt/wildfly"
fi

if [[ "$1" == "domain" ]]; then
    $WILDFLY_HOME/bin/domain.sh -c $2 -b $3 -bmanagement $4
else
    $WILDFLY_HOME/bin/standalone.sh -c $2 -b $3 -bmanagement $4
fi
Exit and save the file.
Restart the service.
sudo systemctl restart wildfly.service
Next, open the WildFly service by running the commands below.
sudo nano /etc/systemd/system/wildfly.service
Then, edit the highlighted line and save.
[Unit]
Description=The WildFly Application Server
After=syslog.target network.target
Before=httpd.service

[Service]
Environment=LAUNCH_JBOSS_IN_BACKGROUND=1
EnvironmentFile=-/etc/wildfly/wildfly.conf
User=wildfly
LimitNOFILE=102642
PIDFile=/var/run/wildfly/wildfly.pid
ExecStart=/opt/wildfly/bin/launch.sh $WILDFLY_MODE $WILDFLY_CONFIG $WILDFLY_BIND $WILDFLY_CONSOLE_BIND
StandardOutput=null

[Install]
WantedBy=multi-user.target
Save the file and exit.
Reload systemd and restart.
sudo systemctl daemon-reload
sudo systemctl restart wildfly.service
That’s it! You can now access the admin console remotely.
Conclusion:
- WildFly is a powerful Java-based application server that allows for efficient application development and management.
- The installation process on Ubuntu 20.04/18.04 involves setting up OpenJDK and creating a dedicated WildFly service account.
- Downloading and configuring WildFly is straightforward, with user-friendly commands to manage the installation.
- An admin user can be created to manage the server through the web console, providing an intuitive interface for monitoring and configuration.
- Remote access to the admin console is possible by adjusting the configuration settings, enhancing flexibility for server management.
- By following this tutorial, users can successfully install and configure WildFly to start developing and deploying applications in a robust environment.
Was this guide helpful?

About the Author
Richard
Tech Writer, IT Professional
Richard, a writer for Geek Rewind, is a tech enthusiast who loves breaking down complex IT topics into simple, easy-to-understand ideas. With years of hands-on experience in system administration and enterprise IT operations, he’s developed a knack for offering practical tips and solutions. Richard aims to make technology more accessible and actionable. He's deeply committed to the Geek Rewind community, always ready to answer questions and engage in discussions.

I have installed latest version Wildfly 22.0 final in ubuntu 20.04, and i think all these lines are no more needed ( the line WILDFLY_CONSOLE_BIND=0.0.0.0 in standalone.xml and execstart in wildfly.service come by default, so console is at localhost 9090.
Also seems that to create an user you have to use: /opt/wildfly/bin/add-user.sh instead of /opt/wildfly/bin/jboss-cli.sh –connect
Text to be removed/changed:
Then admin console is at:
http://localhost:8080/console
Out of the box, the server console is restricted to the local server only… If you’d like to connect from a remote location, Open it’s configuration file by running the commands below…
sudo nano /etc/wildfly/wildfly.conf
Then add the highlighted line in the file and save..
# The configuration you want to run
WILDFLY_CONFIG=standalone.xml
# The mode you want to run
WILDFLY_MODE=standalone
# The address to bind to
WILDFLY_BIND=0.0.0.0
#WildFly Console bind
WILDFLY_CONSOLE_BIND=0.0.0.0
After that run the script below to create an account to logon to the admin console..
sh /opt/wildfly/bin/jboss-cli.sh –connect
You’ll be prompted to enter the account and password you created above..
Authenticating against security realm: ManagementRealm
Username: superadmin
Password:
[standalone@localhost:9990 /]
Next, open the launch script
sudo nano /opt/wildfly/bin/launch.sh
And edit the highlighted lines,
#!/bin/bash
if [ “x$WILDFLY_HOME” = “x” ]; then
WILDFLY_HOME=”/opt/wildfly”
fi
if [[ “$1” == “domain” ]]; then
$WILDFLY_HOME/bin/domain.sh -c $2 -b $3 -bmanagement $4
else
$WILDFLY_HOME/bin/standalone.sh -c $2 -b $3 -bmanagement $4
fi
Exit and save the file..
Restart the service..
sudo systemctl restart wildfly.service
Next, open WildFly service by running the commands below…
sudo nano /etc/systemd/system/wildfly.service
Then edit the highlighted line and save…
[Unit]
Description=The WildFly Application Server
After=syslog.target network.target
Before=httpd.service
[Service]
Environment=LAUNCH_JBOSS_IN_BACKGROUND=1
EnvironmentFile=-/etc/wildfly/wildfly.conf
User=wildfly
LimitNOFILE=102642
PIDFile=/var/run/wildfly/wildfly.pid
ExecStart=/opt/wildfly/bin/launch.sh $WILDFLY_MODE $WILDFLY_CONFIG $WILDFLY_BIND $WILDFLY_CONSOLE_BIND
StandardOutput=null
[Install]
WantedBy=multi-user.target
Save the file and exit.
Reload systemd and restart…
sudo systemctl daemon-reload
sudo systemctl restart wildfly.service
it is run on raspberry pi too 🙂
we having wildfly-16 running in domain mode on RHEL 7.6, java 1.8.
after a recent OS upgrade, we see java version is java-11. host-controller and process-controller is start no issues but server-group is not connecting to host-controller. What is weird is that all of the above (host-, process, & server group) are all installed on a single linux VM.
There is no 2nd java version installed, and for that reason, we don’t use JAVA_HOME=”/usr/…” in domain.conf.
Even if we add JAVA_HOME=.. it still changes nothing.
I read that wildfly-16 can run on java 11 in classpath mode, but not see how to start wildfly in classpath mode. please to advising me?