Install Symfony 5 on Ubuntu with Apache


Installing Symfony 5 on Ubuntu with Apache sets up a working PHP development environment using version 5 of the Symfony framework and the Apache web server. This setup lets you run and test modern PHP web applications on an Ubuntu system.
Install Apache2, PHP, and Composer using apt commands. Then, download Symfony 5 with composer create-project, and configure Apache virtual hosts by creating a symfony.conf file in /etc/apache2/sites-available/. Finally, enable the site with a2ensite and restart Apache.
Step 1Install the Apache2 Web Server
Apache2 installation on Ubuntu for your Symfony 5 project starts by updating your system packages and running the apt install command in your terminal. You use systemctl commands to control the Apache2 web server, making sure it starts automatically when your computer boots up.
sudo apt update
sudo apt install apache2
Use these commands to manage the server:
sudo systemctl stop apache2.service
sudo systemctl start apache2.service
sudo systemctl enable apache2.service
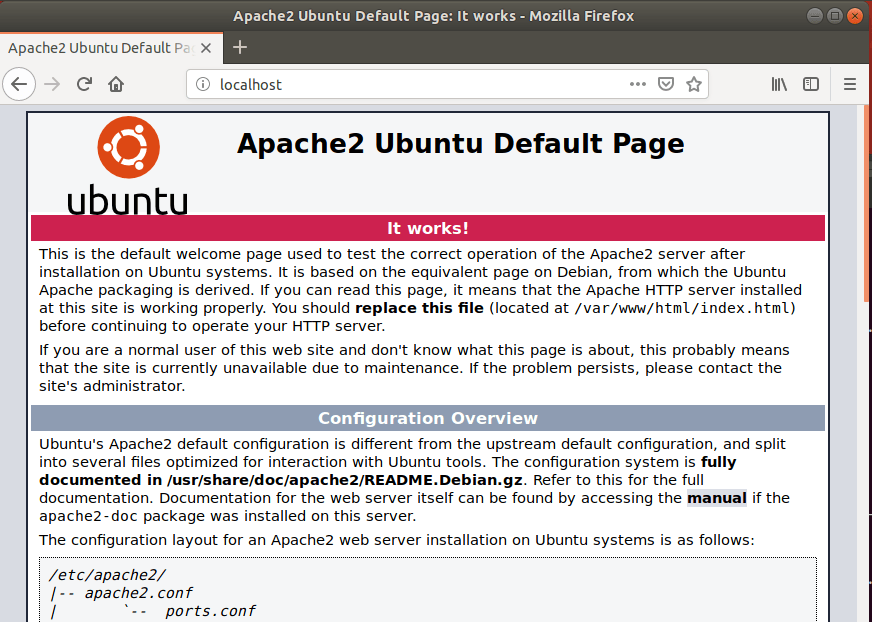
Check if it works by opening your web browser and typing:
http://localhost
Step 2Install PHP
PHP 7.2 installation on Ubuntu for Symfony 5 requires adding a software PPA repository and installing the core PHP package along with the required Apache module and extensions. These packages ensure your Ubuntu system has the correct environment to run Symfony 5 without errors.
sudo apt-get install software-properties-common
sudo add-apt-repository ppa:ondrej/php
sudo apt update
sudo apt install php7.2 libapache2-mod-php7.2 php7.2-common php7.2-sqlite3 php7.2-mysql php7.2-gmp php7.2-curl php7.2-intl php7.2-mbstring php7.2-xmlrpc php7.2-soap php7.2-ldap php7.2-gd php7.2-bcmath php7.2-xml php7.2-cli php7.2-zip
Now, edit your PHP configuration file:
sudo nano /etc/php/7.2/apache2/php.ini
Update the file with these settings and save your changes:
file_uploads = On
allow_url_fopen = On
short_open_tag = On
memory_limit = 256M
upload_max_filesize = 100M
max_execution_time = 360
date.timezone = America/Chicago
Restart Apache to apply the new settings:
sudo systemctl restart apache2.service
Create a test file to make sure PHP is working correctly:
sudo nano /var/www/html/phpinfo.php
Add this code to the file and save:
<?php phpinfo( ); ?>
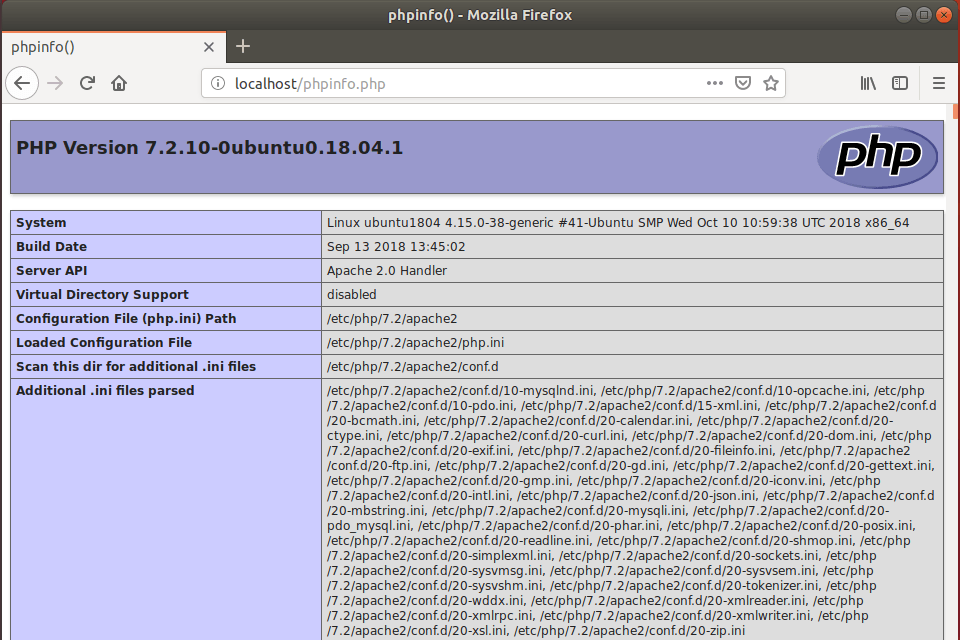
Open your browser and visit:
http://localhost/phpinfo.php
Step 3Download Symfony
Composer (a tool that manages PHP code packages) installation on Ubuntu allows you to download and set up your Symfony 5 project files in your web directory. You install curl and git first, run the official Composer installer script, and move the binary to your local bin folder.
sudo apt install curl git
curl -sS https://getcomposer.org/installer | sudo php -- --install-dir=/usr/local/bin --filename=composer
Navigate to your web directory (e.g., `/var/www/html`) and create your project folder:
cd /var/www/
sudo composer create-project symfony/skeleton symfony5
sudo chown -R www-data:www-data /var/www/symfony5/
sudo chmod -R 755 /var/www/symfony5/
Step 4Configure Apache
Apache configuration for Symfony 5 on Ubuntu involves creating a new virtual host configuration file in the sites-available directory using the nano text editor. This file tells the Apache web server where to find your project files and how to handle incoming traffic for your domain.
sudo nano /etc/apache2/sites-available/symfony.conf
Make sure to update your domain name and folder path:
<VirtualHost *:80>
ServerAdmin admin@example.com
DocumentRoot /var/www/symfony5/public
ServerName example.com
ServerAlias www.example.com
<Directory /var/www/symfony5/public/>
Options FollowSymlinks
AllowOverride All
Require all granted
</Directory ErrorLog ${APACHE_LOG_DIR}/error.log
CustomLog ${APACHE_LOG_DIR}/access.log combined
</VirtualHost>
Step 5Enable Symfony
Activate your new configuration and restart the server. Requires admin privileges.
sudo a2ensite symfony.conf
sudo systemctl restart apache2.service
Visit your site in your browser:
http://example.com/
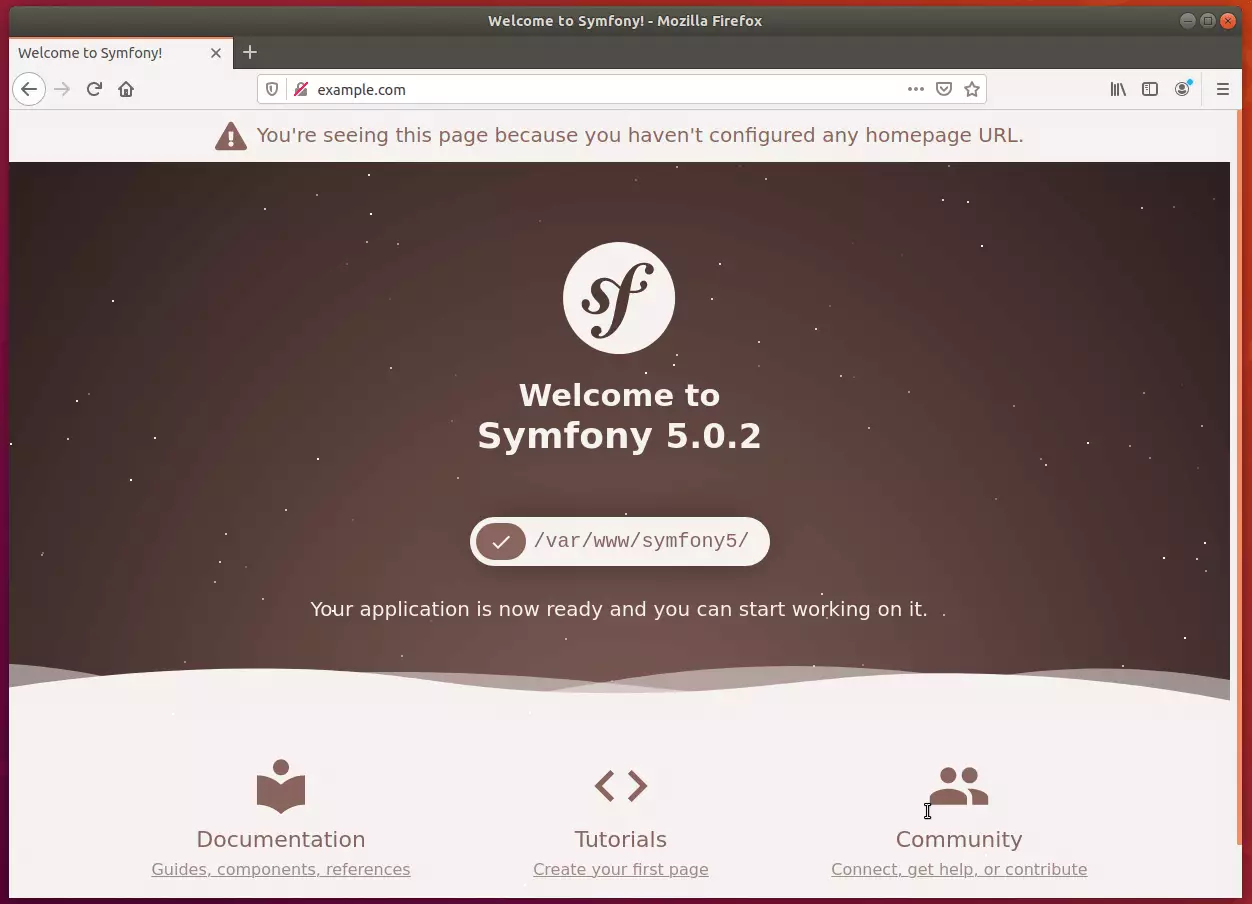
Your Symfony 5 setup is complete and ready for use.
Summary
In this tutorial, we installed the Apache2 web server, set up PHP, downloaded the Symfony 5 framework using Composer, and configured the server to display your new application. With this setup, you're ready to start developing your web projects.
Was this guide helpful?

About the Author
Richard
Tech Writer, IT Professional
Richard, a writer for Geek Rewind, is a tech enthusiast who loves breaking down complex IT topics into simple, easy-to-understand ideas. With years of hands-on experience in system administration and enterprise IT operations, he’s developed a knack for offering practical tips and solutions. Richard aims to make technology more accessible and actionable. He's deeply committed to the Geek Rewind community, always ready to answer questions and engage in discussions.



hello, i have a problem would you help me please?
[Composer\Downloader\TransportException]
Content-Length mismatch, received 640535 bytes out of the expected 1912309
thank you
All my steps went well, but it keeps displaying Apache2 Ubuntu Default Page?
https://askubuntu.com/questions/337874/change-apache-document-root-folder-to-secondary-hard-drive
I managed to display the symfony page by editing the 000-default.conf from apache.
I changed the line:
DocumentRoot /var/www/symfony5/public
Also I added the block:
Options FollowSymlinks
AllowOverride All
Require all granted
I don’t know if this has any negativ effects.
Hello, very good tutorial which was very useful to me since I am new to symfony. I just wanted to add that I had some problems accessing my web page http://www.example.com from my web browser on windows. I am using windows 10 and I installed symphony on a virtual machine with the operating system Ubuntu 18 server. however I was able to solve the problem by editing the etc / hosts file under windows. Otherwise the tutorial is good.
Thank you so much !
Nice point.
Thanks,
I would like the same for Ubuntu 20.04
php 7.4.10
I’ve installed XAMPP and it works fine but I would like to continue with Symfony 5
Great achievement, I really appreciate.
Hello! This is one of the best tutorials for this theme i’ ve seen, because everything else i try – simply doesnt work. But in the last step here i have again some trouble – when i try to open http://www.example.com, it opens page with text Example Domain in a gray square in middle of screen. Not the symfony page that you have in picture in the ending. What to do?
Nice tutorial and very easy to follow. I installed Symfony on my Ubuntu 20.04 LTS and it works perfectly.
As I have to use Symfony and Doctrine with PostgreSQL, I had to add the command below in order to enable the PHP module for the database:
$ sudo apt install php7.2-pgsql
very nice tuto. All working fine.
Just added 127.0.0.1 example.com into /etc/hosts
Thank you very much bro