Installing Gatsby.js on Ubuntu: A Step-by-Step Guide
Installing Gatsby.js on Ubuntu lets you create super-fast, secure websites using React.
Gatsby.js is a free tool that uses React, a popular web building language, to make static websites. It pulls information from different places to give you one smooth way to build things.
This guide walks you through setting up Gatsby.js on your Ubuntu computer. Once done, you’ll have everything you need to start building your website right away.
Install Node.js via NVM, then install the Gatsby CLI globally using npm. Create a new Gatsby site with `gatsby new` and start the development server with `gatsby develop` in your project directory.
Install NVM (Node Version Manager) and Node.js
To get Gatsby.js running on Ubuntu, you first need Node.js. We’ll use NVM, which is Node Version Manager, to install it. NVM helps you easily switch between different Node.js versions if you ever need to. First, open your terminal and run these commands to update your system and install curl.
First, update your system and install curl:
sudo apt update
sudo apt install curl
curl -o- https://raw.githubusercontent.com/nvm-sh/nvm/v0.40.1/install.sh | bash
Refresh your shell so NVM works:
source ~/.bashrc
Now, install the current Long Term Support (LTS) version of Node.js, which is v22:
nvm install 22
nvm use 22
Gatsby CLI
The Gatsby CLI is a tool that helps you create and manage your sites. Install it with this command:
npm install -g gatsby-cli
Check the version to confirm it is installed:
gatsby --version
Create Gatsby app
Once Node.js is set up, creating your first Gatsby app on Ubuntu is simple using the Gatsby command line tool. Just type `gatsby new` in your terminal and press Enter. The tool will then ask you a few quick questions to set up your new website project, like what you want to call your site.
gatsby new
The CLI will ask you a few questions to set up your project:
- What would you like to call your site? Choose a name like “myapp”.
- What would you like to name the folder? Press Enter to use the default.
- Will you be using JavaScript or TypeScript? Choose based on your preference.
- Will you be using a CMS? Select “No” for now.
- Would you like to install a styling system? Choose your preferred CSS framework (like Tailwind or CSS Modules).
The tool will automatically download the necessary files and set up your folder structure.
Access your app
After creating your Gatsby app, you’ll want to see it in action on Ubuntu. Navigate into your new project folder using the `cd` command, then type `gatsby develop` to start the local server. Your app should then be available to view in your web browser at the address http://localhost:8000.
cd myapp/
gatsby develop
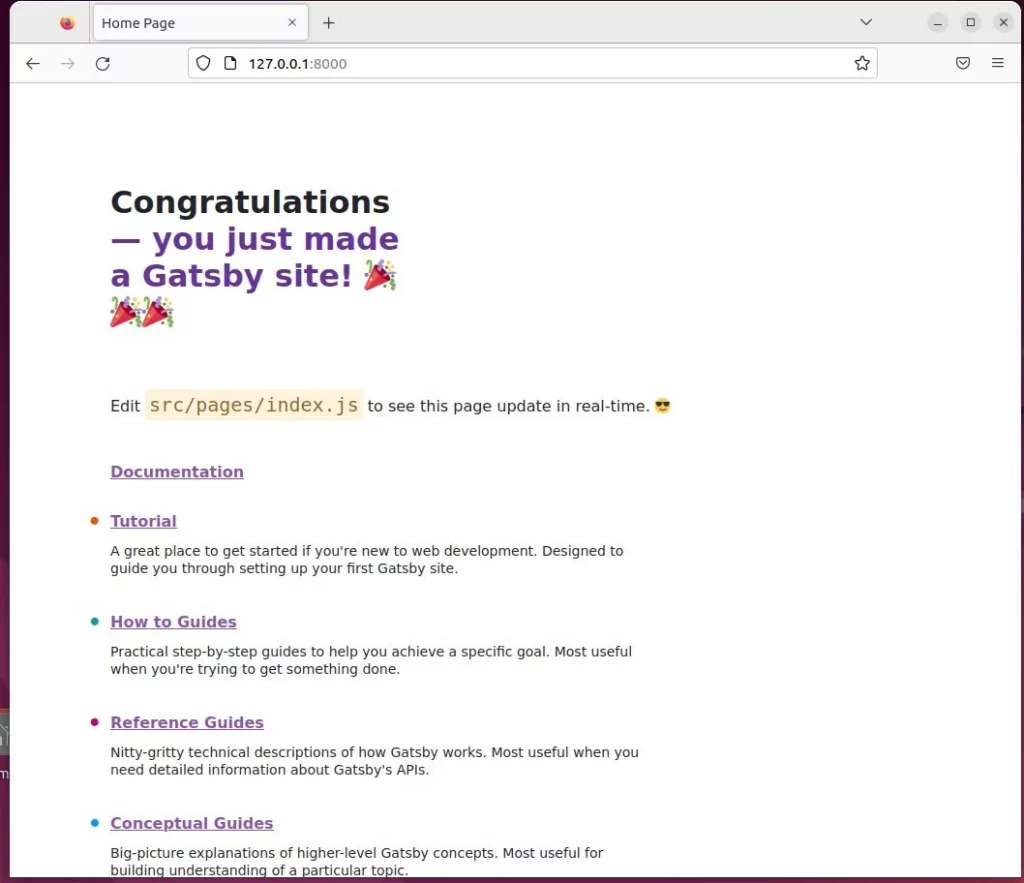
Open your web browser and go to:
http://localhost:8000
gatsby develop -p 8001.Conclusion
You now have Gatsby.js running on your Ubuntu machine. You have set up the environment, installed the CLI, created a new project, and launched the development server. You are ready to start building your website.
Was this guide helpful?

About the Author
Richard
Tech Writer, IT Professional
Richard, a writer for Geek Rewind, is a tech enthusiast who loves breaking down complex IT topics into simple, easy-to-understand ideas. With years of hands-on experience in system administration and enterprise IT operations, he’s developed a knack for offering practical tips and solutions. Richard aims to make technology more accessible and actionable. He's deeply committed to the Geek Rewind community, always ready to answer questions and engage in discussions.

No comments yet — be the first to share your thoughts!