How to Install Apache Solr on Ubuntu Linux
You install Apache Solr on Ubuntu Linux to create a powerful, open-source search platform. Apache Solr is a high-performance search engine built on Apache Lucene, designed for scalable full-text search and data analysis.
This tutorial guides you through setting up Solr, likely version 9.x, on your Ubuntu server. You’ll get a functional search engine ready to manage and query large datasets.
With Solr running, you can implement robust search functionalities into your applications, handling everything from basic keyword matching to complex faceted searches and aggregations.
Install Apache Solr on Ubuntu by first installing OpenJDK. Then, download and extract the Solr archive, run the install script, and configure Solr for remote access if needed. Finally, allow traffic on port 8983 through your firewall and restart the service.
How to download and install Apache Solr on Ubuntu Linux
To install Apache Solr Ubuntu, you first need to set up Java, as Solr relies on it to work. Run ‘sudo apt update’ and ‘sudo apt install openjdk-21-jdk’ to get the right Java version, then type ‘java –version’ to confirm it’s installed. After Java is ready, you’ll download the Solr program from the official Apache Solr website.
Run these commands to install OpenJDK:
sudo apt update
sudo apt install openjdk-21-jdk
Check the version to make sure it is ready:
java --version
Next, visit the %📂%LNK0%% official Apache Solr download mirror to get the latest stable version (e.g., 9.8.x). Download the file using wget and the link you found.
Extract the installation script from the downloaded file:
tar xzf solr-9.8.0.tgz solr-9.8.0/bin/install_solr_service.sh --strip-components=2
Run the installation script, which uses the official systemd service integration. This integration ensures Apache Solr keeps running smoothly in version 9.3.1 by managing the service automatically.
sudo bash ./install_solr_service.sh solr-9.8.0.tgzThe `install.sh` script creates a `solr` user and sets up the Apache Solr service. You can manage the Apache Solr service using commands like `sudo systemctl status solr` to check its status.
sudo systemctl stop solr
sudo systemctl start solr
sudo systemctl status solr
To create a new search collection, run this command:
sudo su - solr -c "/opt/solr/bin/solr create -c mycollection"By default, Solr only talks to the local machine. To allow remote access, edit the configuration file:
sudo nano /etc/default/solr.in.sh
Find the line for SOLR_JETTY_HOST and change it to:
SOLR_JETTY_HOST="0.0.0.0"
Save and close the file. Now, update your firewall to allow traffic on port 8983:
sudo ufw allow 8983/tcp
Restart the service to apply your changes:
sudo systemctl restart solr
Finally, open your web browser and go to http://your-server-ip:8983/ to see the admin console.
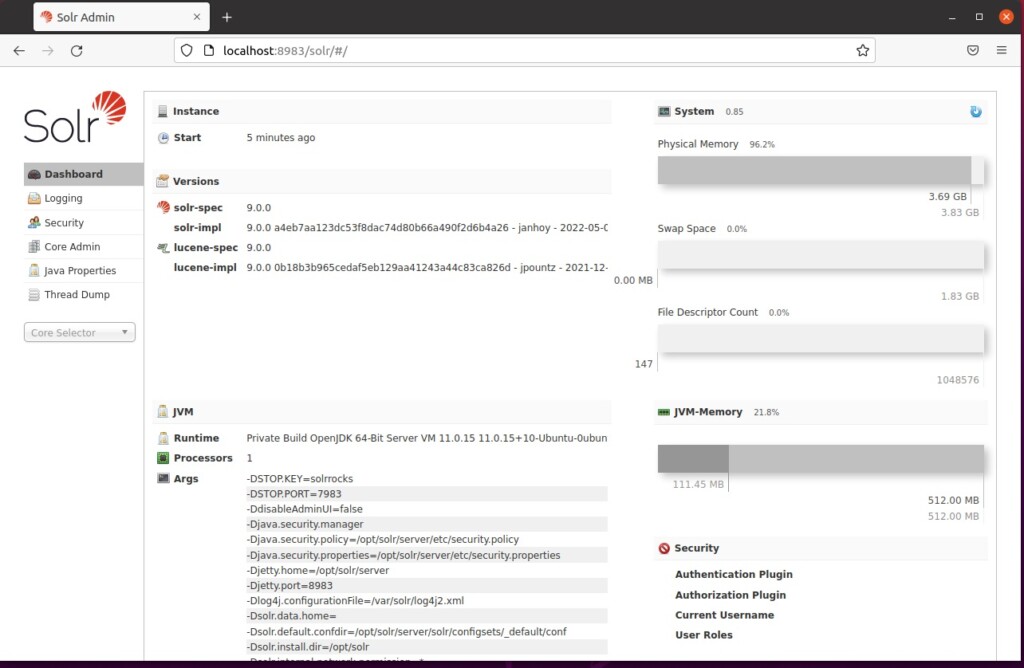
That is all you need to do to get started!
Conclusion
Apache Solr is a powerful tool for searching data. By installing it on Ubuntu with a modern Java runtime and proper firewall settings, you have a secure and fast search engine ready for your projects.
[1] [4949] [4949] [1]
How to install Apache Solr?
And click on the zip. Click on that and download it after some time. Here your download will be there to make it easier I've already downloaded here. And then after it's com download is completed.
Was this guide helpful?

About the Author
Richard
Tech Writer, IT Professional
Richard, a writer for Geek Rewind, is a tech enthusiast who loves breaking down complex IT topics into simple, easy-to-understand ideas. With years of hands-on experience in system administration and enterprise IT operations, he’s developed a knack for offering practical tips and solutions. Richard aims to make technology more accessible and actionable. He's deeply committed to the Geek Rewind community, always ready to answer questions and engage in discussions.

No comments yet — be the first to share your thoughts!