How to Create a Headless VM on Ubuntu Using VirtualBox
Creating a headless Ubuntu virtual machine (VM) in VirtualBox lets you run Ubuntu on your PC without a screen. This means the VM operates in the background, perfect for tasks that don’t need a visual interface, like running a web server.
VirtualBox is a free program that lets you run other operating systems, like Ubuntu, on your Windows computer. A headless VM is one that starts up and runs without showing its own desktop window.
You can manage these headless VMs using a special tool called VBoxManage. This command-line program gives you power over your virtual machines, and you’ll use it to set up your Ubuntu VM without needing to click through the VirtualBox graphical menus, even for newer versions like Ubuntu 24.04.
You create a headless VM on Ubuntu using VirtualBox with the VBoxManage command-line tool. First, create the VM using `VBoxManage createvm`, then configure its properties with `VBoxManage modifyvm`, and finally create and attach storage using `VBoxManage storagectl` and `VBoxManage createhd`.
Install VirtualBox
VirtualBox installation is the first step to creating a virtual machine on VirtualBox. If you have not installed VirtualBox yet, you can find installation instructions in the preceding article.
Once VirtualBox is installed, you can start creating your VMs, as shown below.
Create VM directory
Before we create a virtual machine, let’s make a directory to store them.
Run the command below to create a directory for VirtualBox.
Creating a headless VM on Ubuntu using VirtualBox starts with setting up the virtual machine itself. A command will create a new Ubuntu 24.04 VM, giving it a name so you can configure it later.
sudo VBoxManage createvm --name Ubuntu2404 --ostype Ubuntu_64 --register --basefolder /var/vbox
If the command is successful, you should see a message like the one below.
Virtual machine 'Ubuntu2404' is created and registered.
UUID: 613dde34-dfa1-4342-9a04-f54c19b44b19
Settings file: '/var/vbox/Ubuntu2404/Ubuntu2404.vbox'
Change VM properties
After creating the Ubuntu virtual machine, you can adjust its properties to modify the CPU, memory size, network settings, and more using the command below.
sudo VBoxManage modifyvm Ubuntu2404 --cpus 4 --memory 8192 --nic1 nat --boot1 dvd --vrde on --vrdeport 5001
Create the VM storage
To set up storage for your headless VM, you’ll create a storage controller and then a hard drive. This hard drive will house Ubuntu and all your files, serving as the VM’s primary storage.
You create a virtual hard drive from the storage by running the `VBoxManage createmedium disk` command. This command takes the storage's path and the desired disk size, for example, `VBoxManage createmedium disk –format VDI "path/to/your/disk.vdi" –size 20480` to create a 20GB disk image.
sudo VBoxManage createhd --filename /var/vbox/Ubuntu2404/Ubuntu2404.vdi --size 20480 --format VDI --variant Standard
If the command is successful, you should see something similar to the one below.
0%...10%...20%...30%...40%...50%...60%...70%...80%...90%...100%
Medium created. UUID: 703b125d-987c-41a1-a2c8-ba15baa2d7ec
Attach the hard drive created above.
sudo VBoxManage storageattach Ubuntu2404 --storagectl Ubuntu2404_SATA --port 1 --type hdd --medium /var/vbox/Ubuntu2404/Ubuntu2404.vdi
The VM should be created with storage and ready for your operating system. To check the VM details, run the command below.
sudo VBoxManage showvminfo Ubuntu2404
It should display something similar to the one below.
Name:                        Ubuntu2404
Encryption:                  disabled
Groups:                      /
Guest OS:                    Ubuntu (64-bit)
UUID:                        613dde34-dfa1-4342-9a04-f54c19b44b19
Config file:                 /var/vbox/Ubuntu2404/Ubuntu2404.vbox
Snapshot folder:             /var/vbox/Ubuntu2404/Snapshots
Log folder:                  /var/vbox/Ubuntu2404/Logs
Hardware UUID:               613dde34-dfa1-4342-9a04-f54c19b44b19
Memory size:                 8192MB
Page Fusion:                 disabled
VRAM size:                   8MB
CPU exec cap:                100%
HPET:                        disabled
CPUProfile:                  host
Chipset:                     piix3
Firmware:                    BIOS
Number of CPUs:              4
PAE:                         enabled
Long Mode:                   enabled
Triple Fault Reset:          disabled
APIC:                        enabled
X2APIC:                      enabled
The VM is ready.
Attach Ubuntu installation ISO
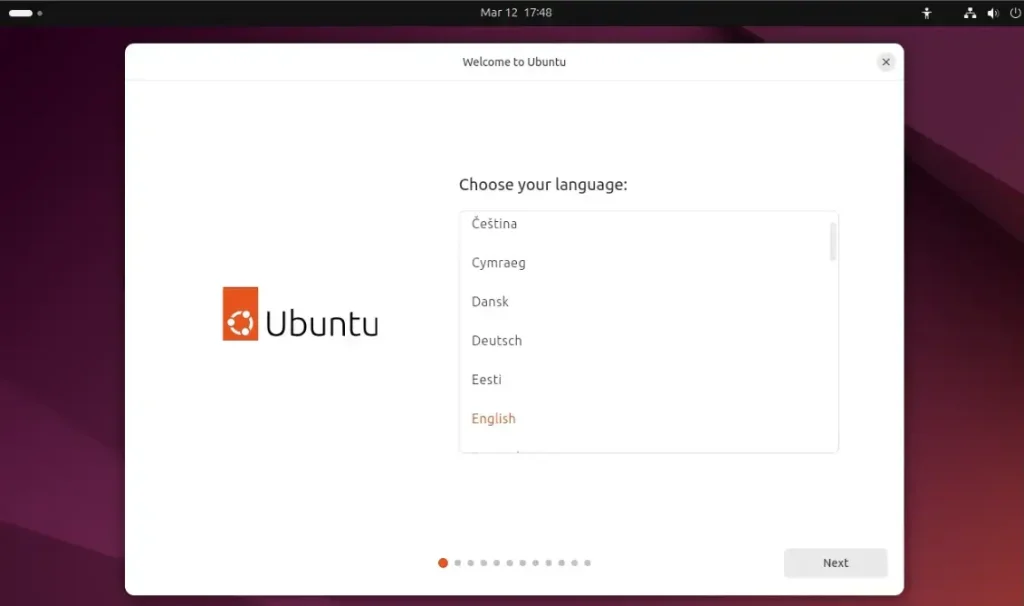
Attaching the Ubuntu installation ISO file is how you install Ubuntu on your new headless VM using VirtualBox. This step connects the virtual DVD drive to the Ubuntu ISO image, letting the VM boot from it and start the installation process.
Download Ubuntu ISO. Then, please attach it to the VM using the command below.
sudo VBoxManage storageattach Ubuntu2404 --storagectl Ubuntu2404_SATA --port 0 --type dvddrive --medium ~/Downloads/ubuntu-24.04.2-desktop-amd64.iso
Once the ISO is attached, you can start the VM using the command below.
sudo VBoxManage startvm Ubuntu2404 --type headless
If the command was successful, you will see a message similar to the one below.
Waiting for VM "Ubuntu2404" to power on...
VM "Ubuntu2404" has been successfully started.
192.168.48.128:5001
Conclusion:
Creating a headless virtual machine on VirtualBox using the command line in Ubuntu 24.04 is quite manageable. Here are the key points to remember:
- Preparation: Ensure VirtualBox is installed and a directory for VMs is created.
- VM Creation: This creates the virtual machine with the desired parameters.
- Configuration: Modify VM properties such as CPU and memory using
VBoxManage modifyvm. - Storage Setup: Create a storage controller and hard drive for the VM.
- ISO Attachment: Download the Ubuntu installation ISO and attach it to the VM.
- Launching: Start the VM in headless mode and connect using an RDP client for installation.
These steps will help you efficiently set up and manage virtual machines headlessly.
Can I run a VM headless?
Yes, you can definitely run a virtual machine headless, meaning it operates in the background without a visible screen. Setting up headless mode involves configuring the VM’s display and serial devices to run without direct interaction.
What is the difference between normal start and headless start in VirtualBox?
Virtualbox has three start modes: normal (with a window for the VM but window cannot be closed) headless start (no window for the VM, but you can see a screenshot in VBox UI) detachable start (a mix of the above two; window can be closed without turning off VM)
Was this guide helpful?

About the Author
Richard
Tech Writer, IT Professional
Richard, a writer for Geek Rewind, is a tech enthusiast who loves breaking down complex IT topics into simple, easy-to-understand ideas. With years of hands-on experience in system administration and enterprise IT operations, he’s developed a knack for offering practical tips and solutions. Richard aims to make technology more accessible and actionable. He's deeply committed to the Geek Rewind community, always ready to answer questions and engage in discussions.


No comments yet — be the first to share your thoughts!