How to Adjust Live Captions Position in Windows 11
You adjust the Live Captions position in Windows 11 by clicking and dragging the caption window.
Windows 11 Live Captions is a powerful accessibility tool that transcribes spoken audio into text in real-time. This feature, activated by pressing ⊞ Win+Ctrl+L, is invaluable for improving comprehension during videos, calls, and other audio content.
Sometimes, the default position of the Live Captions window can obscure important screen elements. You can easily reposition it to prevent this interference.
Moving the Live Captions bar ensures your workflow remains unobstructed while keeping the real-time transcription visible where you need it most.
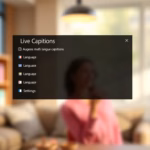
Adjust Live Captions position by opening the Live Captions window with ⊞ Win+Ctrl+L, clicking the gear icon, selecting Position, and choosing Top, Bottom, or Floating. Floating allows you to drag the window anywhere on the screen.
How to Change the Caption Bar Position
You can easily adjust the live captions position in Windows 11 if the bar isn’t where you want it; it often appears at the top by default, but you can move it to the bottom or let it float freely anywhere on your screen.
- Turn on Live Captions on your computer using ⊞ Win+Ctrl+L.
- Look for the Settings icon (the small gear) on the caption bar.
- Click the gear icon.
- Select Position from the menu.
- Choose Top, Bottom, or Floating.
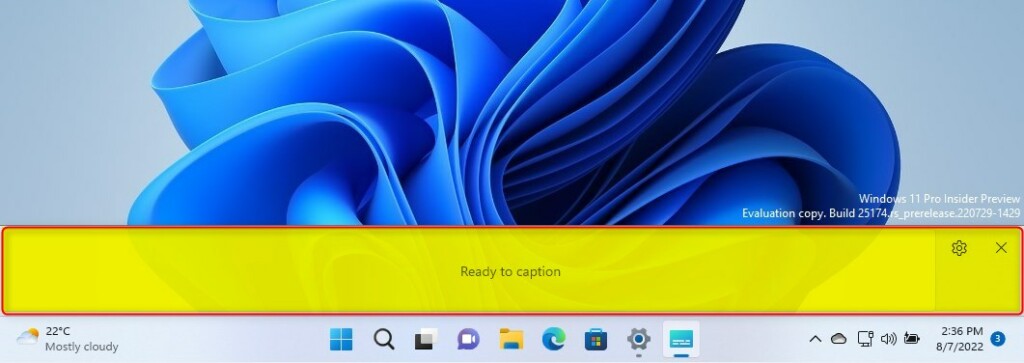
If you pick Bottom, the bar will sit right above your taskbar. It’ll look something like this:
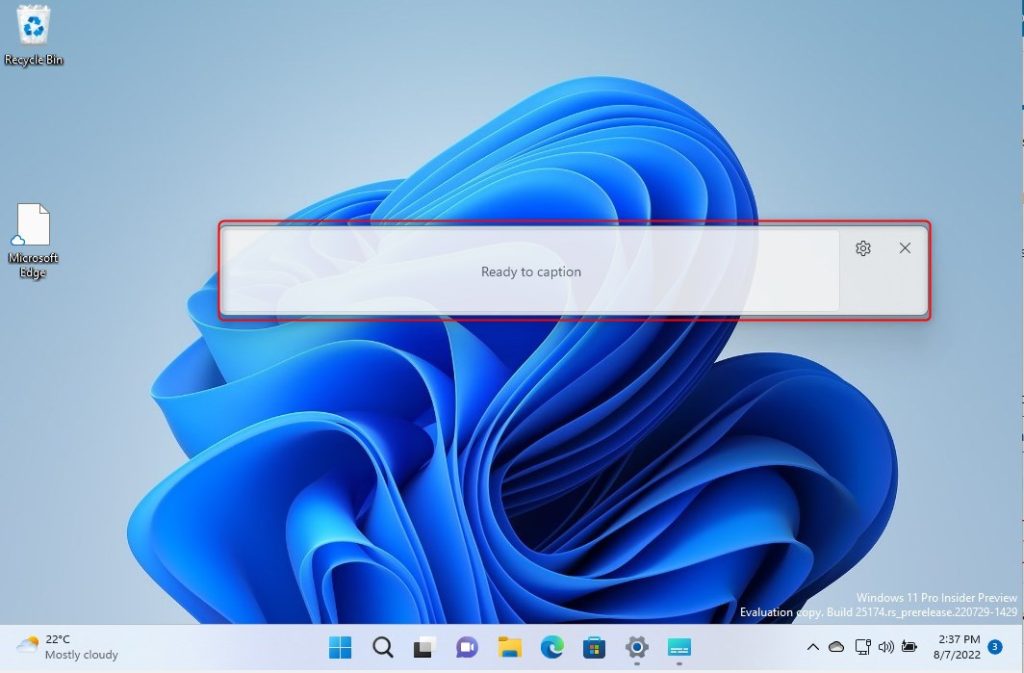
Choosing Floating lets you click and drag the bar to any spot on your screen. It’ll look like this:
Customizing Caption Style and Appearance
Beyond position, you can also change how the text itself looks. Go to Settings > Accessibility > Captions. Here, you can tweak the Caption style, including font size, color, and how transparent the background is. Making the background more opaque can help the text stand out against busy images.
Troubleshooting Live Captions
If Live Captions suddenly stops working on your Windows 11 PC, the first step is to check your microphone settings in Privacy & security to make sure it’s enabled.
Summary
Live Captions really boost Windows 11’s accessibility by offering accurate audio-to-text conversion. By changing the position, font size, and background opacity, you can set up Live Captions exactly how you like it for your workflow. For more details, check out the official Microsoft accessibility resources.
How does live captions process and use my data?
Live captions in Windows 11 processes audio locally on your device. Your voice and audio data are not sent to the cloud or Microsoft servers. This ensures your privacy and security while providing accurate, real-time automatic transcription for all your media and microphone inputs.
Why doesn’t live captions remember my microphone setting preference?
If your live captions microphone settings aren’t saving in Windows 11, you likely need to review your Windows privacy permissions to ensure apps have access.
How to setup live captions in 🪟 Windows 11?
Turn on Live captions in the quick settings (to open quick settings, select the battery, network, or volume icon on the taskbar). Turn on the Live captions toggle in the quick settings Accessibility flyout. Press Windows logo. key + Ctrl+L.
Why does Live Caption keep turning on 🪟 Windows 11?
Windows 11 Pro 25H2 here and Live Captioning continues to turn on when system sound events are processed. This happens EVEN when muting system sounds. Opening up any application that requires an Admin Approval (elevated prompt), or even opening up PowerShell as Admin will suddenly enable Live Captioning.
Was this guide helpful?

About the Author
Richard
Tech Writer, IT Professional
Richard, a writer for Geek Rewind, is a tech enthusiast who loves breaking down complex IT topics into simple, easy-to-understand ideas. With years of hands-on experience in system administration and enterprise IT operations, he’s developed a knack for offering practical tips and solutions. Richard aims to make technology more accessible and actionable. He's deeply committed to the Geek Rewind community, always ready to answer questions and engage in discussions.
[…] Live Captions, you can enable or disable it, move the Live Captions bar, enable Live Captions in different languages, switch languages, and […]
[…] can also customize Live Captions, including changing the on-screen positions and adding other languages to view […]
[…] can customize the caption size and style for Live Caption. Some apps and sites will also use this setting. Click the Caption preferences link in Chrome to […]