

This article explains how to add or remove Search Index locations in Windows 11.
By default, Windows will use the index locations to help you search and return results faster.
Windows has predefined locations that it’s configured to search for content. However, users can add additional locations or paths to have Windows search from to provide relevant content. Besides adding additional locations, users can filter by file types, properties, and content they want to include in the Windows Search index.
The index uses the Windows Search service in the background to index new content. The service will automatically rebuild and update for changes when new locations are added or removed.
The Windows Search service will run at a reduced speed when users actively use the computer. Once the computer is idle, the indexing speed will return to full so that new content is included quickly and helps the user with the best results.
By design, the Windows Search service will not index content from any drive or partition with the A and B drive letters, even when included in the index location, because A and B drive letters are reserved for floppy drives.
How to add folder locations to the Windows Search index
As mentioned above, one can add or remove folders to the Windows Search index to include additional content to search for. If you have an external (removable) drive and want to search for content, then you can include it as an index path so Windows can index it.
User searches will return results from the external drive, which is included in the index path.
Below is how to add new locations to the Windows Index.
Windows 11 has a centralized location for the majority of its settings. Everything can be done, from system configurations to creating new users and updating Windows from its System Settings pane.
To get to System Settings, you can use the Windows key + I shortcut or click on Start ==> Settings, as shown in the image below:

Alternatively, you can use the search box on the taskbar and search for Settings. Then select to open it.
In Windows Settings, click Privacy & security, and select Searching Windows tile on the right pane, as shown in the image below.

Select the Advanced indexing option on the Searching Windows settings pane under Related settings.

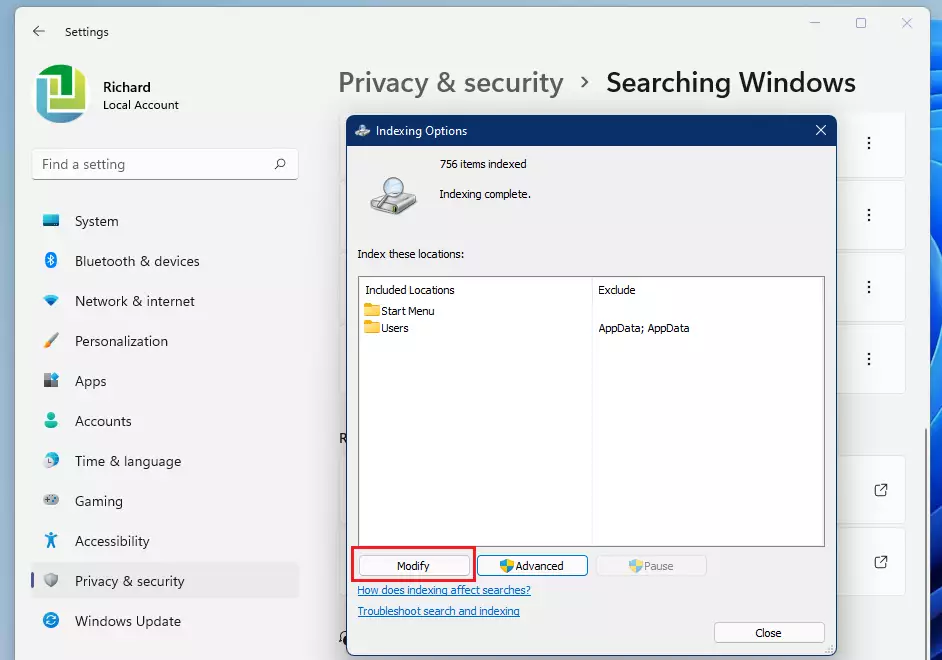
On the Indexing Options window, select Modify, as highlighted below.
Then check (add) the locations you want to be indexed, and click on OK when finished.
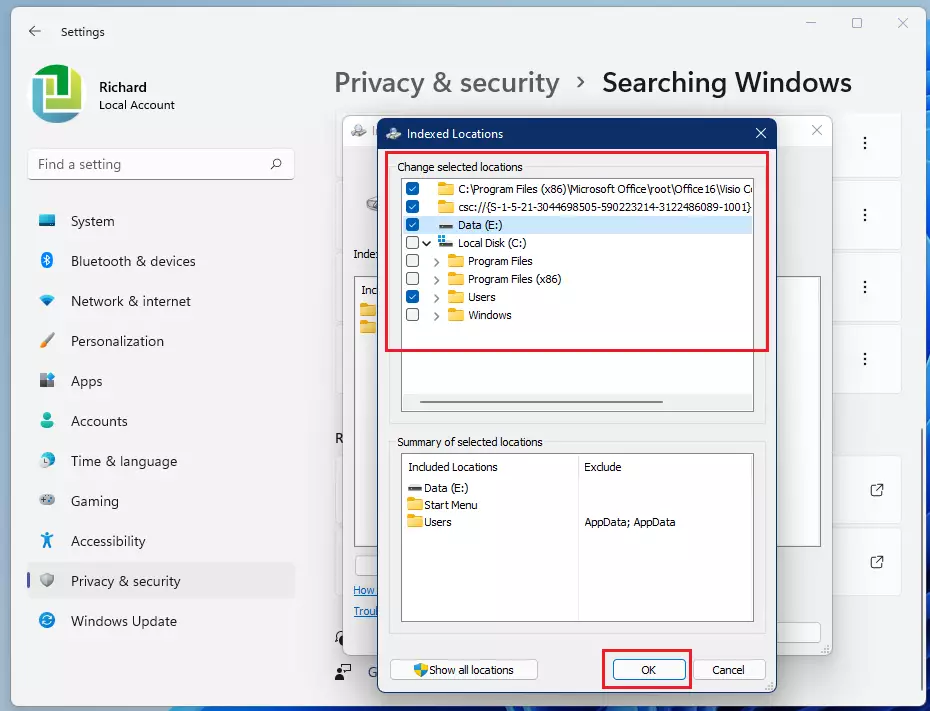
If you are signed in as an administrator, you could also click the Show all locations button to see all available locations.
How to remove Windows Search index locations in Windows 11
If you included a location that isn’t useful, you can reverse the steps above to remove a location from the Windows Search index.
Go to the Start Menu ==> Settings ==> Privacy & security ==> Searching windows ==> Advanced indexing options ==> Modify.
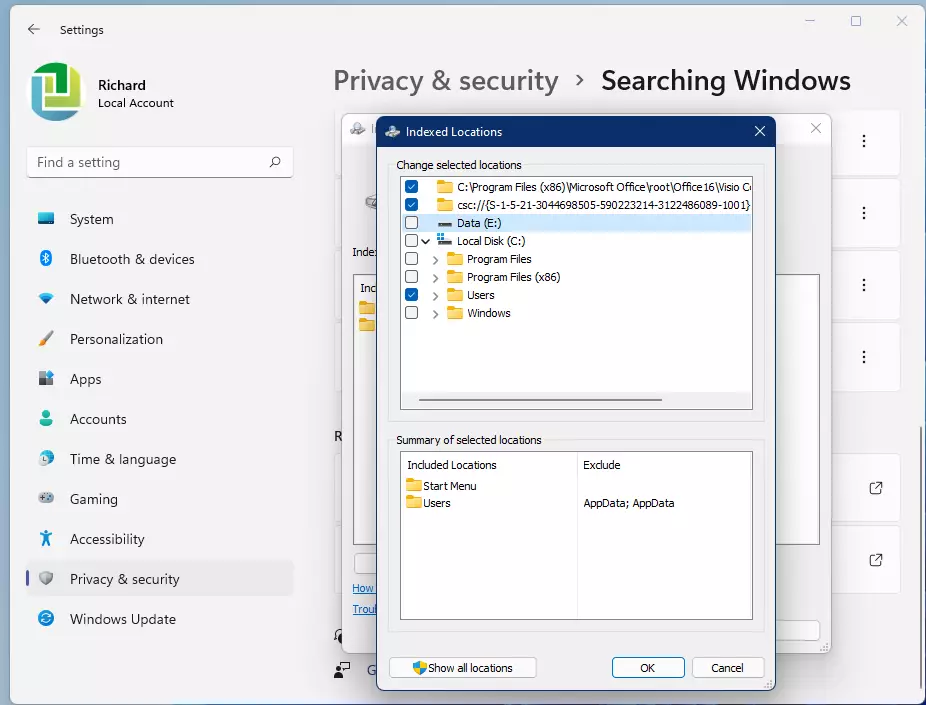
Then, uncheck to remove a location from the Windows Search index and click OK when done.
That should do it!
Conclusion:
- Customizing the Search Index in Windows 11 enhances your search experience by tailoring it to your needs.
- Adding or removing folder locations allows users to include or exclude specific files and drives from search results.
- Regularly updating the Search Index ensures that new content is indexed promptly, improving search efficiency.
- Both the addition and removal of indexed locations can be done easily through the System Settings, ensuring a user-friendly experience.
- For optimal performance, remember that Windows Search service operates best when the computer is idle, allowing for faster indexing.


Leave a Reply