
This article provides enable or disable Windows Hypervisor Platform in Windows 11.
The Windows Hypervisor Platform (WHP) allows applications like VirtualBox or QEMU to take advantage of the virtualization capabilities within the Windows operating system. It enables developers to create virtualization-based applications, such as virtual machines and emulators, by providing direct access to the hypervisor layer.
WHP supports features like hardware-assisted virtualization, which improves performance and allows for seamless integration with other Windows functionalities.
Enable Windows Hypervisor Platform using the Settings app
There are multiple ways to enable the Windows Hypervisor Platform feature Windows 11.
Here’s how to do it.
First, open the Windows Settings app.
You can do that by clicking on the Start menu and selecting Settings. Or press the keyboard shortcut (Windows key + I) to launch the Settings app.
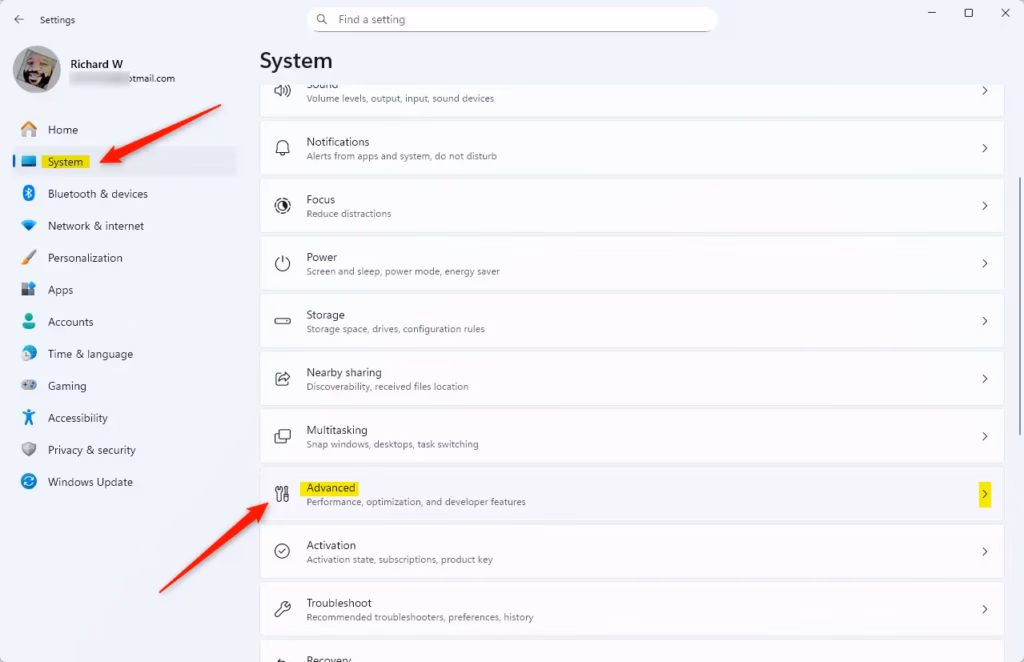
When the Settings app opens, click the System button on the left. Then, select the Advanced tile on the right to expand it.
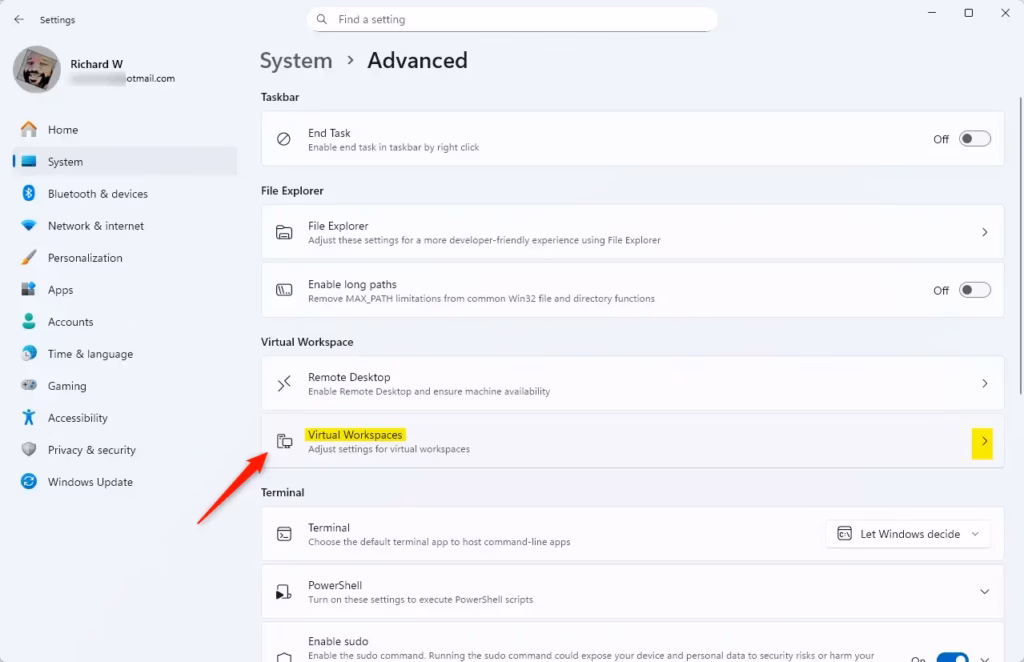
On the System > Advanced settings page, click on Virtual Workspaces tile to expand it.
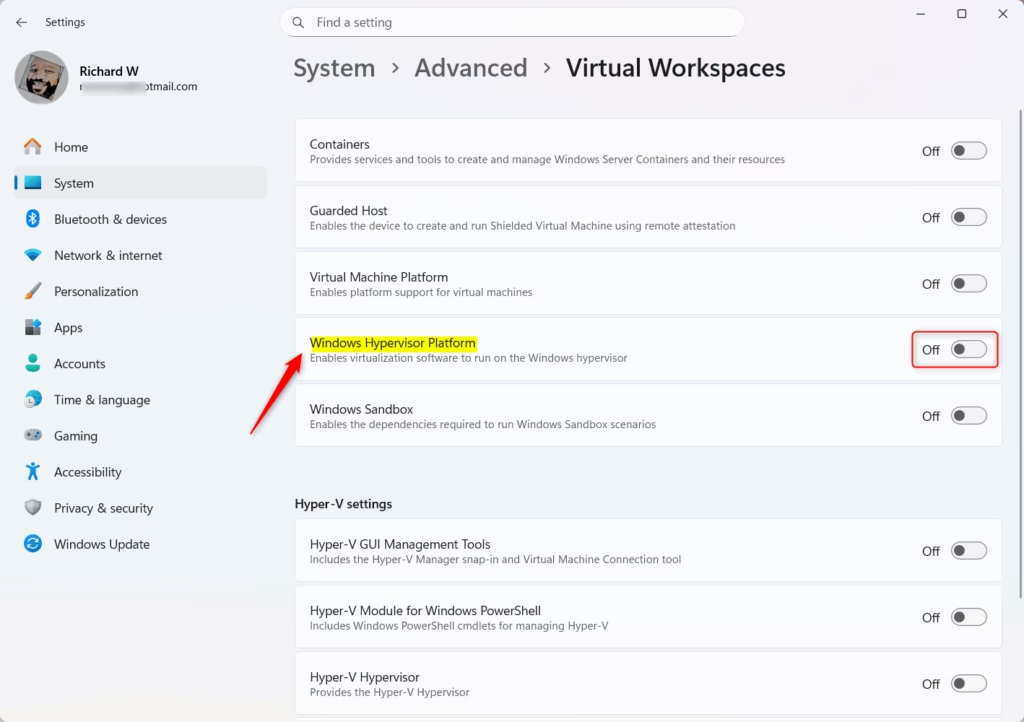
Then, toggle the “Windows Hypervisor Platform” button to enable or disable it.
Close the Settings app when finished.
Enable Hypervisor Platform using the Control Panel
Another way to enable the Windows Hypervisor Platform is to use the Control Panel app.
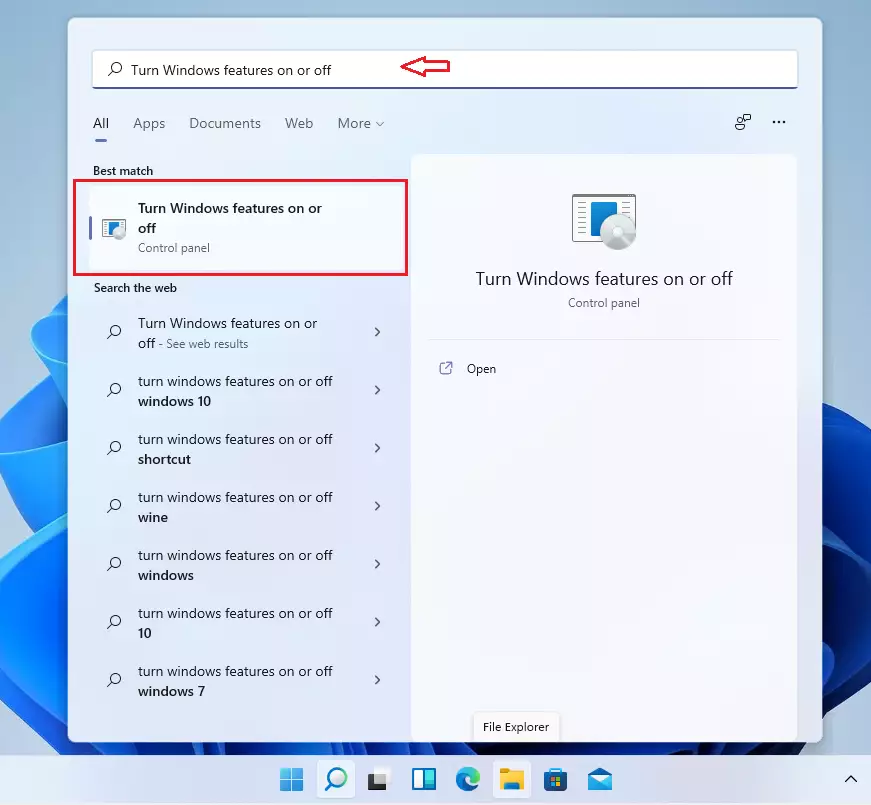
Start by clicking on Start, then type “Turn Windows features on or off” in the search bar. Select the result that appears to open the Windows Control Panel features pane.
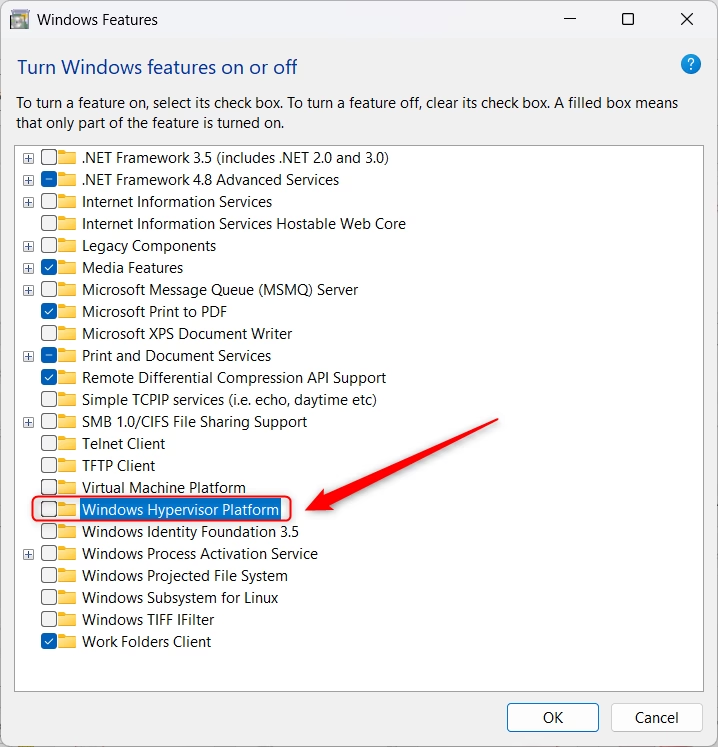
When the Windows Features pane appears, scroll down and check the box next to “Windows Hypervisor Platform” to turn it on.
To disable it, uncheck the box.
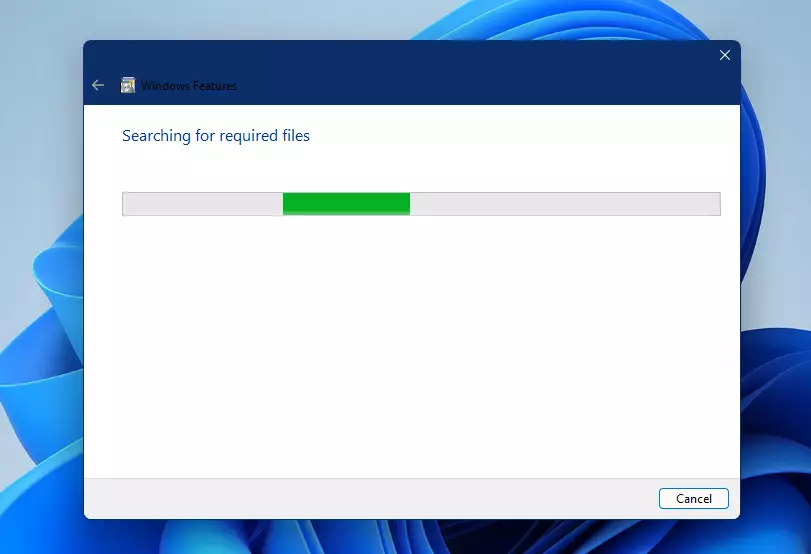
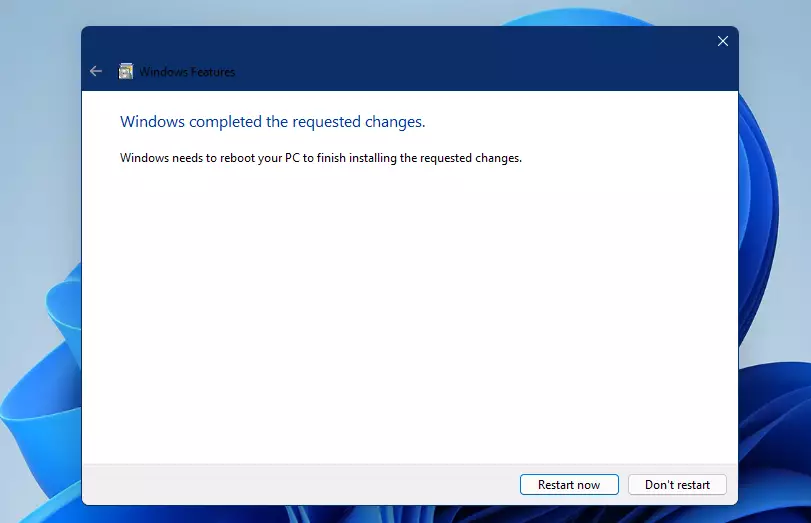
When will the changes be applied, and when will you be prompted to reboot to complete the process?
Once you reboot, the Hyper-V feature will be activated, letting you create virtual machines and run different operating systems.
Enable Hypervisor Platform from the Command Prompt
Yet, another way to install Hyper-V is from the Windows Command Prompt.
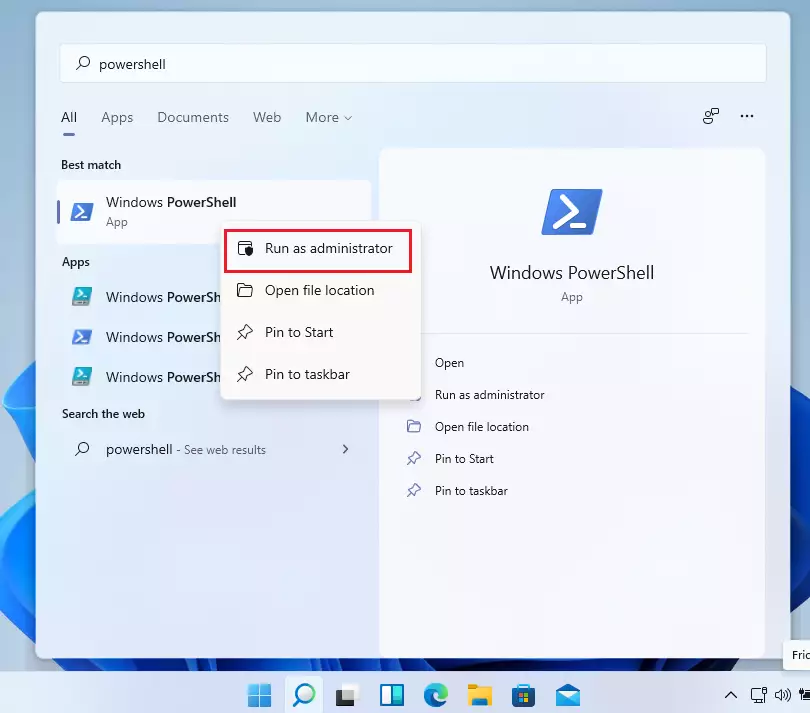
To run Windows Command Prompt as an administrator, click Start, search for Command Prompt, right-click on it, and select “Run as administrator.”

When the Command Prompt opens, simply copy and paste the following line and hit Enter to enable the Hypervisor Platform.
DISM /Online /Enable-Feature /FeatureName:"HypervisorPlatform"
To disable it, run the command below and press Enter.
DISM /Online /Disable-Feature /FeatureName:"HypervisorPlatform"
Restart, and Windows Hyper-V should be installed and enabled.
Enable Hypervisor Platform using Windows PowerShell
Users who prefer PowerShell can use it to enable or disable the Hypervisor Platform.
To run Windows PowerShell as an administrator, open the Start menu and search for PowerShell, as illustrated in the image below.
When Windows PowerShell opens, type the command below to enable Hyper-V.
Enable-WindowsOptionalFeature -Online -FeatureName "HypervisorPlatform"
To disable the feature, run the command below.
Disable-WindowsOptionalFeature -Online -FeatureName "HypervisorPlatform"
How to Create Virtual Machines on Windows 11 Hyper-V
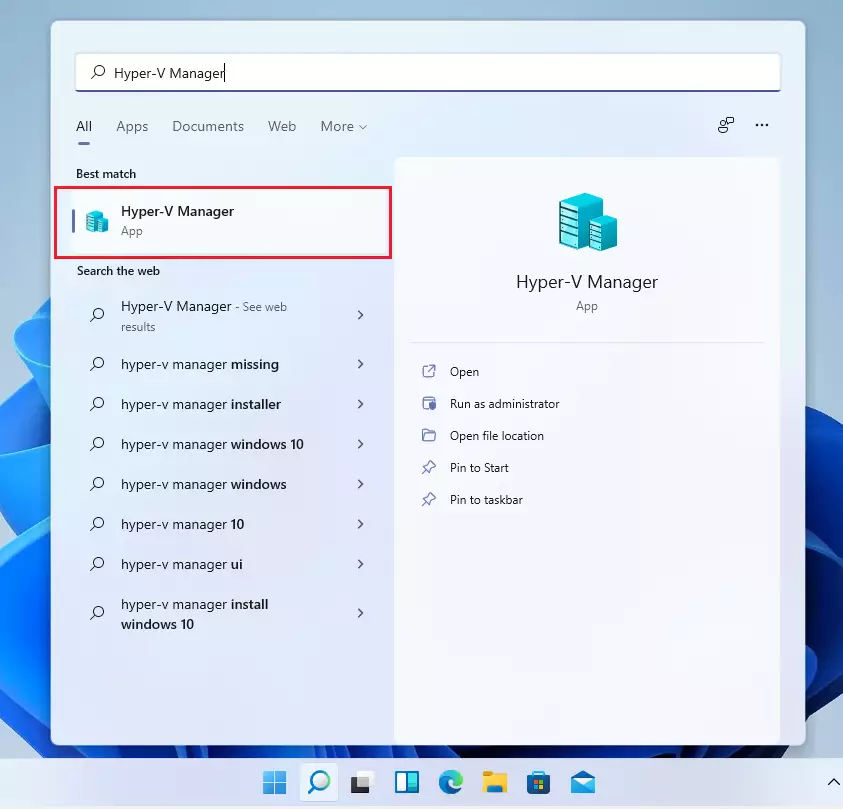
Now that Hyper-V is installed and enabled, click Start and search for Hyper-V Manager, as shown in the image below.
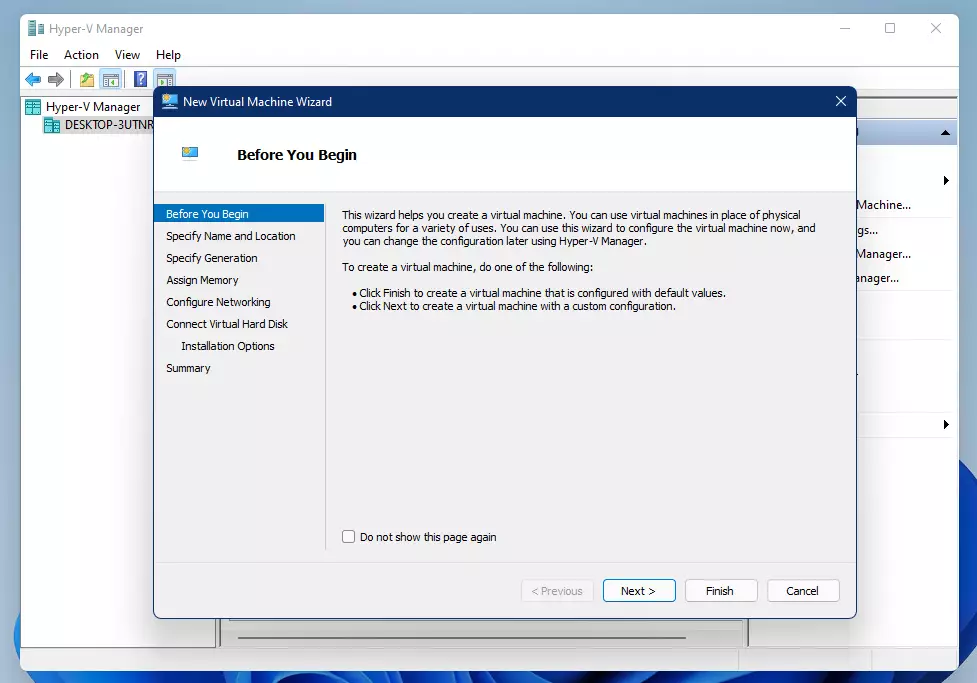
Once the app opens, go to Action ==> New ==> Virtual Machine.
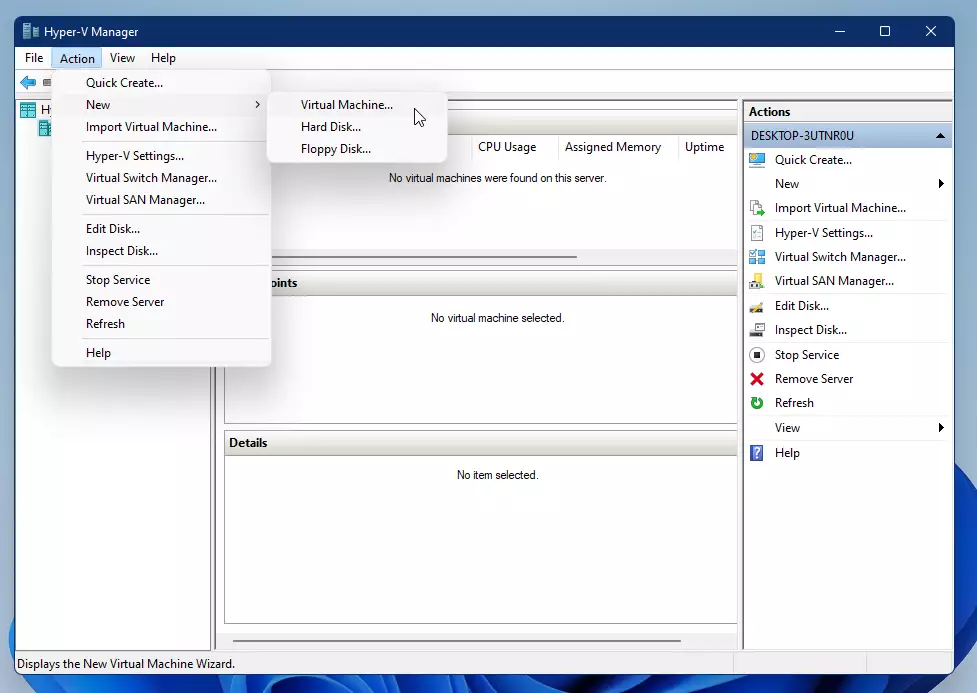
Follow the wizard and complete the creation of a new virtual machine.
That should do it!
Conclusion:
- The Windows Hypervisor Platform (WHP) enhances virtualization capabilities in Windows 11.
- Users can enable or disable WHP using multiple methods: Settings app, Control Panel, Command Prompt, and PowerShell.
- After enabling WHP, it allows the creation of virtual machines and the use of virtualization-based applications.
- Hyper-V Manager provides an intuitive interface for managing virtual machines.
- Engaging with these features can significantly improve productivity for developers and IT professionals who rely on virtualization technologies.

Leave a Reply