Automatically Clear Trash in Ubuntu Linux: Step-by-Step Guide
You can automatically clear your trash in Ubuntu Linux to free up disk space and improve system performance.
Automatic trash clearing involves configuring your system to regularly delete deleted files and temporary application data, preventing your drive from filling up with unwanted remnants.
Ubuntu offers a built-in tool, BleachBit, which allows you to schedule cleanups easily. For instance, you can set it to remove files older than 30 days with just a few clicks.
Programs generate temporary files for quick access, and these are not intended for long-term storage. Purging them regularly is key to maintaining a clean and efficient PC.
Automatically clear your trash in Ubuntu Linux by opening System Settings, navigating to Privacy, then File History & Trash. Toggle “Automatically Delete Trash Content” on and set your desired deletion period.
How to automatically delete temporary files in Ubuntu Linux
As we mentioned, when you want to free up space in Ubuntu Linux, you can empty your trash and remove unwanted temporary files.
You can do that manually or set up Ubuntu Linux automatically. Here’s how you can configure Ubuntu Linux to automatically empty your trash and remove unneeded files.
Ubuntu Linux keeps most of its settings in one place. You can manage system configurations, create new users, and update software all from the System Settings panel.
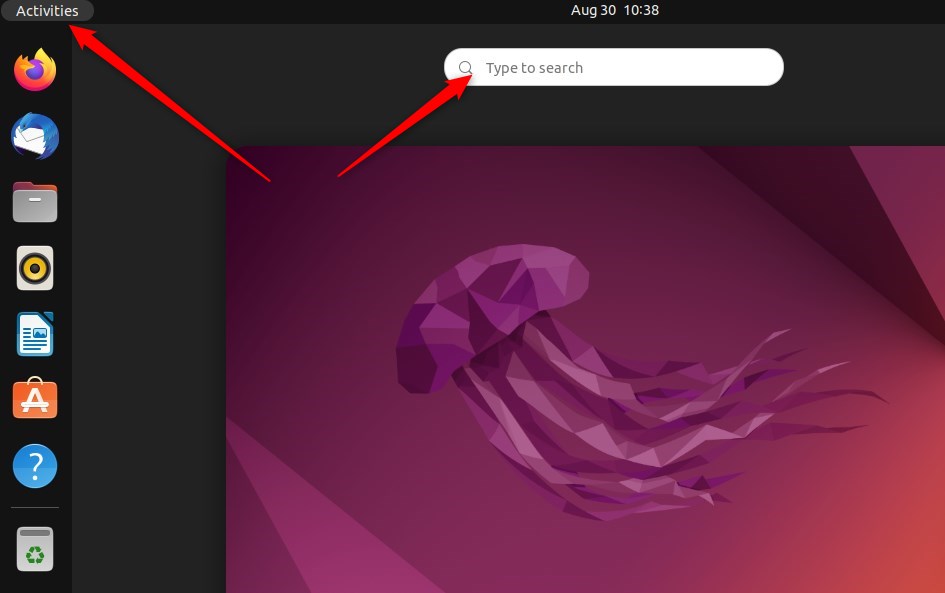
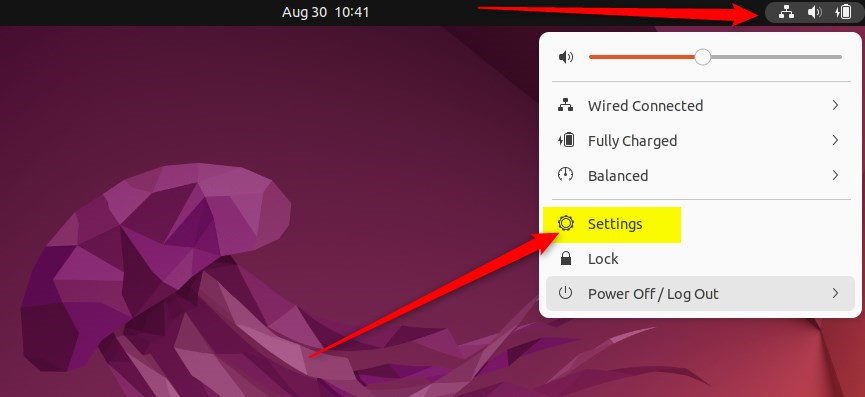
Alternatively, click the System menu in the top-right corner of your desktop’s top bar.
On the System menu, select Settings, just like you see highlighted below.
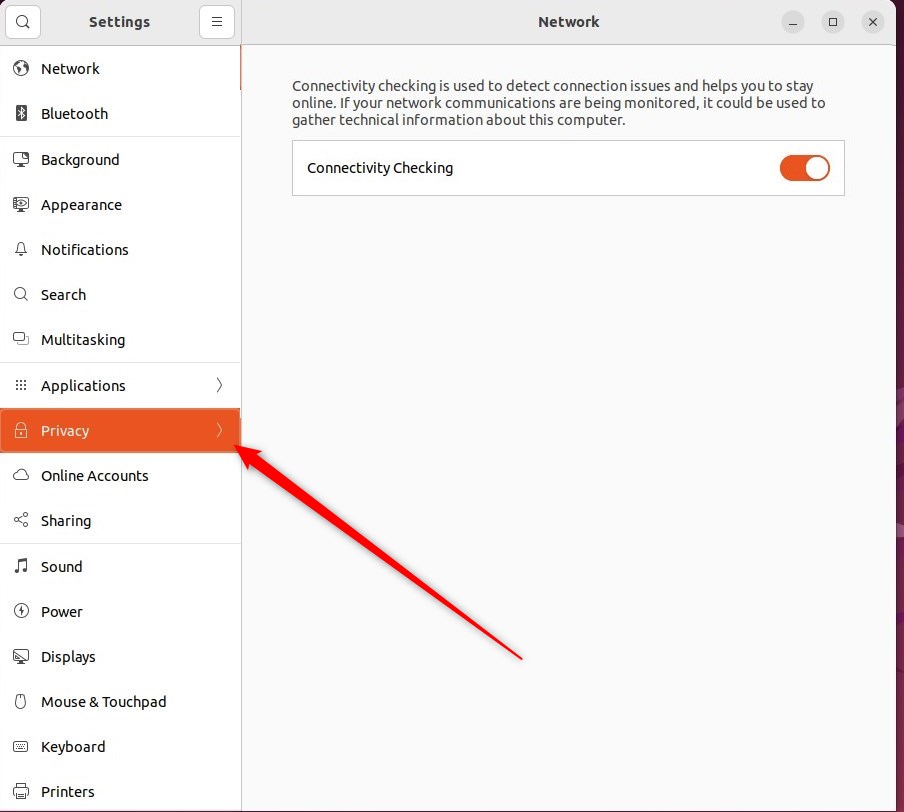
Click the Privacy tile to open the panel in the Settings app.
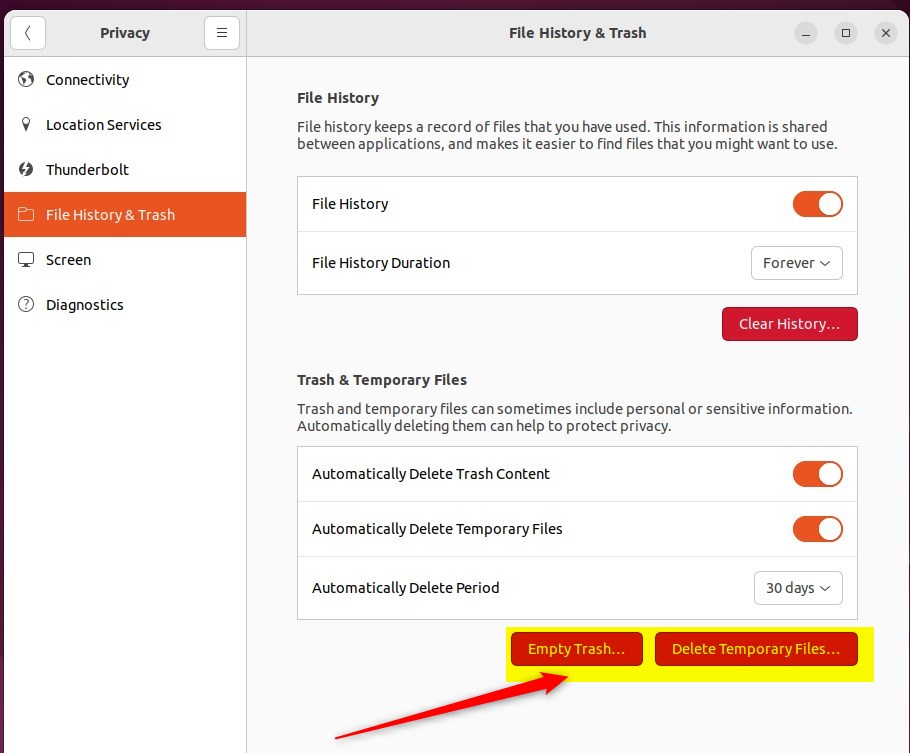
In the System Settings → Privacy settings panel, open the panel under File History & Trash.
Then switch On or Off one or both of Automatically Delete Trash Content or Automatically Delete Temporary Files.
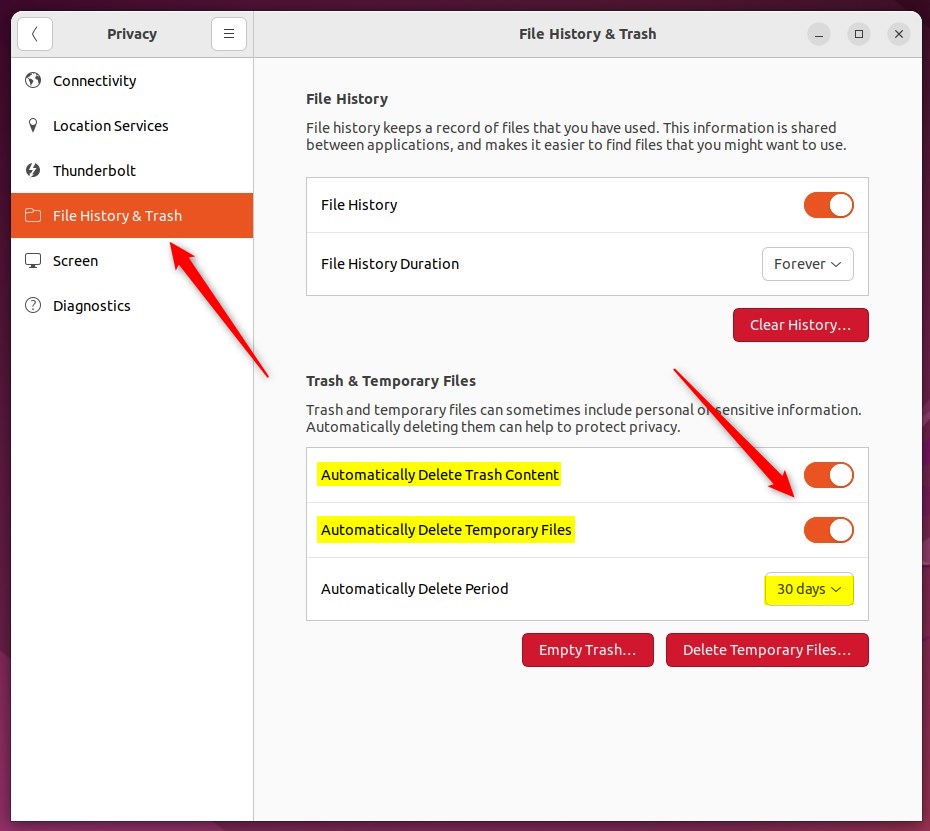
Set how often you would like your Trash and Temporary Files to be purged by changing the Automatically Delete Period value.
The value can be anything from an hour to up to 30 days.
You can immediately empty the trash and delete temporary files from the screen panel window.
That should do it! You can now close the Settings app.
Conclusion:
- Clearing out trash and temporary files is essential for optimizing the performance and freeing up space on your Ubuntu Linux computer.
- Ubuntu Linux allows users to automatically delete trash content and temporary files through the System Settings panel.
- The System Settings panel allows to toggle the automatic deletion of trash content and temporary files and specify the deletion frequency.
- Users can also manually empty the trash and delete temporary files from the screen panel window for immediate cleanup.
Was this guide helpful?

About the Author
Richard
Tech Writer, IT Professional
Richard, a writer for Geek Rewind, is a tech enthusiast who loves breaking down complex IT topics into simple, easy-to-understand ideas. With years of hands-on experience in system administration and enterprise IT operations, he’s developed a knack for offering practical tips and solutions. Richard aims to make technology more accessible and actionable. He's deeply committed to the Geek Rewind community, always ready to answer questions and engage in discussions.
No comments yet — be the first to share your thoughts!