Install GlassFish Server on Ubuntu: Quick Guide

This guide shows you how to install the GlassFish server on Ubuntu in 2026. GlassFish is a popular tool for running Java-based web applications. Why use it? It provides a simple way to manage and deploy your code on a server. What happens when done? You will have a fully functional application server ready to host your Java projects.
Install OpenJDK
GlassFish needs Java to run. For the best security and performance in 2026, we use OpenJDK 21. Open the terminal and run these commands:
sudo apt update
sudo apt install openjdk-21-jdk
Check the installation by typing: java –version
Download and extract GlassFish
Now, download the latest stable version of GlassFish. We will extract it to the /opt directory.
wget https://download.eclipse.org/ee4j/glassfish/glassfish-8.0.0.zip
sudo unzip glassfish-8.0.0.zip -d /opt/
Systemd configuration
For security, you should not run GlassFish as the root user. We will create a dedicated system user and group to run the service with limited permissions.
sudo groupadd glassfish
sudo useradd -s /bin/false -g glassfish -d /opt/glassfish8 glassfish
sudo chown -R glassfish:glassfish /opt/glassfish8
Next, create a service file to manage GlassFish automatically:
sudo nano /usr/lib/systemd/system/glassfish.service
Paste these lines into the file:
[Unit]
Description=GlassFish Server v8.0.0
After=syslog.target network.target
[Service]
User=glassfish
Group=glassfish
ExecStart=/usr/bin/java -jar /opt/glassfish8/glassfish/lib/client/appserver-cli.jar start-domain
ExecStop=/usr/bin/java -jar /opt/glassfish8/glassfish/lib/client/appserver-cli.jar stop-domain
Type=forking
[Install]
WantedBy=multi-user.target
Save and close the file. Reload the system settings and start the service:
sudo systemctl daemon-reload
sudo systemctl start glassfish
sudo systemctl enable glassfish
Administrative user password
By default, the admin account has no password. You must set one for security. Run this command:
sudo /opt/glassfish8/bin/asadmin change-admin-password
Follow the prompts to set your new password. After that, enable the secure admin listener so you can manage the server safely over the network:
sudo /opt/glassfish8/bin/asadmin enable-secure-admin
Restart the service to apply these changes:
sudo systemctl restart glassfish
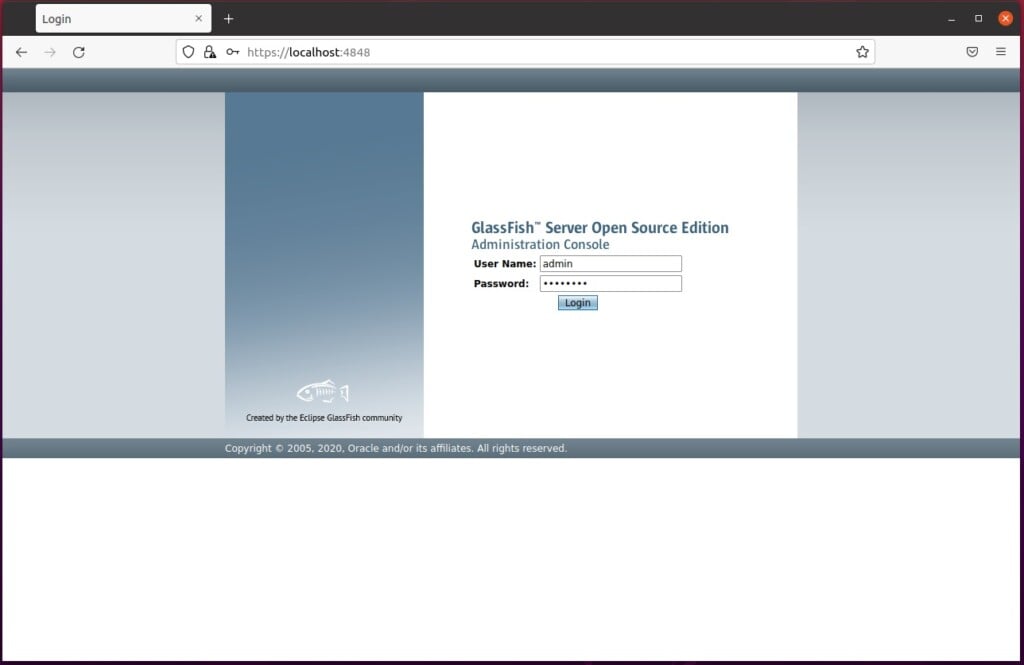
Access the console
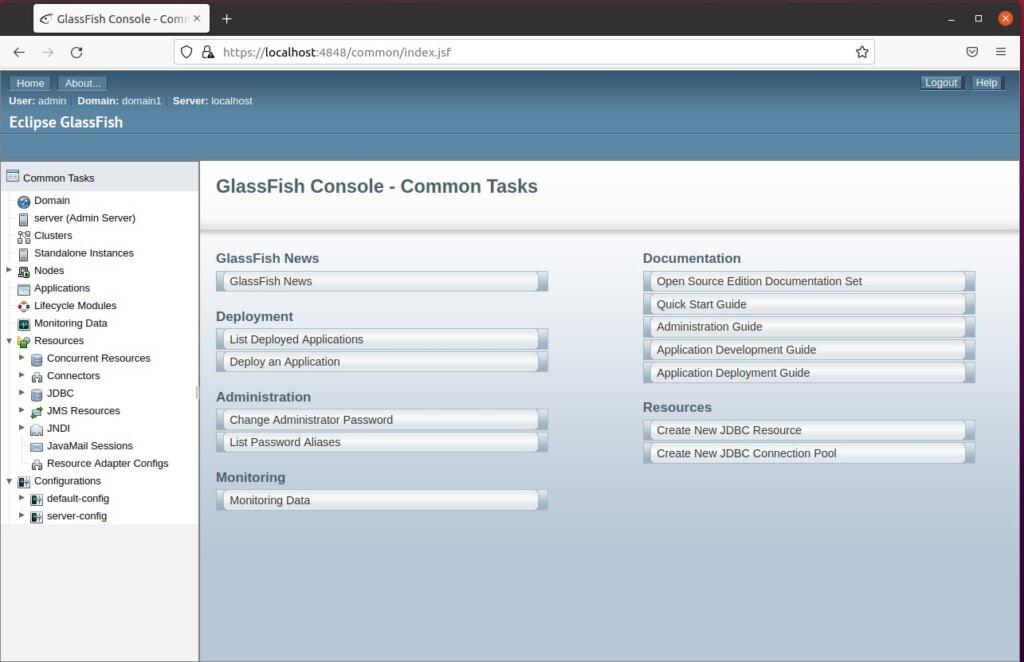
Open your web browser and go to https://localhost:4848. You will see the GlassFish admin console. Log in with your new credentials.
Once you are logged in, you will see the main dashboard.
You can learn more about Java environments at OpenJDK on Ubuntu Linux. If you want to put a professional web server in front of GlassFish, check out these guides for Nginx or Apache: How to set up a reverse proxy server with Nginx How to set up a reverse proxy server with Apache.
[Unit] [Service] [Install] [1] [5111] [5111] [default: admin]
Was this guide helpful?


Leave a Reply