How to Perform Point-in-time Restore of Windows 11
What is Point-in-time Restore?
Point-in-time restore is a modern recovery tool for Windows 11. It lets you roll back your computer to a previous state if something goes wrong. It uses the Volume Shadow Copy Service (VSS) to take snapshots of your system. This helps you fix issues like bad updates or broken settings quickly.
Why use Point-in-time Restore?
You use this feature when your computer stops working correctly after a recent change. It is faster than reinstalling Windows. It helps you get back to work by undoing recent system changes.
What happens when you use it?
When you run a restore, your computer replaces current system files and settings with the ones from the chosen snapshot. Any apps or files created after that snapshot will be removed. Your computer will restart to apply these changes.
Comparison: System Restore vs. Point-in-time Restore
| Feature | System Restore | Point-in-time Restore |
|---|---|---|
| Scope | System files/registry | Full system state |
| Speed | Moderate | Fast |
| Retention | Variable | Fixed 72 hours |
Prerequisites and Configuration
This feature requires Windows 11 build 26220.7271 or higher. It is designed for quick recovery. Administrators can manage settings using the command line. You must ensure your disk has enough space for snapshots.
Managing Snapshots with VSSAdmin
You can manage your recovery snapshots using the command prompt. Note: This requires admin privileges.
1. Open the Start menu, type cmd, right-click it, and select Run as administrator.
2. To list current snapshots, type the following command and press Enter:
vssadmin list shadows
3. To check storage usage, use this command:
vssadmin list shadowstorage
Storage Implications and Risks
Enabling this feature uses disk space. If your drive is full, the system may delete old snapshots to save room. Always keep your PC plugged into power during a restore to prevent data corruption.
Step-by-Step Guide
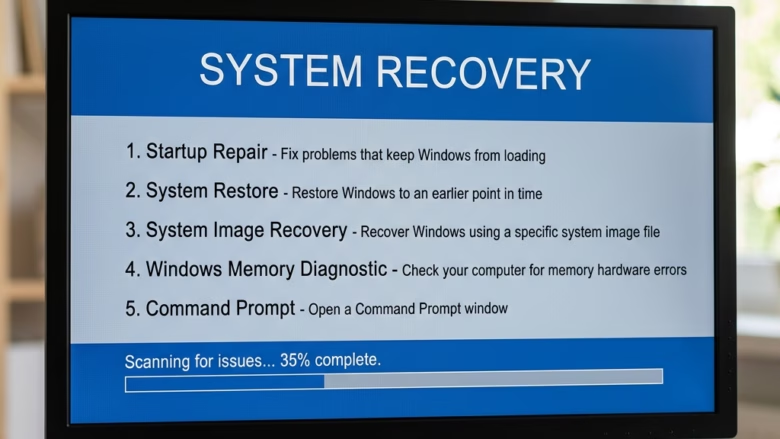
1. Boot to Advanced Startup (WinRE).
2. Click Troubleshoot.

3. Click Point-in-time restore.

5. Select an available restore point. Click Continue to accept the risks.

7. Click Restore to begin.

8. Wait for the process to finish. Your PC will restart automatically.
Summary
Point-in-time restore is a powerful tool for Windows 11 users to fix system issues quickly. By using VSS snapshots, it allows you to revert your computer to a stable state from the last 72 hours. Remember that this process removes changes made after the snapshot, so always back up important files. For more technical details, visit the official Microsoft documentation.
References:
Point-in-time restore for Windows
Scalable Windows Resiliency with new recovery tools – Windows IT Pro Blog
Enable or Disable Hidden Feature Flags in Windows 11
How does Point-in-time restore differ from Windows System Restore?
Point-in-time restore is a more modern, comprehensive recovery tool. While legacy System Restore focuses mainly on registry and system files, Point-in-time restore captures a broader system state. It is designed for faster, more reliable recovery from recent system-wide issues within a strict 72-hour window.
What are the storage implications of enabling Point-in-time restore?
Enabling this feature reserves a portion of your disk space for snapshots. If your drive runs low on space, the system will automatically delete the oldest snapshots to maintain stability. You can set a maximum usage limit to ensure the recovery files do not consume your entire storage drive.
Can I use Point-in-time restore if my device fails to boot?
Yes. You can access this feature through the Windows Recovery Environment (WinRE). If your computer fails to boot, it should automatically enter the recovery menu. From there, navigate to Troubleshoot to find the Point-in-time restore option and revert your system to a working state.
Was this guide helpful?


Leave a Reply