How to Change Mouse Wheel Scroll Speed in Windows 11
This tutorial will show you how to change how fast your mouse wheel scrolls in Windows 11. You can make it scroll a few lines at a time or jump to a whole new screen with each wheel turn.
Multiple lines at a time lets you pick how many lines move when you turn the wheel once.
One screen at a time makes the whole screen jump when you turn the wheel once.
Reference:
Option One
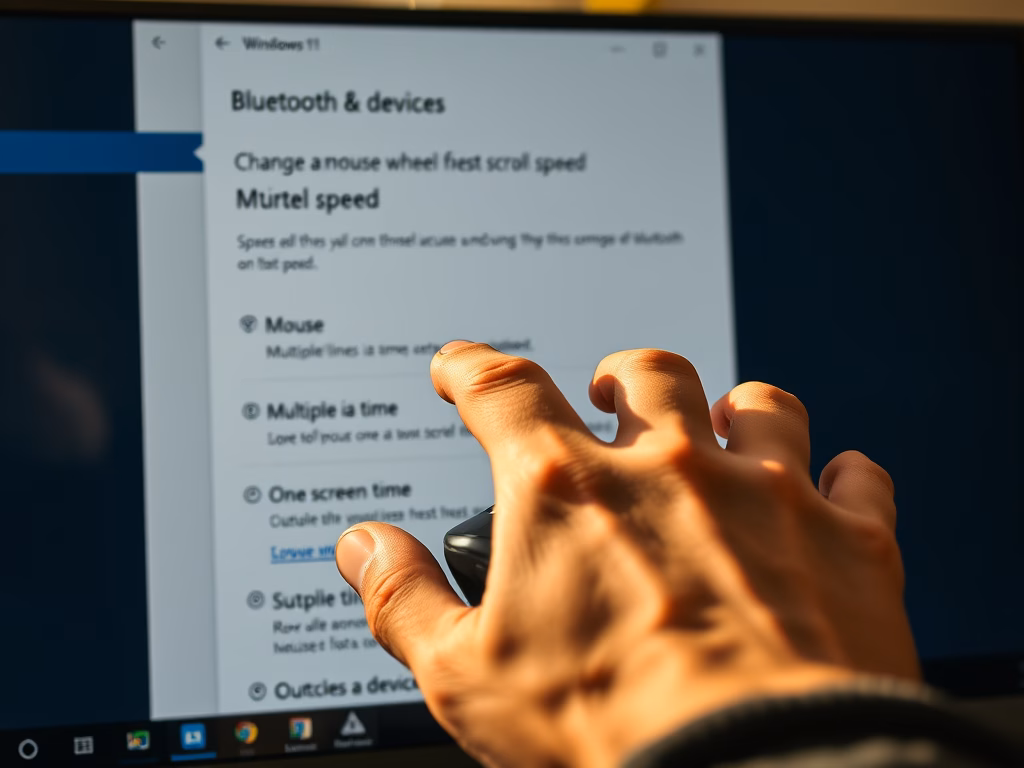
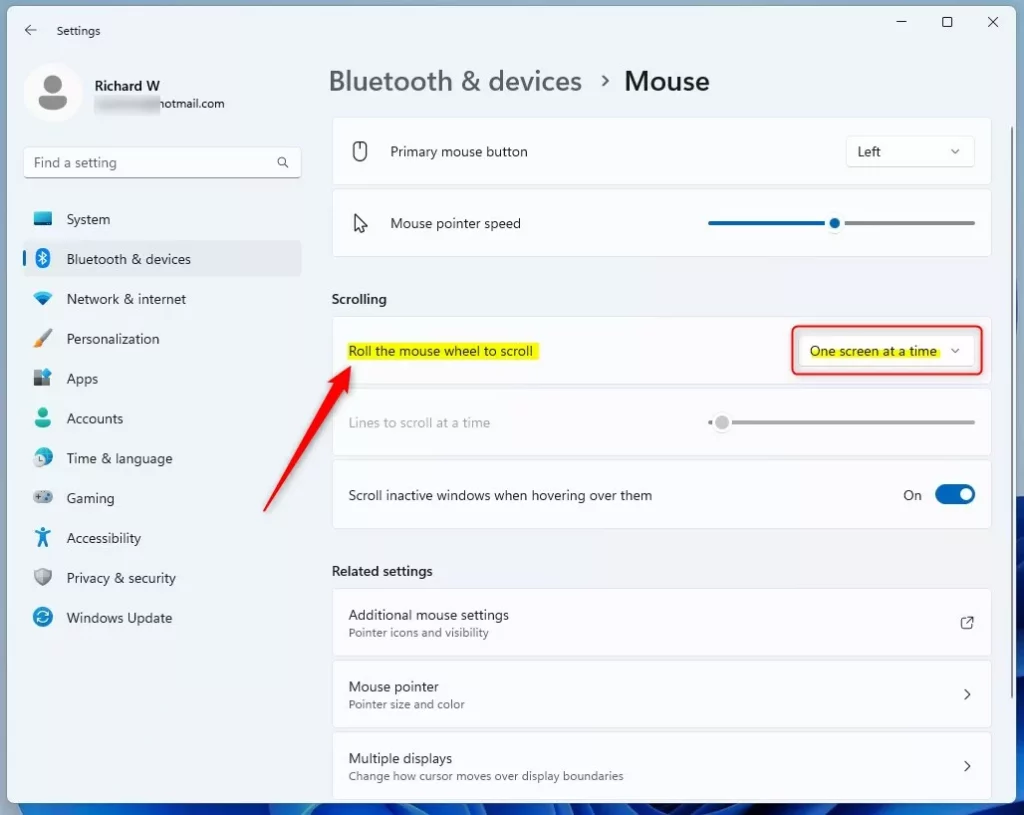
Change Mouse Wheel Scroll Speed in Settings
- Open Settings by pressing
Win+I. - Click Bluetooth & devices on the left side.
- Click Mouse on the right side.
Scroll “Multiple lines at a time”
This is the default setting.
- Select Multiple lines at a time from the “Roll the mouse wheel to scroll” dropdown menu.
- Move the Lines to scroll at a time slider to what you want.
You can pick between 1 and 100 lines. The default is 3 lines.
- You can close Settings now if you like.
Scroll “One screen at a time”
- Select One screen at a time from the “Roll the mouse wheel to scroll” dropdown menu.
- You can close Settings now if you like.

Option Two
Change Mouse Wheel Scroll Speed in Control Panel
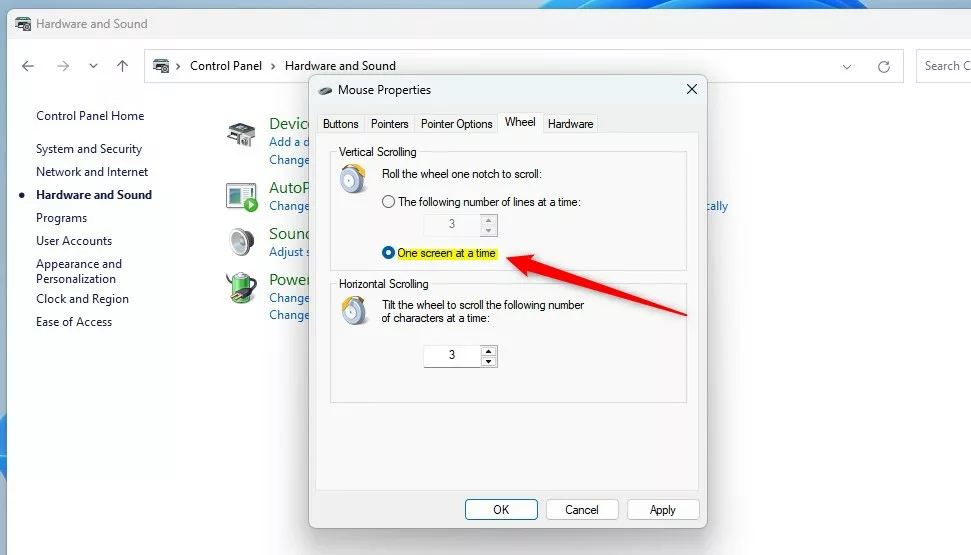
- Open Control Panel and click the Mouse icon.
Scroll “Multiple lines at a time”
This is the default setting.
- Click the Wheel tab.
- Select the dot next to The following number of lines at a time under Vertical Scrolling.
- Type or pick a number between 1 and 100 for how many lines you want to scroll. The default is 3 lines.
- You can close Control Panel now if you like.
Scroll “One screen at a time”
- Click the Wheel tab.
- Select the dot next to One screen at a time under Vertical Scrolling.
- You can close Control Panel now if you like.

Option Three
Change Mouse Wheel Scroll Speed in Registry Editor
- ⚠️ Admin privileges required. Open Registry Editor by typing
regedit.exein the search box. - In the left pane, navigate to:
HKEY_CURRENT_USER\Control Panel\Desktop - In the right pane, find WheelScrollLines and double-click it to edit.
Scroll “Multiple lines at a time”
This is the default setting.
- Type a number between 1 and 100 for how many lines you want to scroll. The default is 3 lines.
- Click OK.
- Close Registry Editor.
Scroll “One screen at a time”
- Type
-1as the value. - Click OK.
- Close Registry Editor.
That’s it!
Summary
You now know three ways to change your mouse wheel scroll speed in Windows 11. The easiest way is through Settings. If you prefer more control or need to make changes on a work computer, you can use Control Panel or Registry Editor. Pick between scrolling a few lines at a time or jumping one full screen with each wheel turn.
Was this guide helpful?

About the Author
Richard
Tech Writer, IT Professional
Richard, a writer for Geek Rewind, is a tech enthusiast who loves breaking down complex IT topics into simple, easy-to-understand ideas. With years of hands-on experience in system administration and enterprise IT operations, he’s developed a knack for offering practical tips and solutions. Richard aims to make technology more accessible and actionable. He's deeply committed to the Geek Rewind community, always ready to answer questions and engage in discussions.


No comments yet — be the first to share your thoughts!