This guide will help you easily turn Reserved Storage on or off in Windows 11, so you can manage your computer’s disk space better.
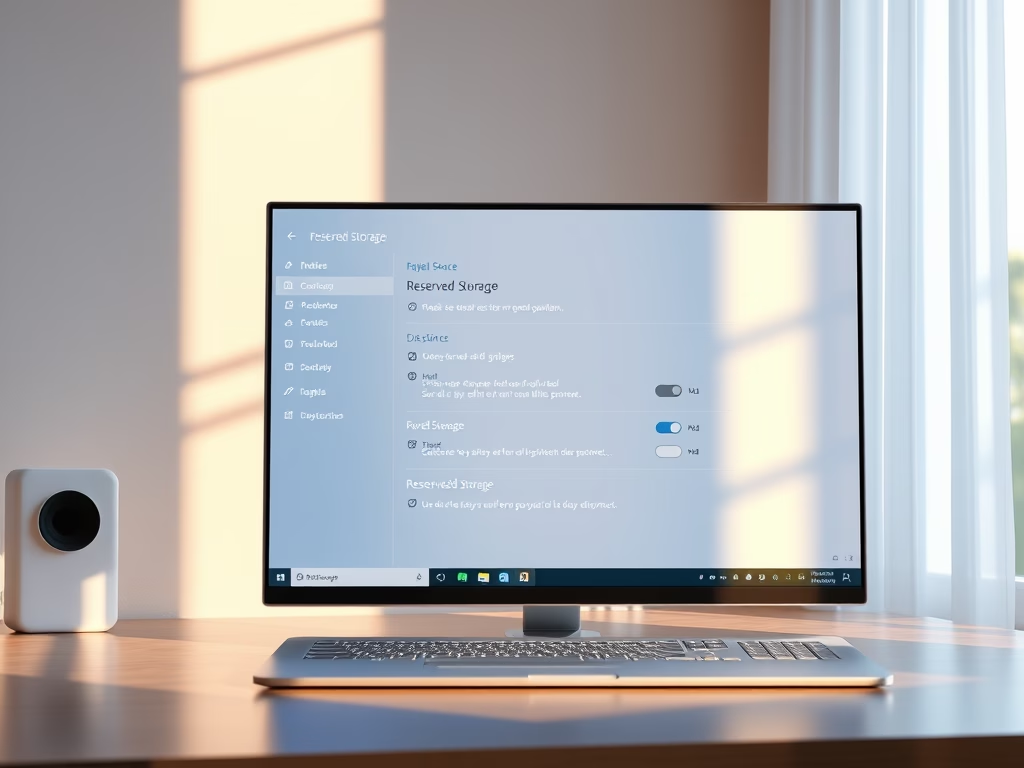
What is Reserved Storage?
Reserved Storage is a feature in Windows 11 that saves around 7 GB of disk space just for important system files, updates, and temporary files. This space helps your computer run smoothly, especially when your disk space is low.

By default, Reserved Storage is turned on to keep your system stable. But if you are running low on space, you can choose to turn it off to free up some disk space. If you have plenty of space, it’s best to keep it on.
How to Check if Reserved Storage is Enabled
Before making any changes, let’s see if Reserved Storage is currently on or off on your PC.
- Click the Start button, type Windows Terminal, right-click it, and select Run as administrator. (Learn how to open Windows Terminal as admin)
- In the terminal window, type this command and press Enter:
DISM /Online /Get-ReservedStorageState
You will see a message telling if Reserved Storage is Enabled or Disabled.
How to Turn Reserved Storage On or Off Using Command Prompt
Follow these simple steps to enable or disable Reserved Storage:
- Open Windows Terminal as administrator again.
- To enable Reserved Storage, type this command and press Enter:
DISM /Online /Set-ReservedStorageState /State:Enabled
- To disable Reserved Storage, type this command and press Enter:
DISM /Online /Set-ReservedStorageState /State:Disabled
Restart your computer after running the command for the change to take effect.
How to Turn Reserved Storage On or Off Using PowerShell
You can also use PowerShell to manage Reserved Storage:
- Open Windows Terminal as administrator.
- Check the current status with this command:
Get-WindowsReservedStorageState
- To enable Reserved Storage, type:
Set-WindowsReservedStorageState -State Enabled
- To disable Reserved Storage, type:
Set-WindowsReservedStorageState -State Disabled
Remember to restart your PC after making changes.
How to Turn Reserved Storage On or Off Using Registry Editor
If you prefer, you can change Reserved Storage settings through the Windows Registry. Be careful when editing the registry!
- Open Windows Terminal as administrator.
- To enable Reserved Storage, copy and paste these three commands one by one, pressing Enter after each:
REG ADD HKLMSOFTWAREMicrosoftWindowsCurrentVersionReserveManager /v MiscPolicyInfo /t REG_DWORD /d 1 /f
REG ADD HKLMSOFTWAREMicrosoftWindowsCurrentVersionReserveManager /v PassedPolicy /t REG_DWORD /d 1 /f
REG ADD HKLMSOFTWAREMicrosoftWindowsCurrentVersionReserveManager /v ShippedWithReserves /t REG_DWORD /d 1 /f
- To disable Reserved Storage, run these commands similarly:
REG ADD HKLMSOFTWAREMicrosoftWindowsCurrentVersionReserveManager /v MiscPolicyInfo /t REG_DWORD /d 2 /f
REG ADD HKLMSOFTWAREMicrosoftWindowsCurrentVersionReserveManager /v PassedPolicy /t REG_DWORD /d 0 /f
REG ADD HKLMSOFTWAREMicrosoftWindowsCurrentVersionReserveManager /v ShippedWithReserves /t REG_DWORD /d 0 /f
Restart your computer to apply changes.
Summary
- Reserved Storage keeps important space free to help Windows update and work smoothly.
- If you need more disk space, you can disable Reserved Storage, but your system might have less room for updates.
- You can manage Reserved Storage using Command Prompt, PowerShell, or the Registry Editor.
- Always restart your PC after changing Reserved Storage settings.
If you want to learn more, check out this detailed article on Reserved Storage.

Leave a Reply