
This article explains how to delete a Storage pool of a Storage space in Windows 11.
Storage Spaces is a feature in Windows that allows you to combine multiple hard drives into a single virtual drive, also known as a storage pool. This feature enables you to create a more flexible and scalable storage solution for your computer.
With Storage spaces, you can create a Storage pool, rename it, add physical disk drives to it, add a Storage space to an existing Storage pool, optimize it, rename a physical disk in it, connect or disconnect storage spaces, and more.
If you no longer use a storage pool, you can delete it. Deleting a Storage pool will permanently remove all associated Storage Spaces and their files. Once the pool is removed, the files cannot be restored from the Recycle Bin.
To delete a Storage Pool, you must remove all Storage Spaces. You can do this through the Settings app by navigating to ‘System > Storage > Storage Spaces.’ Select the pool you wish to delete, and delete each Storage Space.
After removing all spaces, you can delete the Storage Pool via the Control Panel or Windows PowerShell.
Delete a Storage pool of a Storage space on Windows
As mentioned, users can delete a Storage pool on Windows. This should be done carefully because all pool storage spaces will be deleted.
Here’s how to do it.
First, open the Windows Settings app.
You can do that by clicking on the Start menu and selecting Settings. Or press the keyboard shortcut (Windows key + I) to launch the Settings app.
When the Setting app opens, click the System button on the left. Then, select the Storage tile on the right to expand it.
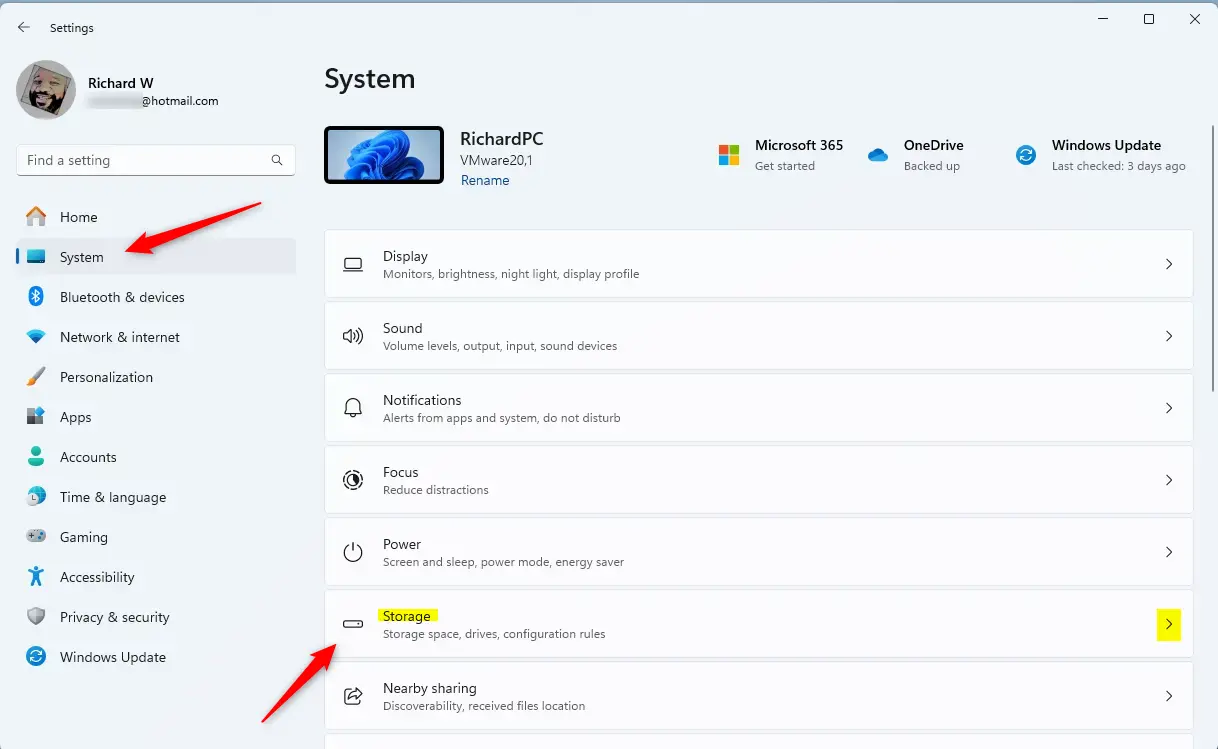
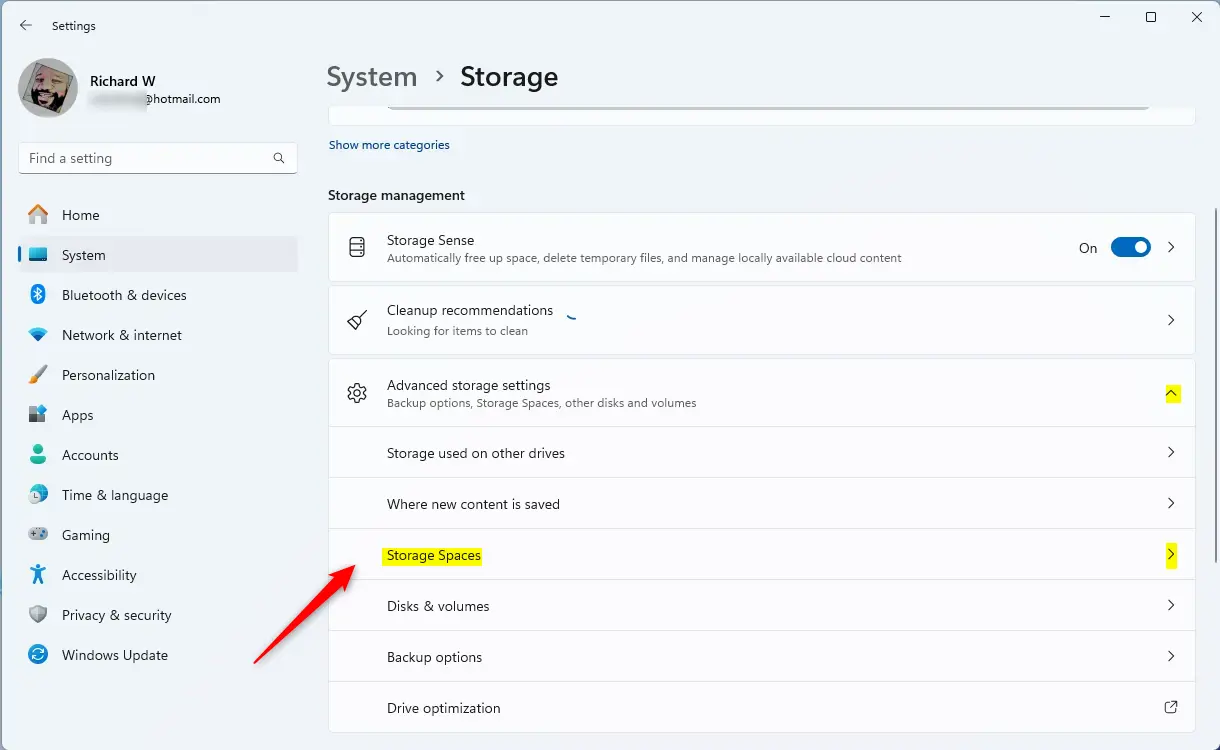
On the System -> Storage settings page, select and expand the “Advanced storage settings tile, and click the “Storage Spaces” tile to expand it.
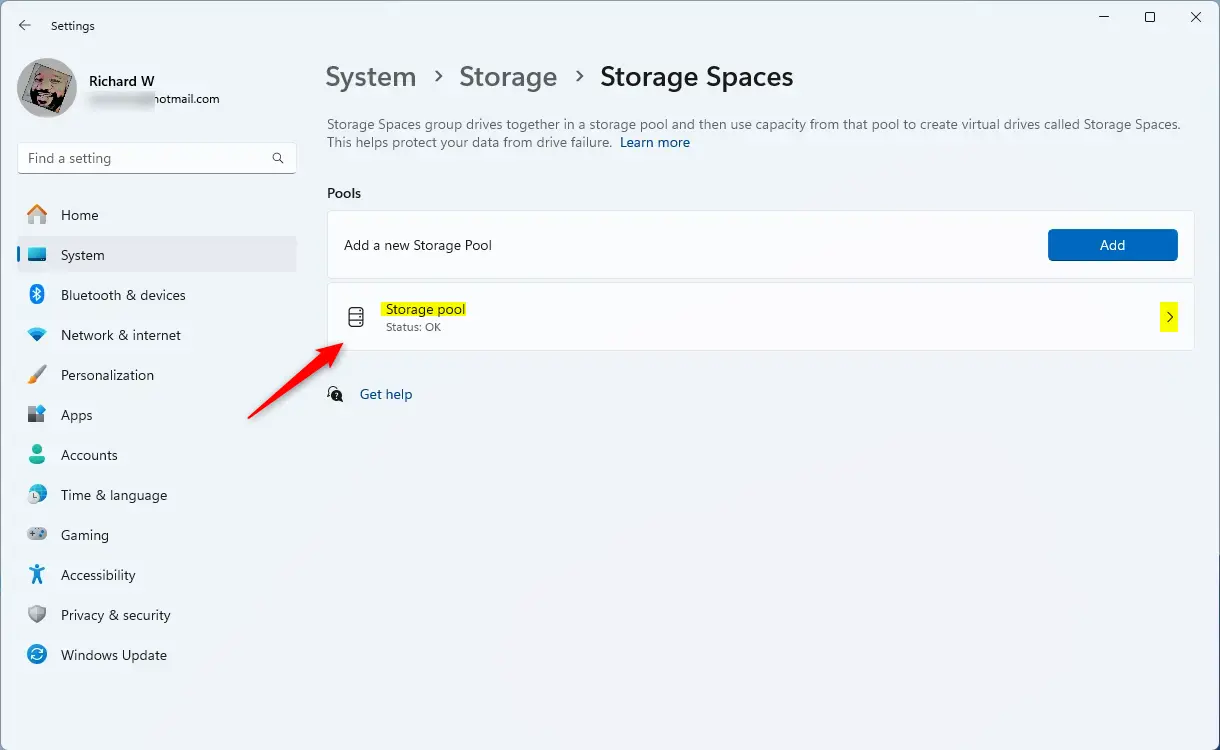
Next, select the “Storage pool” tile to expand it.
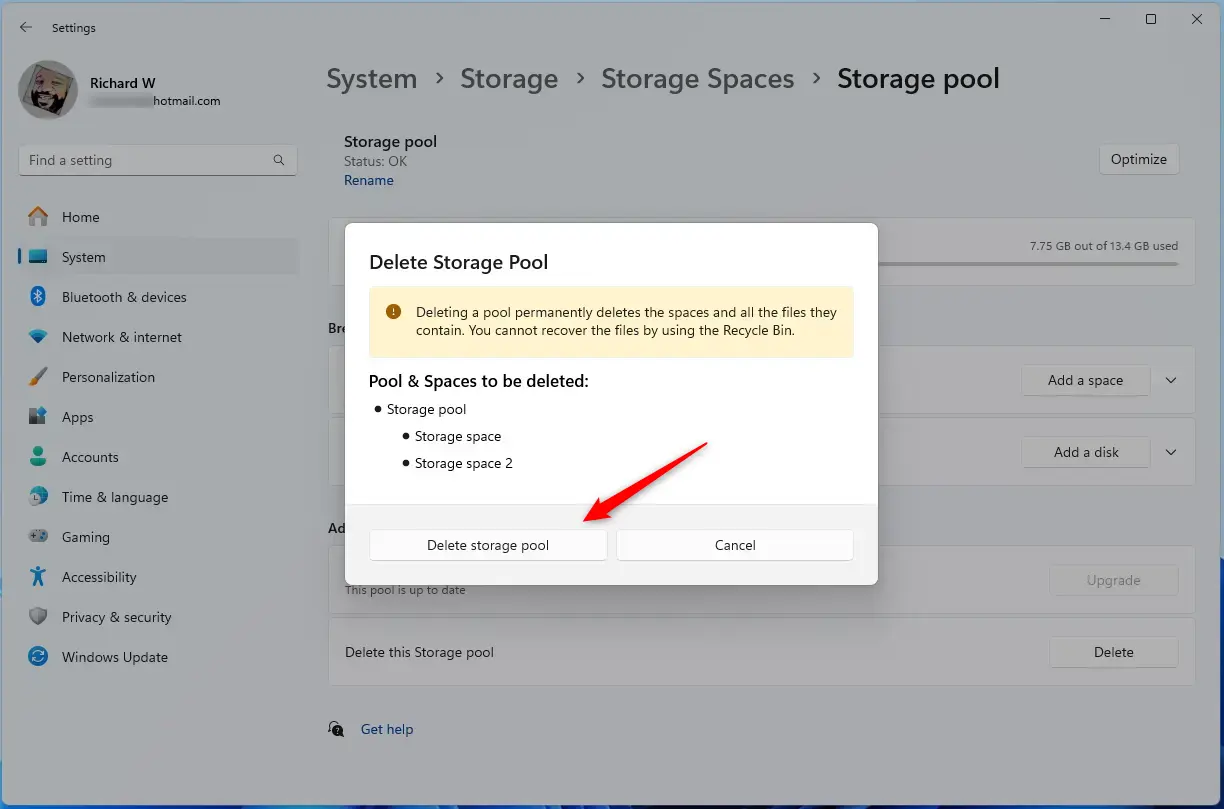
On the Storage Pool settings page, under Additional options, select the pool you want to delete and click the “Delete” button.
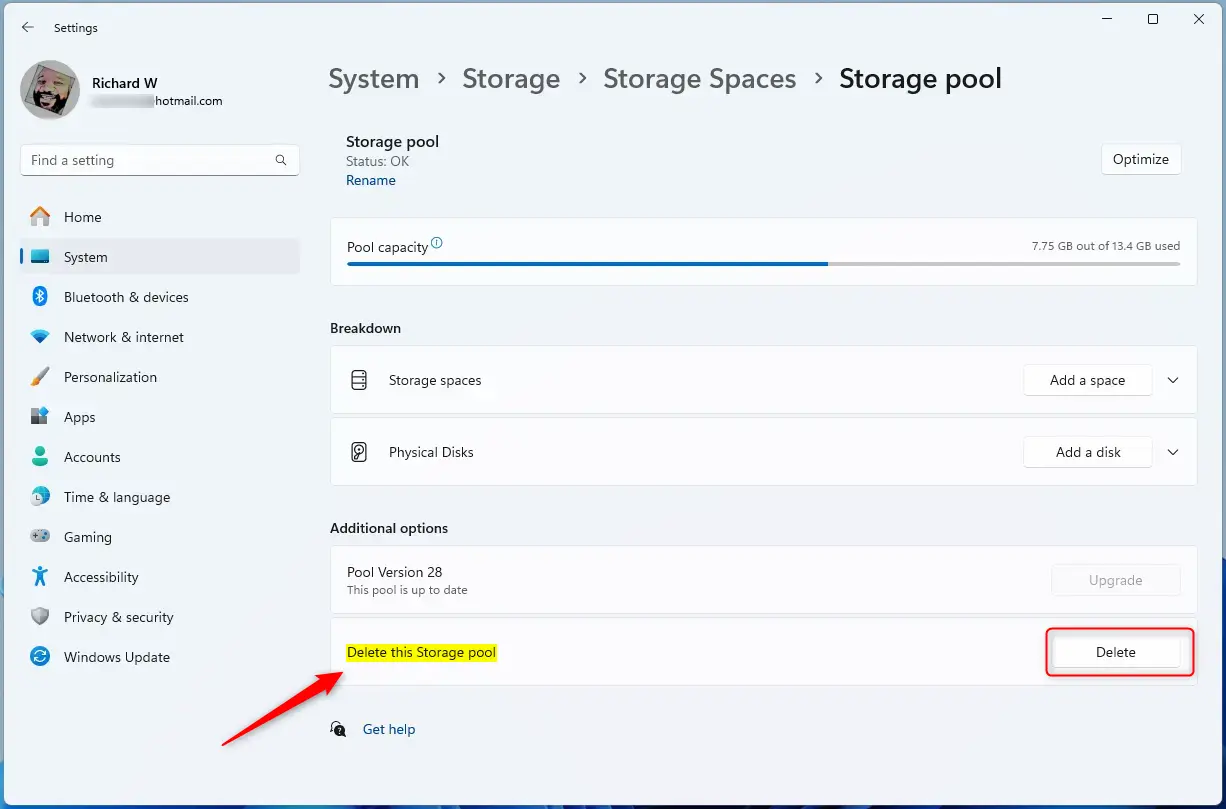
To complete the steps, click the “Delete storage pool” button on the pop-up window.
Close Settings when done.
That should do it!
Conclusion:
- Deleting a Storage pool in Windows 11 permanently removes all associated Storage Spaces and their files, so exercise caution.
- To delete a Storage pool, navigate to ‘System > Storage > Storage Spaces’ in the Windows Settings app, remove all associated Storage Spaces, and then delete the Storage Pool.
- After selecting the pool to delete and confirming the action, the Storage pool will be permanently removed from the system.
- Always ensure the necessity of deleting a Storage pool and its impact on stored files before executing the process.

Leave a Reply