
Want to see what you bought with your Microsoft Account? This guide will show you how. You can check purchases like apps, games, software, and subscriptions like Microsoft 365.
Why check your purchase history? Your Microsoft Account keeps a record of everything you buy. You can see the date, item name, and payment method. This helps you track spending and verify charges on your bank or credit card.
Steps to View Your Microsoft Account Purchases
There are two easy ways to check your purchase history. You can use your Windows computer’s Settings app or visit the Microsoft website.
Method 1: Using the Windows Settings App
- Click the Start menu. This is the Windows logo button at the bottom-left of your screen.
- Select Settings. You can also press the Windows key + I on your keyboard to open Settings faster.
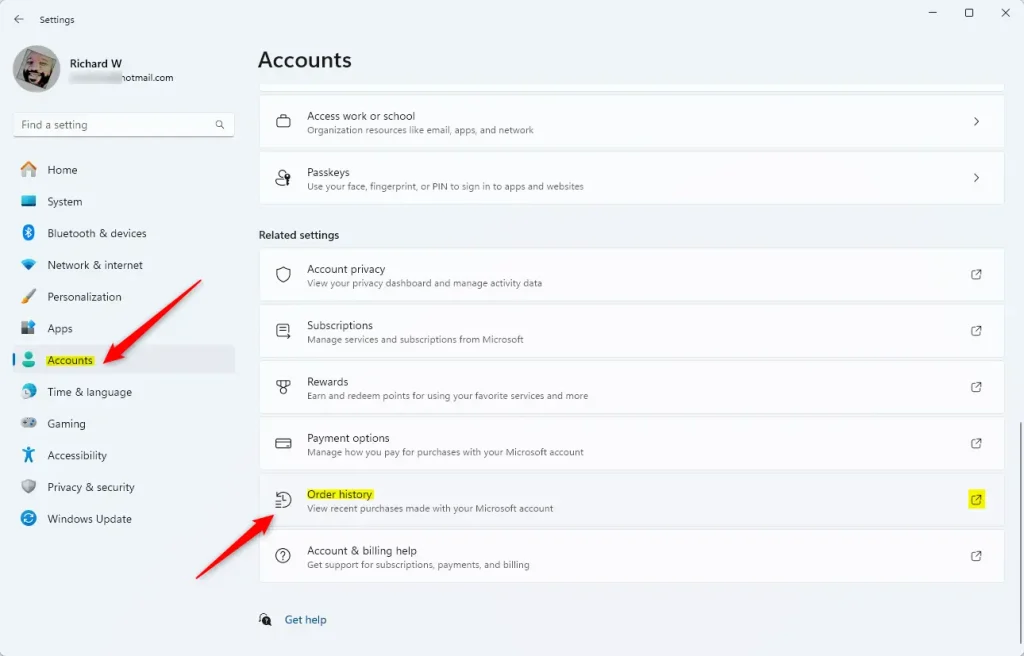
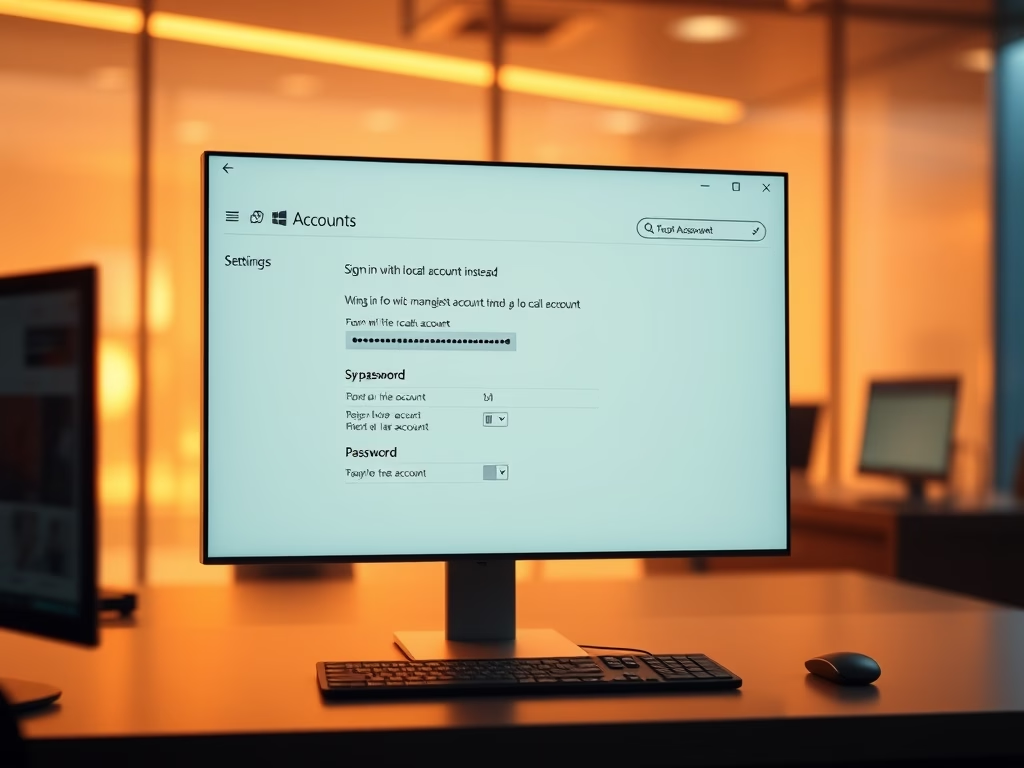
- In the Settings window, click Accounts on the left side.
- Click on Order history. This will open your purchase history in your web browser.
Here is what it looks like:
Method 2: Using the Microsoft Account Website
You can also view your purchases by going directly to your Microsoft Account online:
Sign in to your Microsoft Account
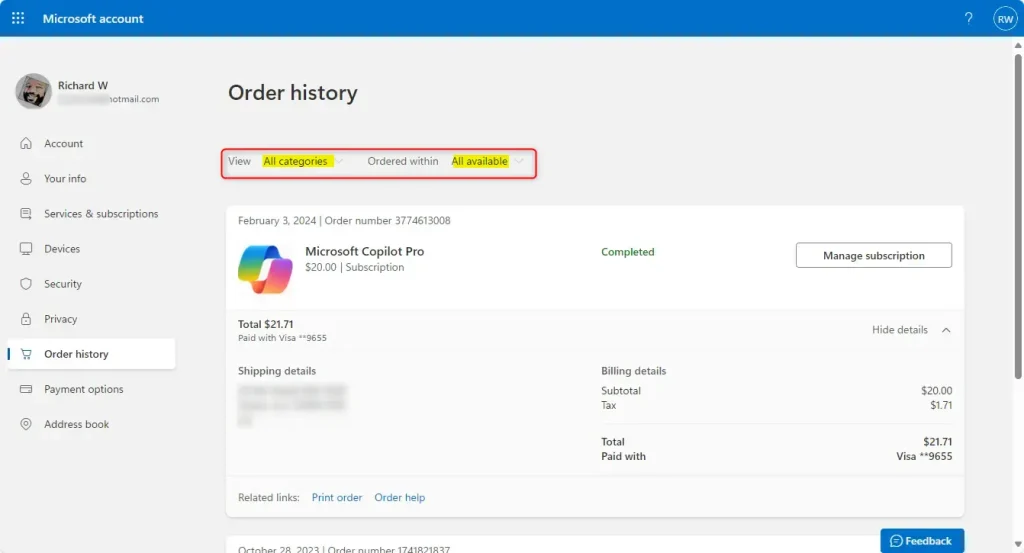
After signing in, go to the Order history page.
On the order history page, you can:
- Use the View dropdown to select the type of purchase. Choose apps, games, or subscriptions.
- Use the Ordered within dropdown to pick a time frame. Try the last 30 days or last 6 months.
Here’s an example of the order history page:
Want more details about a specific order? Click Show details next to it.
Summary
What happens when you check your order history? You can see all your Microsoft purchases in one place. This helps you manage your digital accounts better.
- Your Microsoft Account keeps track of everything you buy on Microsoft Store and subscriptions.
- You can check your order history through the Windows Settings app or by visiting the Microsoft Account website.
- Use filters to find specific purchases easily.
- Checking your purchase history helps you keep track of your spending and match it with your bank or credit card records.
By following these simple steps, you can stay on top of your Microsoft purchases and manage your digital accounts better!

Leave a Reply