
This article explains how to view their active power plan in Windows 11.
A power plan is also known as a power scheme. It is a collection of hardware and system settings that manage how computers use and conserve power.
Users can view and create custom power plans optimized for specific computers. Laptop and desktop computers will have different power plans suitable for their environments.
Optimizing Windows power plans can help improve the battery life of laptops, reduce power consumption, and have many other benefits.
Standard configuration settings affecting battery life and desktop power consumption include display brightness, display timeout, hard disk timeout, sleep mode, wireless adapter power-saving mode, and more.
Below is how to view your device power plan when using Windows 11.
How to view device power plan when using Windows 11
As mentioned above, a power plan is also known as a power scheme. It is a collection of hardware and system settings that manage how computers use and conserve power.
Below is how to view your device power plan in Windows 11.
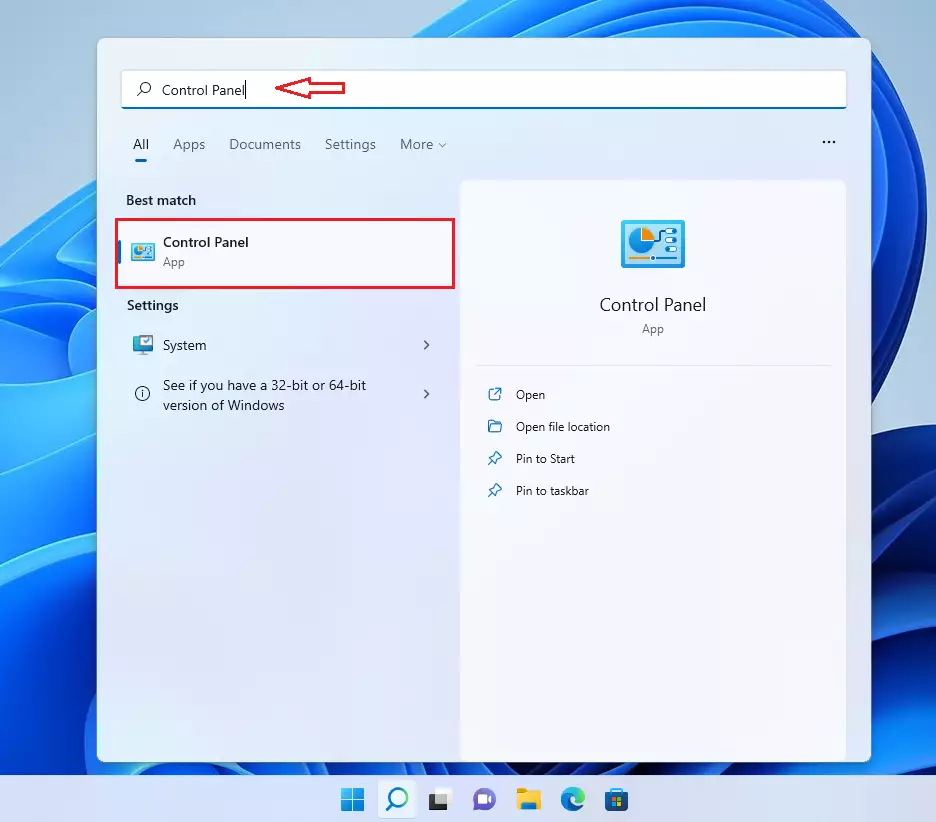
First, open the classic Control Panel in Windows 11.
Or click Start and search Control Panel. Then, under best results, select and open the Control Panel App.
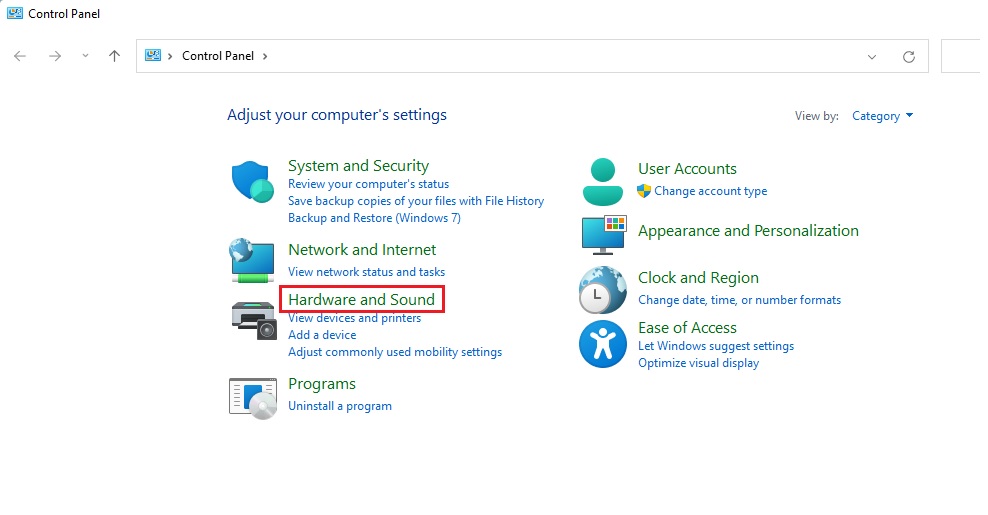
Next, click Hardware and Sound, and then select Power Options.
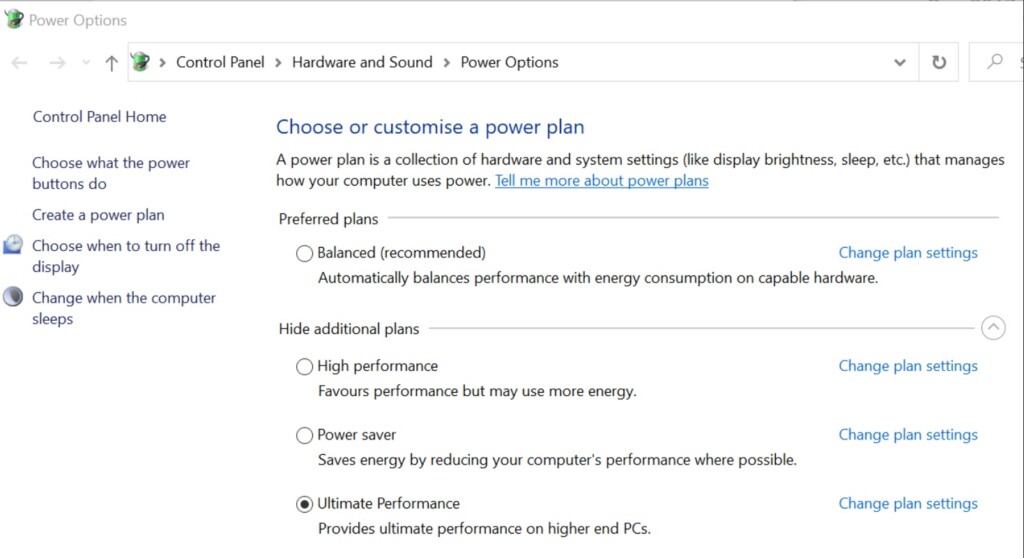
The Power Options Control Panel opens, and the power plans appear. Review each power plan.
Verify that the correct plan is set as the active power plan. The computer shows an asterisk (*) next to the active power plan.
That should do it!
Conclusion:
- Viewing and managing power plans in Windows 11 is essential for optimizing power usage and extending laptop battery life.
- Users can access the Power Options in the Control Panel to review and select power plans that best suit their computing environment.
- Verifying the active power plan ensures that the correct settings are applied to conserve power effectively.


Leave a Reply