

This post shows students and new users the steps to remove or uninstall Windows Subsystem for Android (WSA) in Windows 11. Recently, we showed you how to install WSA on Windows 11 to allow users to install and run Android apps from the Amazon Appstore in Windows 11.
If you wish to remove WSA from Windows 11, the steps below will show you how to do that with a few clicks.
In our previous post, we mentioned that Windows Subsystem for Android is currently only available for Windows Insiders in the Beta Channel in the United States. If you’re in another location, it may not be possible to install and use Windows 11.
If you mistakenly installed it and it’s still unavailable at your location, simply remove it from Windows 11. You may be able to reinstall it when it is available at your location.
To remove Windows Subsystem for Android from Windows 11, follow the steps below.
How to remove Windows Subsystem for Android on Windows 11
If you installed WSA, don’t need it anymore, and want to remove it, the steps below will get you there.
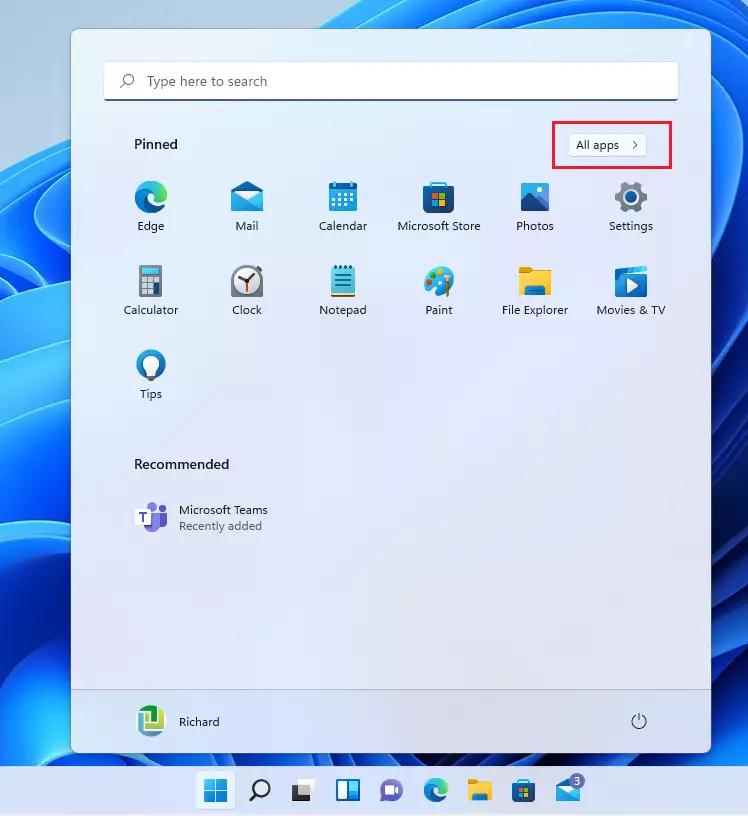
First, click on the Start menu, then go to All Apps, as shown below.
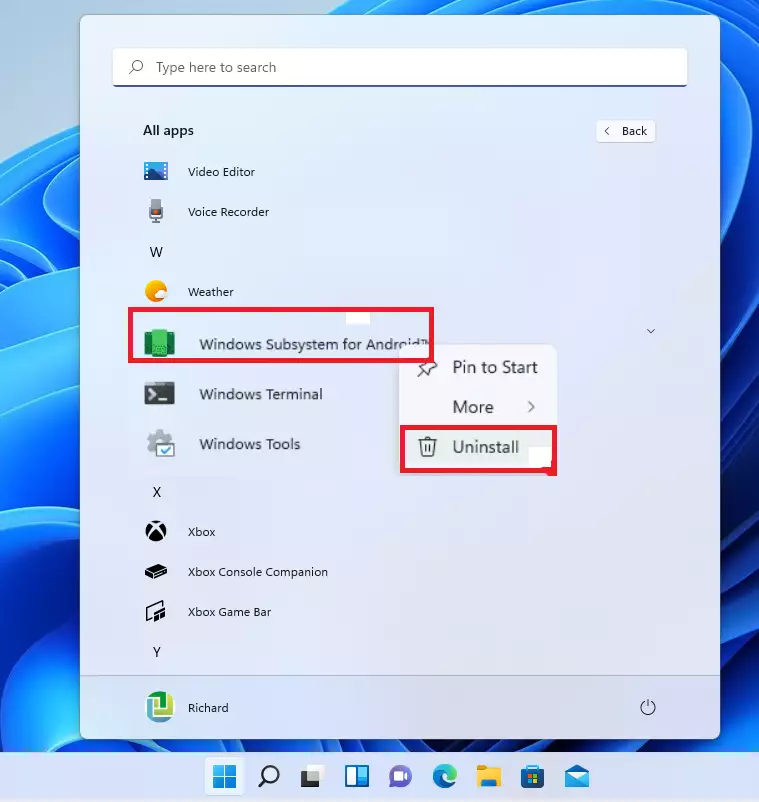
Then locate and right-click on Windows Subsystem for Android app and choose the Uninstall option from the context menu.
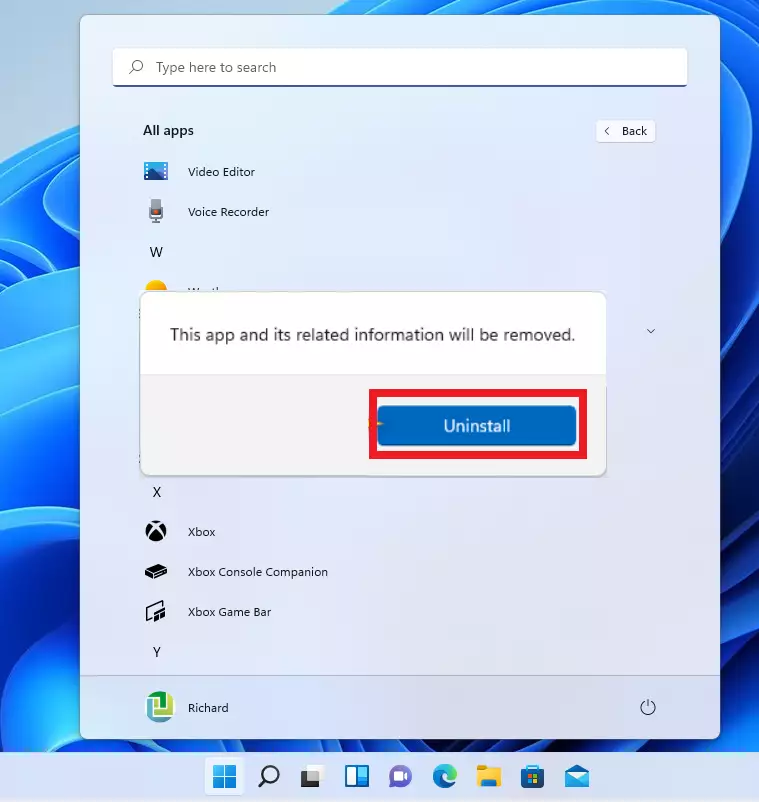
That will display a message that this app and related information will be removed. Click the Uninstall button to remove it.
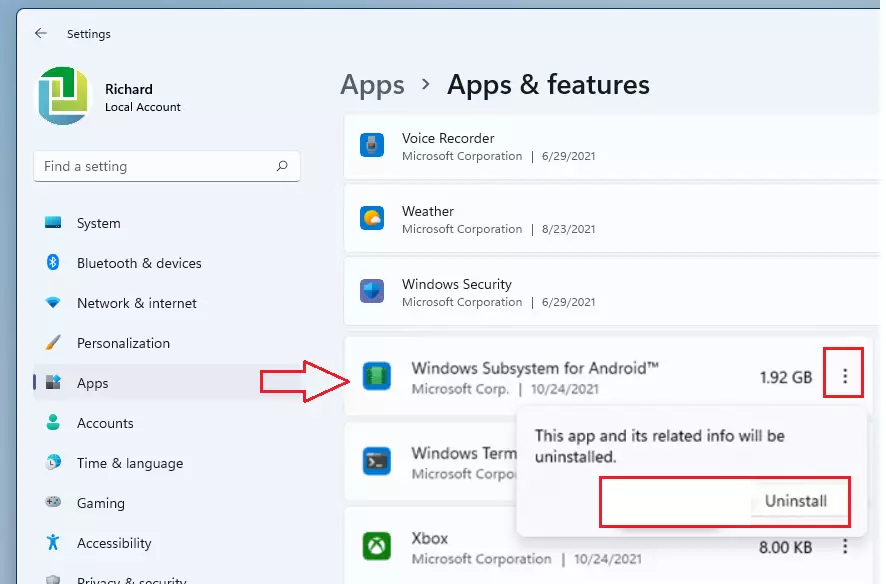
Next, click on the Start menu ==> Windows Settings ==> Apps ==> Apps & features on the right side, as shown below.
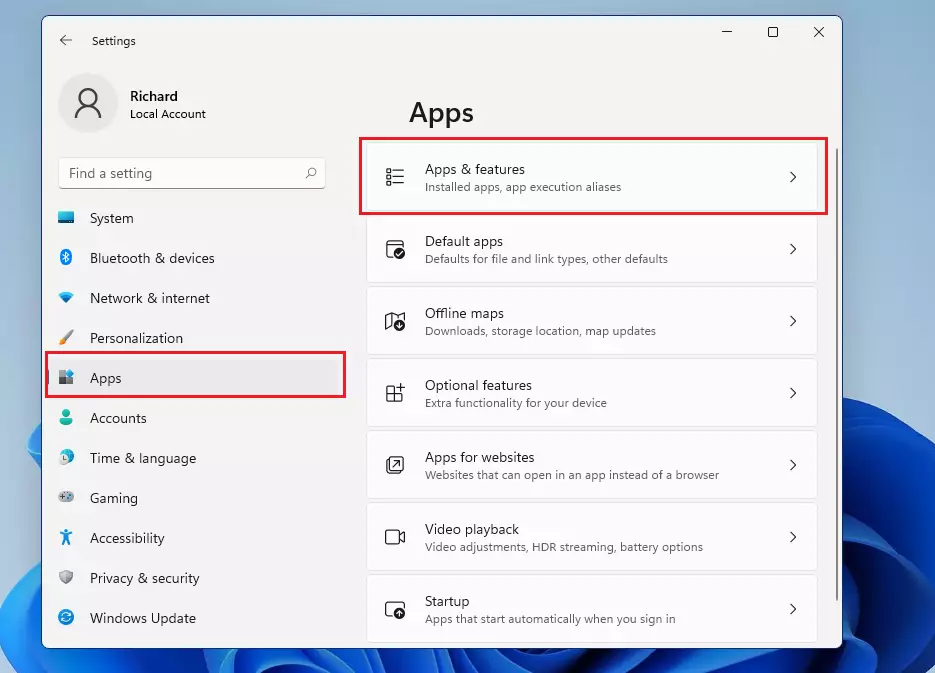
On the Apps & feature settings pane, locate the Windows Subsystem for Android tile, click on the ellipse ( 3 dots), and select Uninstall.
Once WSA is removed, close the Windows Settings app and exit.
How to remove Windows Subsystem for Android in PowerShell
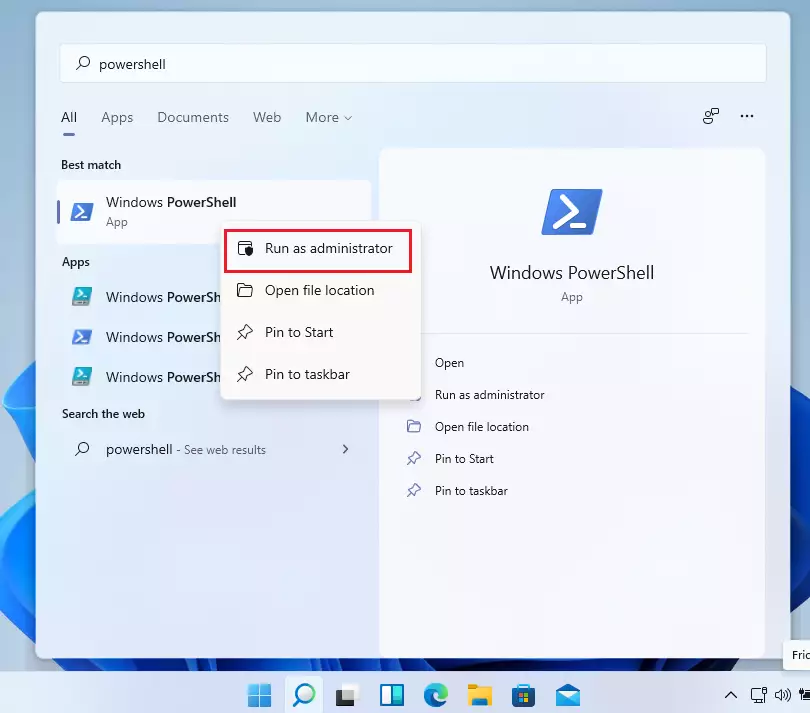
If you want to quickly remove or uninstall WSA from Windows 11, open Windows PowerShell as the administrator.
Then, run the commands below to uninstall or remove WSA.
Get-AppxPackage "*MicrosoftCorporationII.WindowsSubsystemForAndroid*" | Remove-AppxPackage
That’s it!
Conclusion:
- Removing the Windows Subsystem for Android (WSA) is a straightforward process on Windows 11.
- You can uninstall WSA via the Start menu or through Windows Settings by navigating to Apps & features.
- For a quicker approach, using Windows PowerShell as an administrator allows for a fast uninstall with a single command.
- If you decide to reinstall WSA in the future, ensure it is available for your location before doing so.
- Always remember to check for updates regarding availability in your region if you are a Windows Insider.


Leave a Reply