How to Enable/Disable Screenshots in Microsoft Edge
You enable or disable screenshots in Microsoft Edge to control whether the browser saves thumbnail previews of visited web pages in your browsing history.
This setting determines if you see visual representations of sites you’ve visited, making it easier to spot and return to them later. Newer versions of Microsoft Edge, built on Chromium, include this feature.
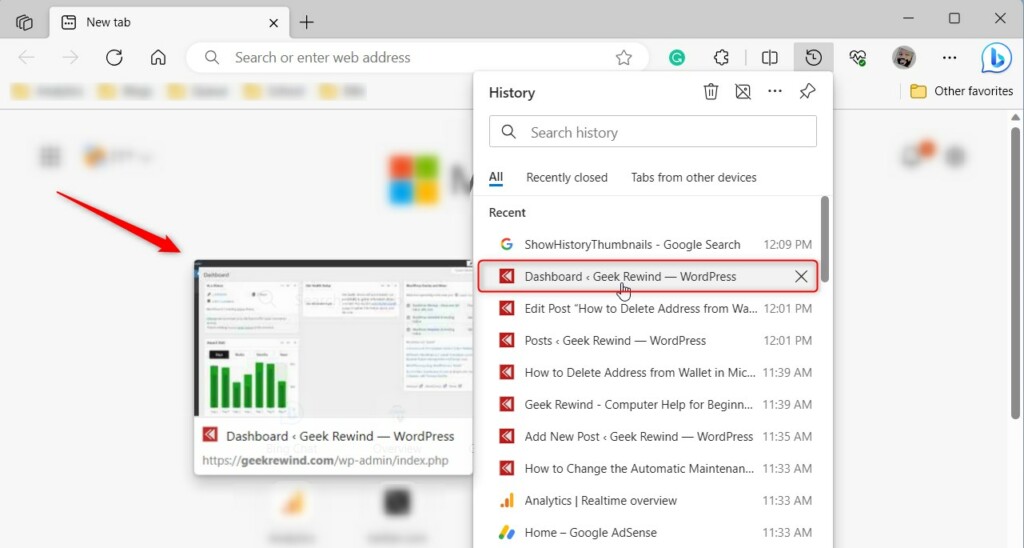
When enabled, Edge automatically captures a small image of each website you access and displays it in the History hub (Ctrl+H). This adds a visual element to your browsing record.
If you turn this feature off, Edge will stop saving these image previews, and your history will revert to displaying only text-based entries for your visited pages.
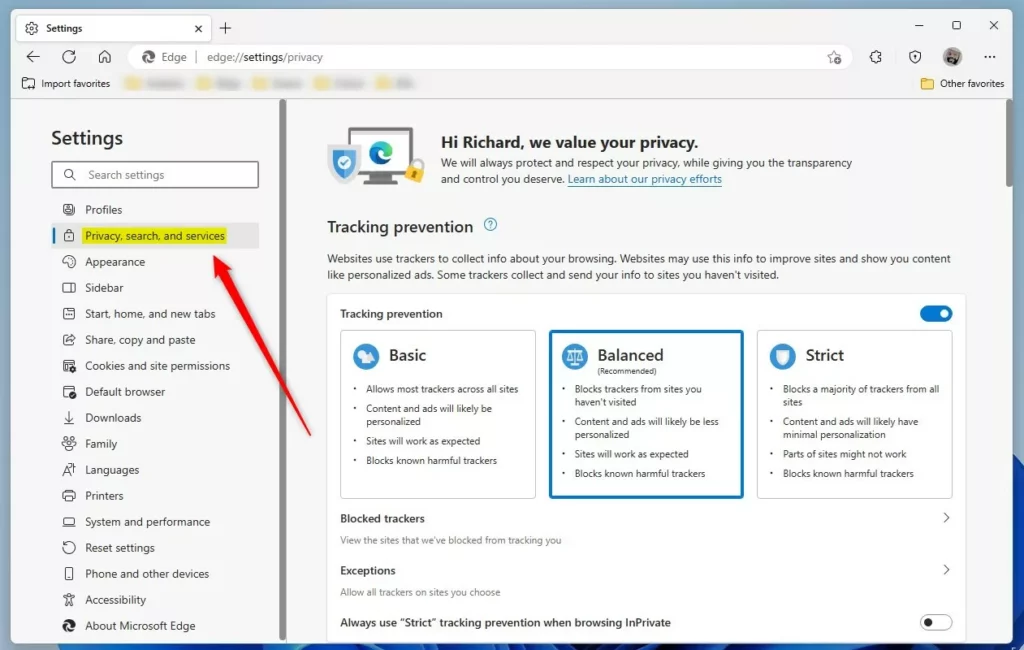
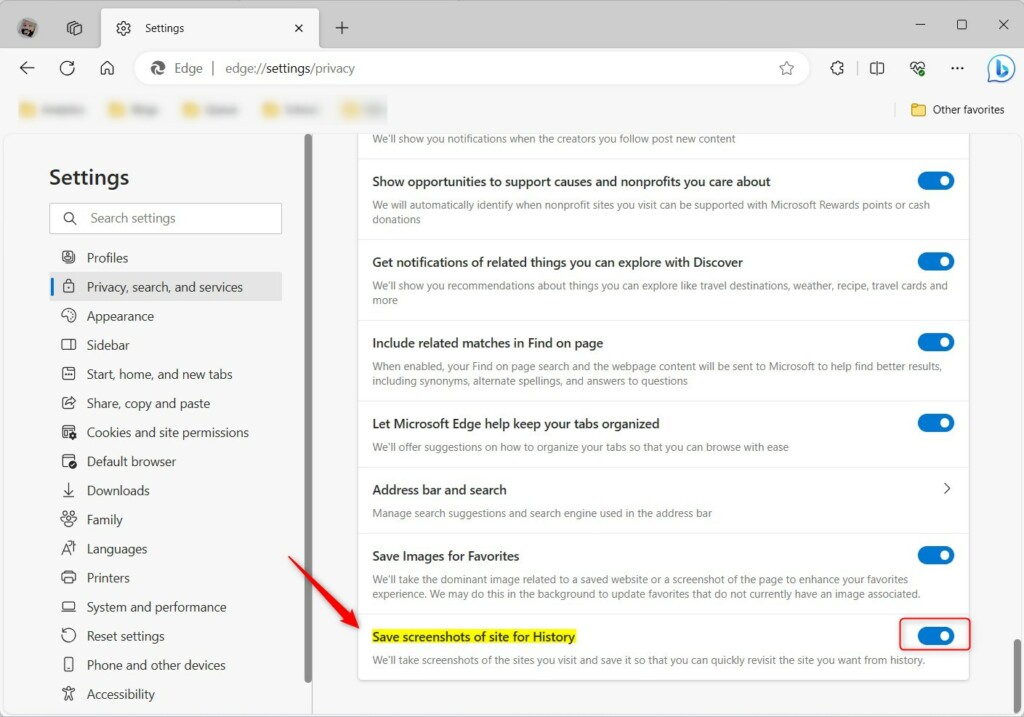
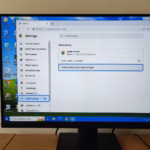
Go to Settings > Privacy, search, and services. Under Services, find “Save screenshots of site for History” and toggle the switch to On to enable, or Off to disable.
Enable or disable Save screenshots for site History in Edge
Microsoft Edge can now take screenshots of the websites you visit and save them as small pictures, helping you quickly see your browsing history.
Here’s how to turn it on or off.
First, open the Microsoft Edge browser.
Then click on Setting and more (Alt+F), the 3 horizontal dots button on the top right corner, and select Settings.
On the Settings page, click the Privacy, search, and services button in the left panel.
On the right side, under Services, find and select the “Save screenshots of site for History” tile. Then, toggle the switch to the On position to turn it on.
To turn it off, toggle the button to the Off position.
Close the browser settings when you’re finished.
Turn On or Off Save screenshots of site for History in Microsoft Edge via the Registry Editor
You can change the Microsoft Edge screenshot setting for your site history using the Windows Registry Editor, which is a more advanced way to adjust settings.
To do this, open the Windows Registry editor and go to the folder key mentioned below.
HKEY_LOCAL_MACHINE\SOFTWARE\Policies\Microsoft\Edge
If you don’t see the Edge folder key, right-click on the Microsoft parent key and create the subkey (Edge) folder.

In the right pane of the Edge folder key, right-click and select ‘New’ > ‘DWORD (32-bit) Value.’ Name this new item ‘ShowHistoryThumbnails.’
Double-click ‘ShowHistoryThumbnails’ and update the ‘Value data’:
- To always save screenshots of site for History in Microsoft Edge, type 1.
- To not save screenshots of site for History, type 0 or delete the ShowHistoryThumbnails to default to Edge.

Restart your computer for the changes to take effect.
That’s it!
Conclusion:
- In this article, you have learned how to enable or disable the “Save screenshots for site History” feature in Microsoft Edge, giving you greater control over your browsing experience.
- Following the step-by-step instructions, you can easily manage whether Microsoft Edge captures and saves thumbnails of the sites you visit for quick identification and revisiting your browsing history.
- If you encounter any discrepancies or have insights, feel free to utilize the comments section for further discussion and assistance.
Was this guide helpful?

About the Author
Richard
Tech Writer, IT Professional
Richard, a writer for Geek Rewind, is a tech enthusiast who loves breaking down complex IT topics into simple, easy-to-understand ideas. With years of hands-on experience in system administration and enterprise IT operations, he’s developed a knack for offering practical tips and solutions. Richard aims to make technology more accessible and actionable. He's deeply committed to the Geek Rewind community, always ready to answer questions and engage in discussions.


No comments yet — be the first to share your thoughts!