

This article explains how to link your Android mobile device to your Microsoft account on Windows 11.
The Microsoft Link to Windows app lets you link and manage your mobile devices directly from your Windows PCs. You can instantly access your mobile devices from your PC using the Windows Mobile Devices (or Phone Link) app.
This feature comes in handy when transferring files, sending messages, or receiving notifications from your phone while working on your computer.
The following are required for this to work:
- A PC running Windows 11.
- An Android device running Android 8.0 or later.
- Your Phone and PC must be connected to a Wi-Fi network (directly or via router).
What devices are supported?
- Android devices running Android 8.0 or later.
- Link to Windows app version 1.23112.189 or later.
Link your Android mobile device to Windows 11
As mentioned above, Android users can link their devices to Windows 11 using the Link to Windows app.
Here’s how to do it.
First, open the Windows Settings app.
You can do that by clicking on the Start menu and selecting Settings. Or press the keyboard shortcut (Windows key + I) to launch the Settings app.
When the Setting app opens, click the Bluetooth & devices button on the left.
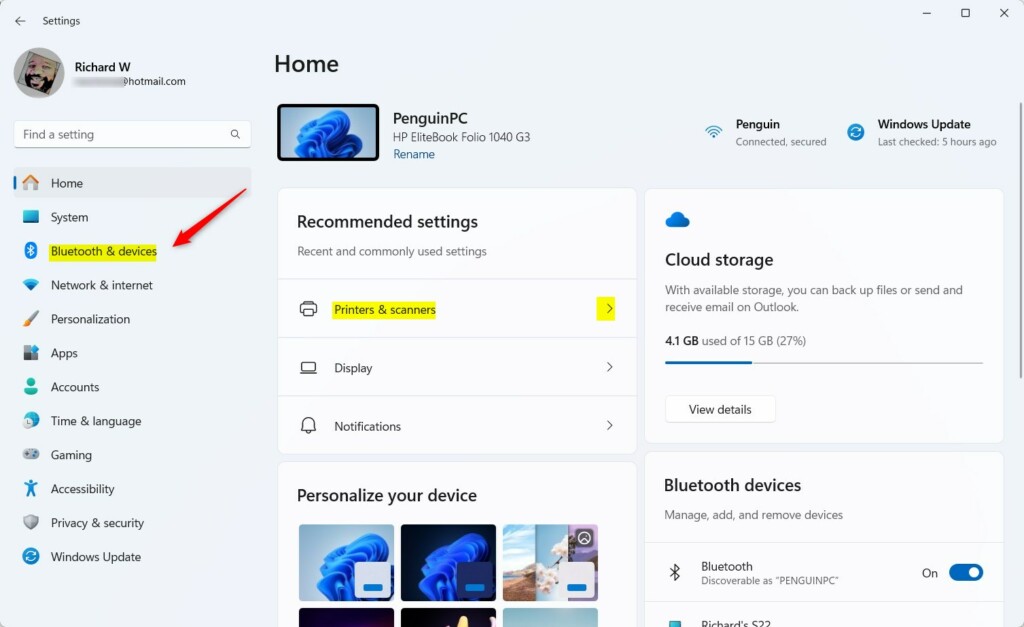
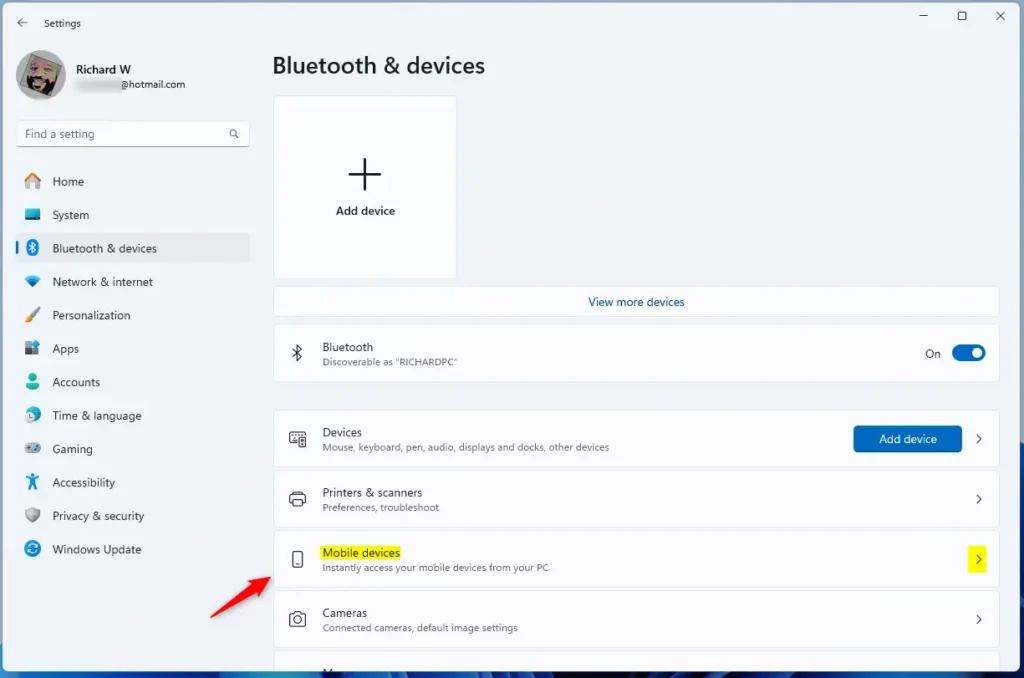
Select the Mobile devices tile under ‘Bluetooth & devices ‘on the right to expand it.
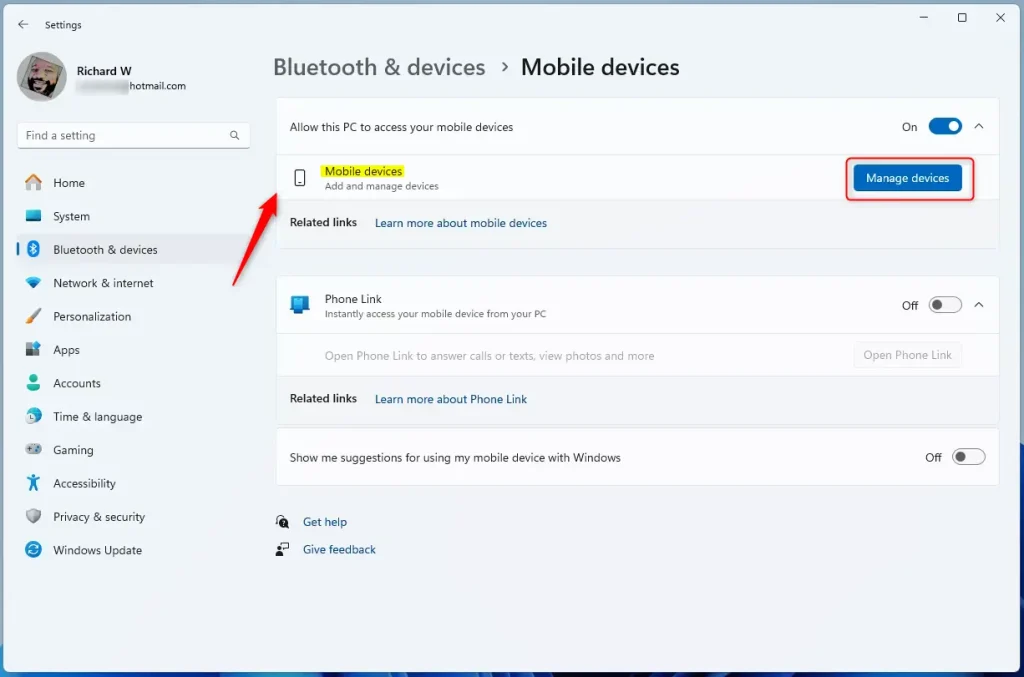
Next, select the “Manage devices” button under “Allow this PC to access your mobile device.”
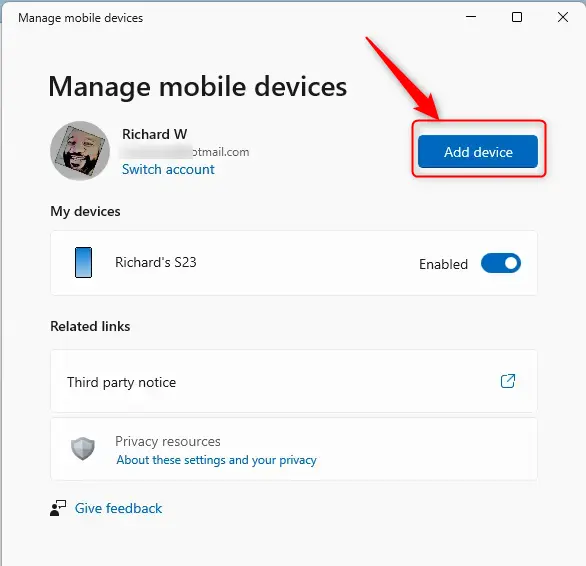
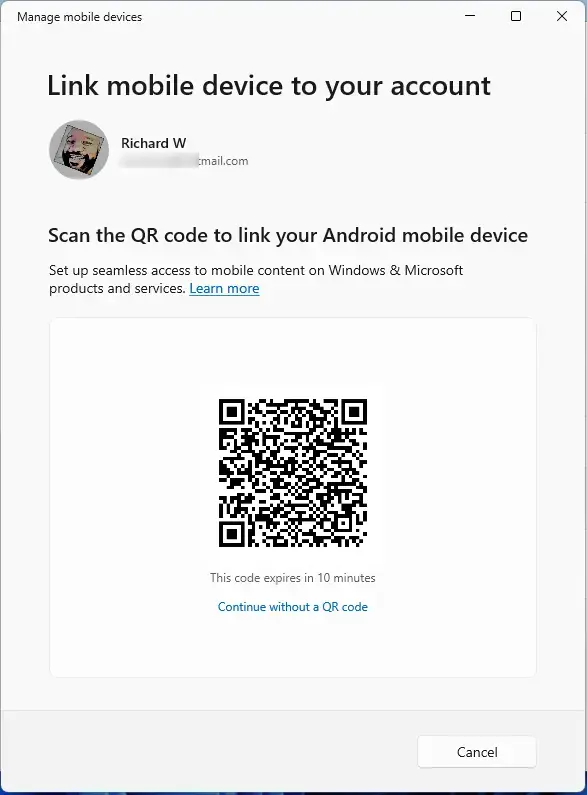
When prompted, click the Sign in button if you haven’t already signed in to your Microsoft account. After signing in, click the “Add device” button to add a new device.

A popup window with a QR code will appear on your PC screen. Use your mobile device’s camera to scan the QR code displayed on your PC.
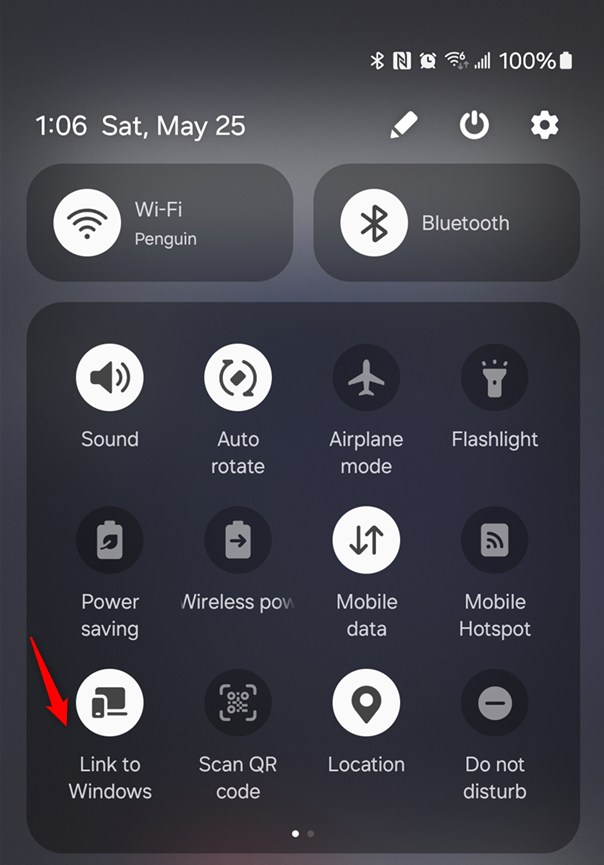
Open the Link to Windows app on your Android phone. Most Android devices let you swipe down to show the Quick Settings.
Press and hold on the Link to Windows button in the Quick Settings menu to reveal the connection screen. Select the “Sign in using the QR code on your PC” option.
Confirm the authentication code displayed after scanning the QR code and signing into your Microsoft account. You may be asked for additional Android permissions, which allow you to access content from your mobile device on your PC.
Follow the prompts on your Android device and then select Done.
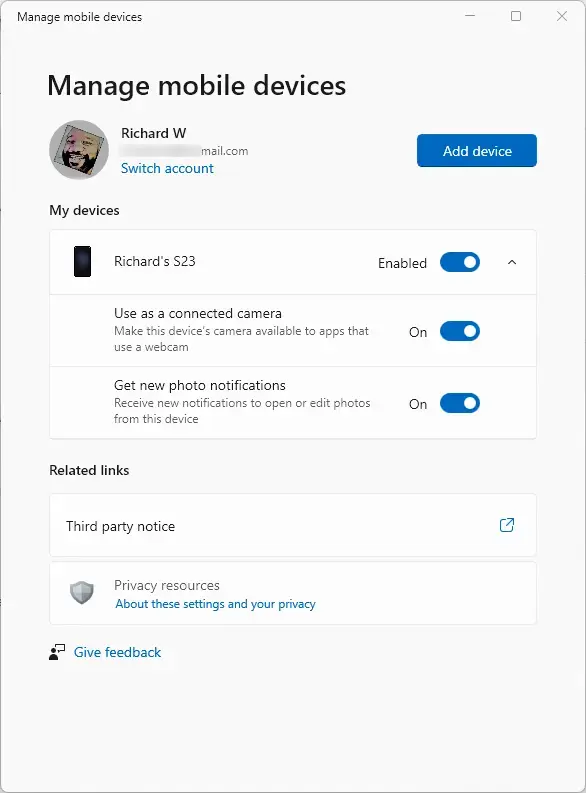
Return to the mobile device settings on your Windows PC to interact with your mobile device.
That should do it!
Conclusion:
- In this post, we have walked through linking your Android mobile device to your Microsoft account on Windows 11 using the Link to Windows app.
- Following these steps, you can seamlessly manage your Android device directly from your Windows PC, allowing for convenient file transfers, message sending, and notification access.
- We hope this guide has helped simplify the connection between your Android mobile device and Windows 11, providing a seamless and efficient cross-device experience.


Leave a Reply