This article provides a guide on how to enable Windows Sandbox in Windows 11.
Microsoft launched the Windows Sandbox feature in Windows 10 to create a secure environment that isolates running applications from the main system.
This feature is particularly valuable for security professionals who are testing untrusted or unknown applications.
When you install Windows Sandbox, it creates a temporary lightweight desktop session for running untrusted applications without accessing files, the Windows registry, or other critical components of the main Windows operating system.
Enable Sandbox from Apps and Features
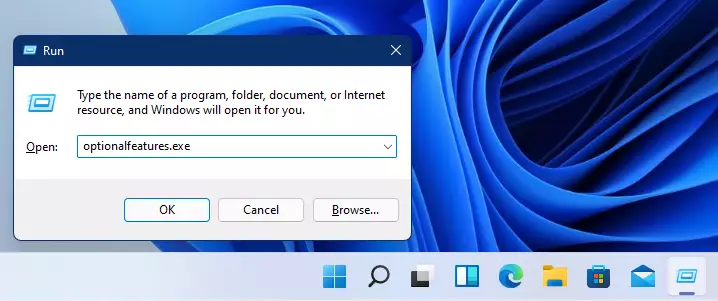
To enable Windows Sandbox from Apps and Features, press the Windows key + R to open the Run Apps box.
Then, type the commands below into the box and press Enter to open.
optionalfeatures.exe
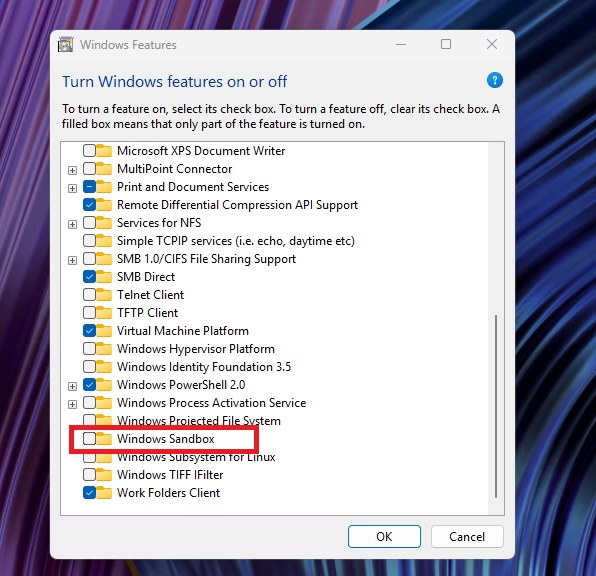
When the Windows optional features panel opens, select Sandbox from the list and install.
Install from Command Prompt
Another method to enable or disable Windows Sandbox is through the Windows Command Prompt. If you are logged in as an administrator, use Windows search to open the Command Prompt with administrative privileges.

Then, run the commands below to enable the Windows Sandbox feature.
dism /online /Enable-Feature /FeatureName:"Containers-DisposableClientVM" -All
After running the commands above, restart your computer to apply your changes.
If you want to uninstall Sandbox, run the commands below:
dism /online /Disable-Feature /FeatureName:"Containers-DisposableClientVM"
Enable Windows Sandbox via PowerShell.
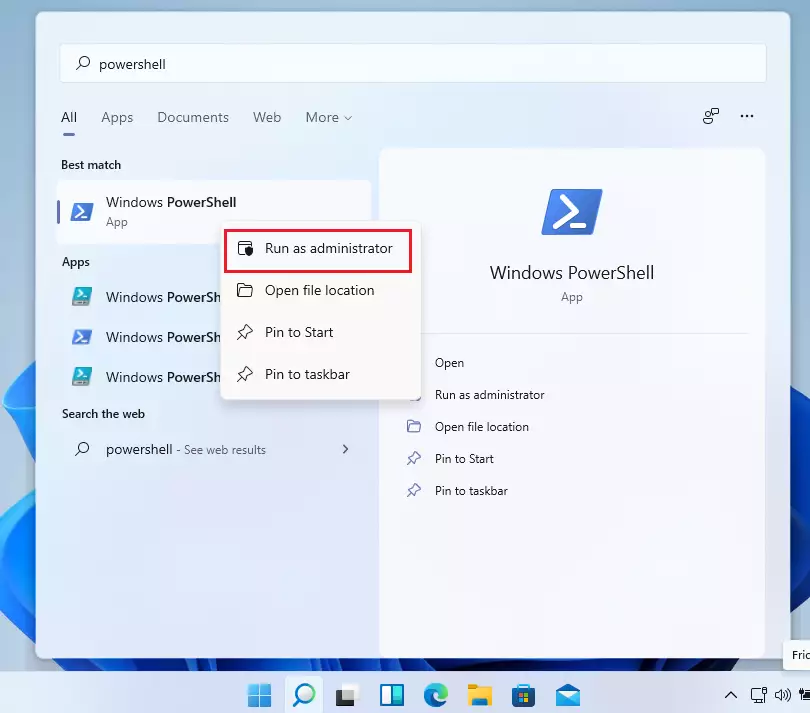
Windows Sandbox is also enabled and turned on and off via PowerShell. To enable via PowerShell, use the Windows search feature to open PowerShell as an administrator.
When PowerShell opens, run the commands below to enable it.
Enable-WindowsOptionalFeature -Online -FeatureName "Containers-DisposableClientVM" -All
Restart your computer to apply the changes.
To disable via PowerShell, run the commands below:
Disable-WindowsOptionalFeature -Online -FeatureName "Containers-DisposableClientVM" -Online
That should do it!
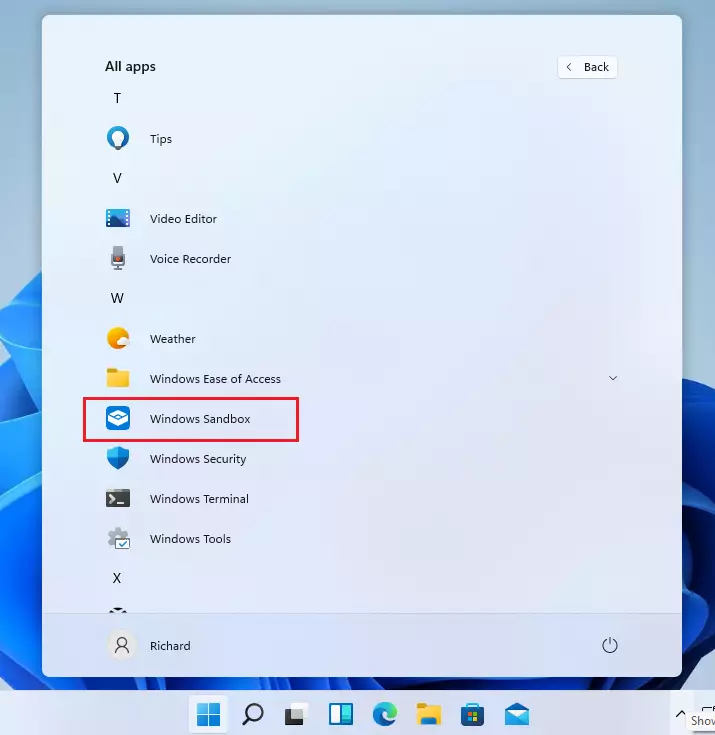
Using Windows Sandbox
Now that Sandbox is enabled, log in and begin using Windows Sandbox to test untrusted apps.
That should do it!
Conclusion:
- Windows Sandbox provides a secure environment for testing untrusted applications.
- It can be enabled through various methods, including the Apps and Features menu, Command Prompt, and PowerShell.
- Installing Windows Sandbox is straightforward, allowing users to set up a temporary desktop session quickly.
- Always remember to restart your computer after enabling or disabling the feature for changes to take effect.
- Utilizing Windows Sandbox can enhance security by isolating potentially harmful applications from the main operating system.

Leave a Reply to How to Share Host Folders with Windows Sandbox in Windows 11 – Geek Rewind Cancel reply