Turn On or Off Lower Screen Brightness When Using Battery Saver in Windows 11
Important Things to Know
Windows Battery Saver automatically lowers your screen brightness when your laptop runs on battery power to help it last longer. This feature only works when you’re not plugged in and conveniently turns itself off once you plug your laptop back in to charge. It’s designed to conserve power only when it’s needed most.- Battery Saver only works when your device runs on battery, not when plugged in.
- It turns off automatically when you plug your device in to charge.
- If you watch HDR videos (high-quality videos with bright colors), you might want to turn off dimming. This keeps your screen bright for the best picture.
How to Turn On or Off Lower Screen Brightness in Battery Saver
- Open Settings by pressing
Win + Ion your keyboard. - Click on System in the left menu. Then click Power & battery on the right side. You can also click this link to go straight there: Open Power & battery settings

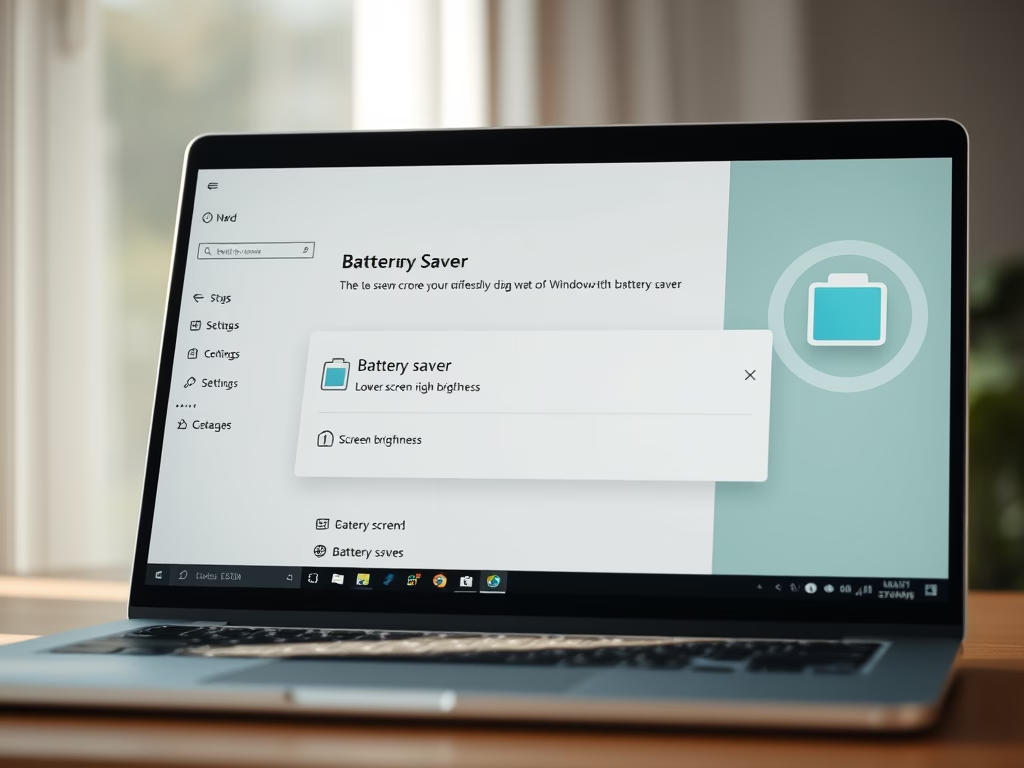
Managing whether your screen dims automatically when Battery Saver is on is possible in Windows 11 settings. To adjust the battery saver screen brightness feature, open Settings by pressing ⊞ Win+I on your keyboard. Then, click on System, followed by Power & battery to find the option.
- Scroll down to find Battery saver and click it to expand.
- You will see the option Lower screen brightness when using battery saver. Turn it On or Off depending on what you want.

Managing whether your screen dims automatically when Battery Saver is on is possible in Windows 11 settings. To adjust the battery saver screen brightness feature, open Settings by pressing ⊞ Win+I on your keyboard. Then, click on System, followed by Power & battery to find the option.
- When you’re done, close the Settings window.
Summary
Dimming your screen when using Battery Saver is a smart way to get more power from your laptop’s battery. When this feature is on, your screen automatically dims to conserve energy, especially when the battery gets low, usually below 20%. It’s an effective method to extend your device’s runtime.
What happens when you turn on lower screen brightness? Your screen automatically dims to save more battery power.
Key points to remember:
- Battery Saver turns on by itself when your battery drops below 20%.
- For the best video quality (HDR), you might want to keep your screen brightness normal and turn off the dimming option.
- Changing these settings is quick and easy in the Settings app under Power & battery.
- By knowing how to use these settings, you can make your Windows 11 device last longer on battery and still enjoy a good screen experience.
Does the battery saver dim the screen?
Windows 11’s Battery Saver mode is your device’s lifeline when power is low, automatically curbing background tasks and lowering screen brightness to extend runtime.
Does turning down your screen brightness save battery?
Adjust your screen brightness: One of the biggest drains on your device’s battery is the display, so reducing the brightness of your screen can significantly extend its battery life. Consider using the “auto brightness” setting, which adjusts the screen’s brightness based on the ambient light in your environment.
Does iPhone power saving mode dim the screen?
When enabled, Adaptive Power can lower screen brightness, limit background activity, and make performance adjustments to conserve power throughout the day. It can also automatically turn on Low Power Mode when your battery reaches 20%.
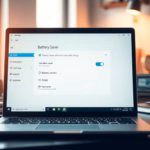
Go to Settings > System > Power & battery. Expand the Battery saver section and toggle “Lower screen brightness when using battery saver” On or Off. This setting dims your screen when Battery Saver is active to conserve power.
What is Battery Saver?
Windows 11’s Battery Saver helps conserve power on laptops and tablets by reducing resource usage when running on battery. When activated, it restricts certain features, which extends battery life and helps you get the most runtime from a single charge.
Battery Saver usually turns on automatically when your battery reaches 20%.
Why Lower Your Screen Brightness?
Dimming your screen when Windows 11’s Battery Saver is active helps your laptop last much longer on a single charge. Your screen uses a lot of power, so dimming it saves a significant amount of battery life. Windows 11 lets you control how much the screen dims to help extend battery power.
Windows 11 lets you adjust the screen brightness reduction level when Battery Saver is active. You can also choose to turn this Battery Saver brightness feature on or off. This control helps manage power consumption and visual comfort.
Important Things to Know
Windows Battery Saver automatically lowers your screen brightness when your laptop runs on battery power to help it last longer. This feature only works when you’re not plugged in and conveniently turns itself off once you plug your laptop back in to charge. It’s designed to conserve power only when it’s needed most.- Battery Saver only works when your device runs on battery, not when plugged in.
- It turns off automatically when you plug your device in to charge.
- If you watch HDR videos (high-quality videos with bright colors), you might want to turn off dimming. This keeps your screen bright for the best picture.
How to Turn On or Off Lower Screen Brightness in Battery Saver
- Open Settings by pressing
Win + Ion your keyboard. - Click on System in the left menu. Then click Power & battery on the right side. You can also click this link to go straight there: Open Power & battery settings
Managing whether your screen dims automatically when Battery Saver is on is possible in Windows 11 settings. To adjust the battery saver screen brightness feature, open Settings by pressing ⊞ Win+I on your keyboard. Then, click on System, followed by Power & battery to find the option.
- Scroll down to find Battery saver and click it to expand.
- You will see the option Lower screen brightness when using battery saver. Turn it On or Off depending on what you want.
Managing whether your screen dims automatically when Battery Saver is on is possible in Windows 11 settings. To adjust the battery saver screen brightness feature, open Settings by pressing ⊞ Win+I on your keyboard. Then, click on System, followed by Power & battery to find the option.
- When you’re done, close the Settings window.
Summary
Dimming your screen when using Battery Saver is a smart way to get more power from your laptop’s battery. When this feature is on, your screen automatically dims to conserve energy, especially when the battery gets low, usually below 20%. It’s an effective method to extend your device’s runtime.
What happens when you turn on lower screen brightness? Your screen automatically dims to save more battery power.
Key points to remember:
- Battery Saver turns on by itself when your battery drops below 20%.
- For the best video quality (HDR), you might want to keep your screen brightness normal and turn off the dimming option.
- Changing these settings is quick and easy in the Settings app under Power & battery.
- By knowing how to use these settings, you can make your Windows 11 device last longer on battery and still enjoy a good screen experience.
Does the battery saver dim the screen?
Windows 11’s Battery Saver mode is your device’s lifeline when power is low, automatically curbing background tasks and lowering screen brightness to extend runtime.
Does turning down your screen brightness save battery?
Adjust your screen brightness: One of the biggest drains on your device’s battery is the display, so reducing the brightness of your screen can significantly extend its battery life. Consider using the “auto brightness” setting, which adjusts the screen’s brightness based on the ambient light in your environment.
Does iPhone power saving mode dim the screen?
When enabled, Adaptive Power can lower screen brightness, limit background activity, and make performance adjustments to conserve power throughout the day. It can also automatically turn on Low Power Mode when your battery reaches 20%.
Was this guide helpful?

About the Author
Richard
Tech Writer, IT Professional
Richard, a writer for Geek Rewind, is a tech enthusiast who loves breaking down complex IT topics into simple, easy-to-understand ideas. With years of hands-on experience in system administration and enterprise IT operations, he’s developed a knack for offering practical tips and solutions. Richard aims to make technology more accessible and actionable. He's deeply committed to the Geek Rewind community, always ready to answer questions and engage in discussions.

No comments yet — be the first to share your thoughts!