
This article explains how to show or hide empty drives in File Explorer on Windows 11.
What Are Empty Drives?
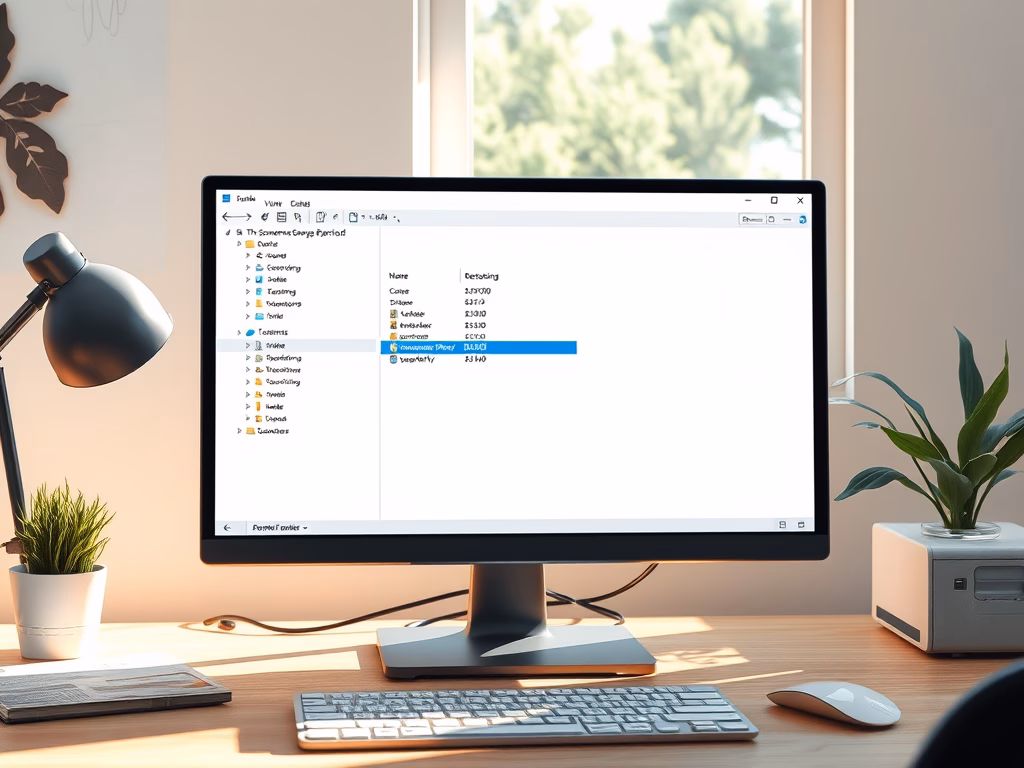
Empty drives in Windows are disk drives that don’t have any files or folders on them. They show up in File Explorer as separate drives with no data stored. By default, Windows 11 hides these empty drives. Why? To reduce clutter and make File Explorer easier to use.
Why Would You Want to Show or Hide Empty Drives?
Show or hide empty drives in Windows 11 Settings by pressing Windows key + I to open Settings, navigating to System > For developers, expanding the File Explorer tile, and toggling the ‘Show empty drives’ option to your preference.
If you have many hard drives or storage devices connected to your computer and some are empty, hiding them makes File Explorer cleaner. This makes it easier to find the files and folders you actually need.
On the other hand, if you often add or remove data from different drives, showing empty drives helps you quickly see which ones have space available. This can help you avoid accidentally filling up the wrong drive or running out of storage space.
How to Show or Hide Empty Drives in Windows 11
Method 1: Using the Settings App
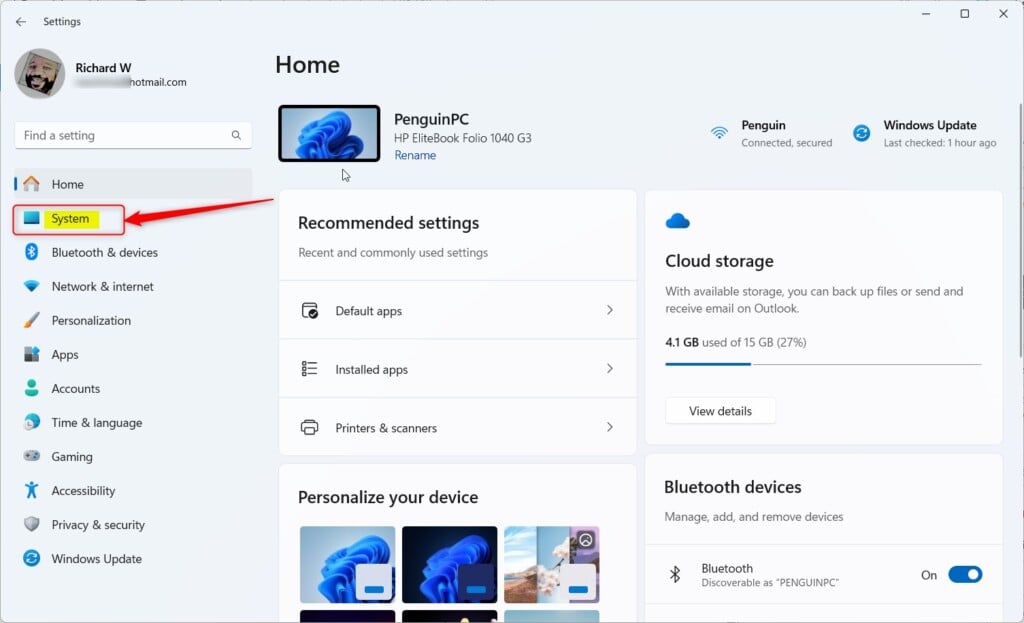
- Open the Settings app. Click the Start menu and select Settings. Or use the keyboard shortcut (Windows key + I).
- When Settings opens, click the System button on the left side.
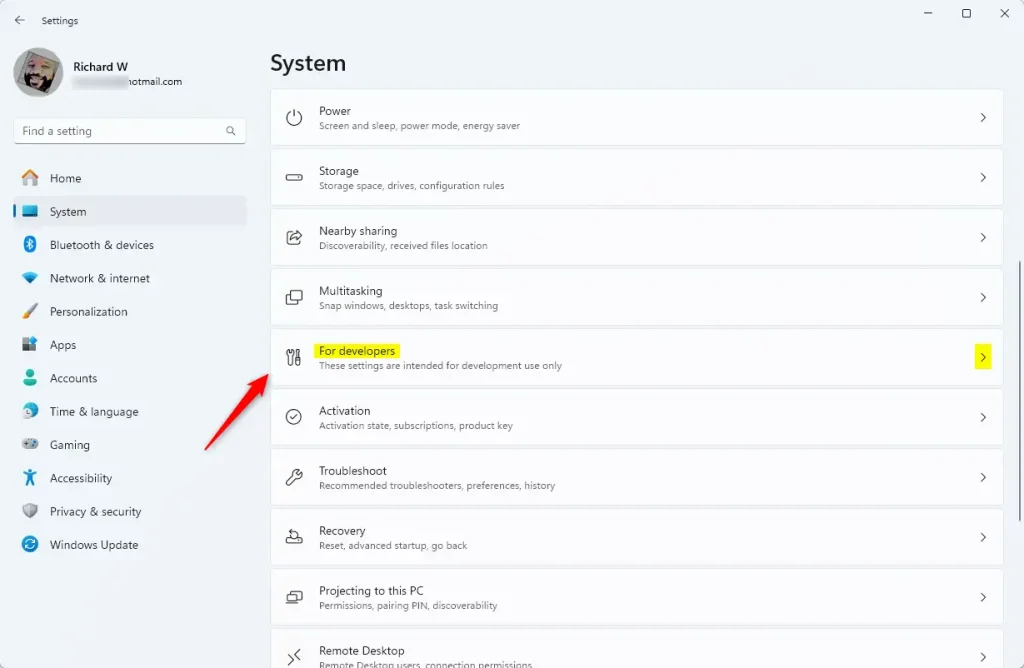
- On the right side, select the “For developers” tile to expand it.
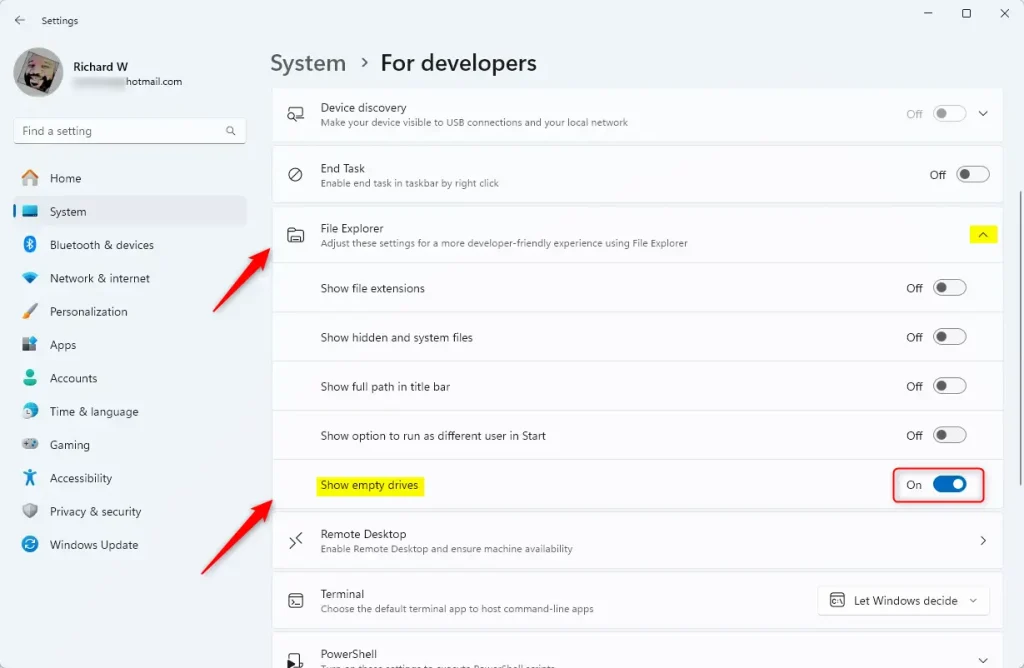
- FLAG: Admin privileges may be required On the System > For developers settings pane, select the “File Explorer” tile to expand it.
- In the expanded tile, look for the “Show empty drives” button. Toggle it to the On position to show empty drives. Toggle it to the Off position to hide them.
- Close the Settings app when you’re finished.
Method 2: Using File Explorer Options
Alternatively, you can use open the File Explorer Options to make this change. Select the “View” tab, and uncheck the “Hide empty drives” box.

That’s all there is to it!
Summary
Showing or hiding empty drives in Windows File Explorer helps you control clutter and make navigation easier. Hiding empty drives works well if you have many storage devices connected. Showing empty drives helps you quickly find available storage space. You can easily change this setting through the Windows Settings app or through File Explorer Options. Choose whichever option works best for how you use your computer.

Leave a Reply