
If you use Windows 11, you might have heard about Recall & Snapshots. This is a handy feature that works like a memory for your PC. It takes small “pictures” or snapshots of your screen as you work. This way, you can quickly find something you saw before.
These snapshots are saved safely on your computer. Windows limits how much space these snapshots can use. When the limit is full, the oldest snapshots are removed automatically. But if you want to free up space right now, you can delete all these snapshots yourself.
How to Delete All Recall Snapshots
Follow these easy steps to remove all Recall snapshots from your Windows 11 PC:
- Open the Settings app:
- Click on the Start menu (the Windows logo at the bottom-left of your screen). Then click Settings.
- Or press the keyboard shortcut: Windows key + I at the same time.
- More info on opening Settings: How to Access Settings in Windows 11
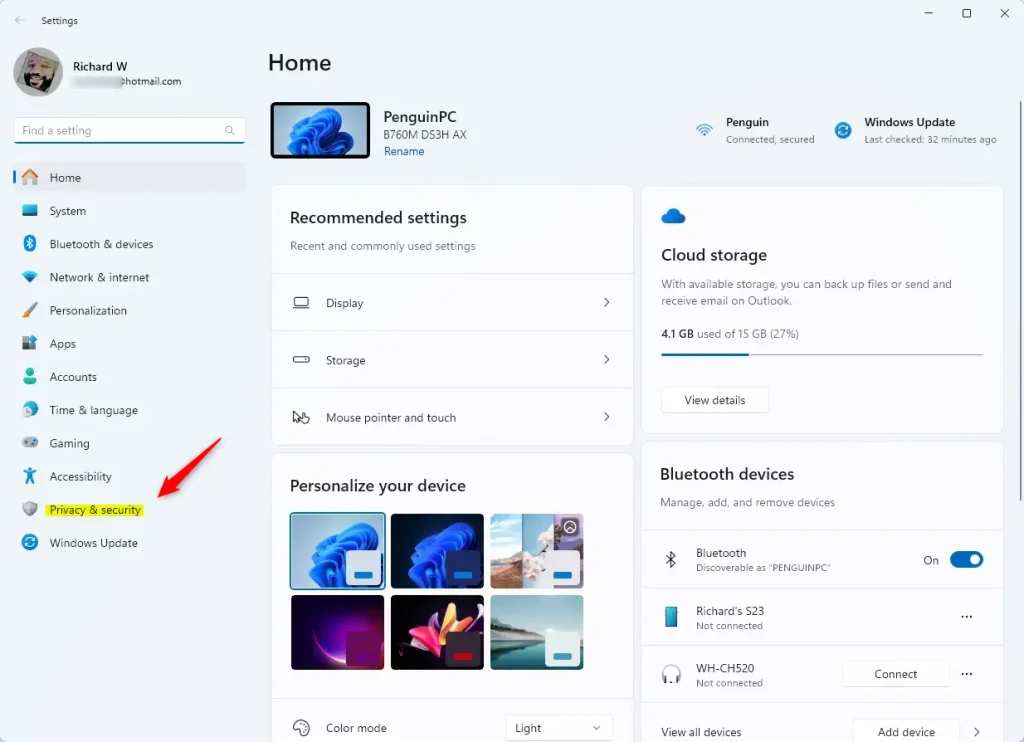
- In Settings, click on Privacy & security from the menu on the left side.
- On the right side, find and click Recall & snapshots. This will open the Recall & Snapshots settings. Make sure the “Save snapshots” option is turned on.
- Scroll down to the Storage section. Then click on Delete snapshots to open more options.
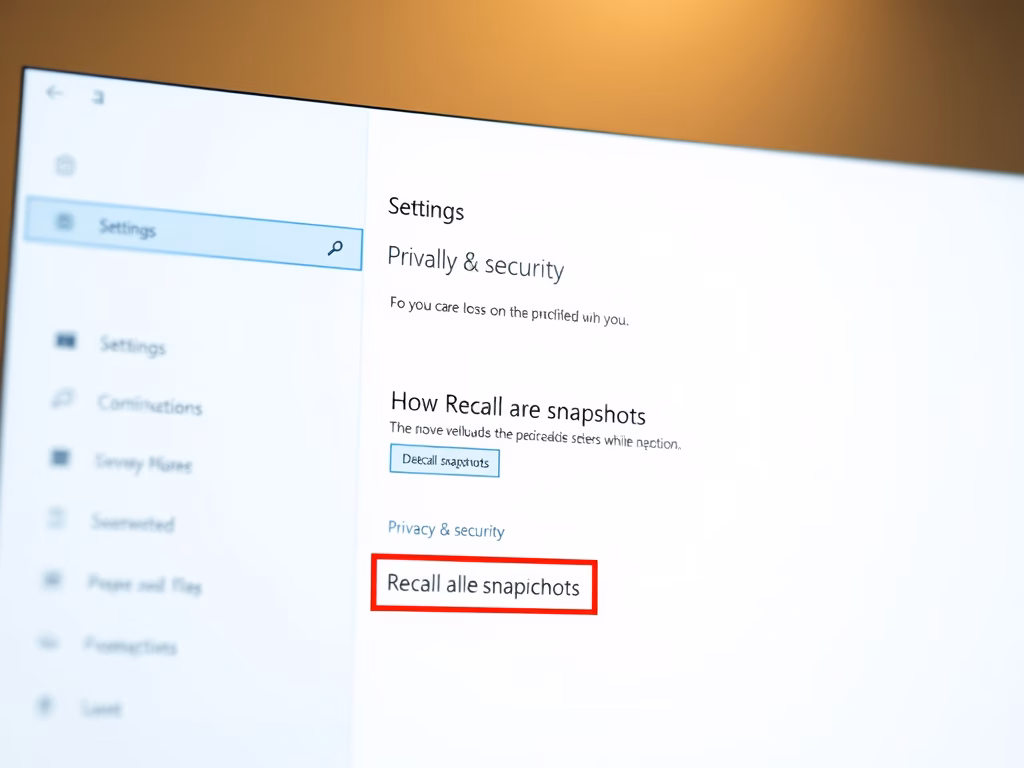
- Click on Delete all snapshots.
- Finally, press the Delete all button to remove all saved snapshots from your computer.

And that’s it! All your Recall snapshots will be deleted. This frees up space on your PC.
Why Delete Recall Snapshots?
- It helps free up storage space if your PC is running low.
- Keeping your snapshots organized can help your computer run smoothly.
- You can easily manage snapshots anytime from Windows Settings.
For official info, check out Microsoft’s page about Recall and your data: Microsoft Support – Recall and Your Data
Feel free to leave any questions or tips in the comments below!
Summary
Recall is a Windows 11 feature that takes snapshots of your screen. These snapshots help you find things you saw before. Over time, they use up storage space on your PC. You can delete all snapshots at once by going to Settings, clicking Privacy & security, selecting Recall & snapshots, and choosing Delete all snapshots. This frees up space and keeps your computer running smoothly.
Leave a Reply