How to Change the Text Cursor Color in Windows 11
The text cursor is the blinking line that appears where you will type next. It shows up in text boxes and documents on your computer. Sometimes it can be hard to see. This happens when the cursor color blends in with your screen background.
Good news! You can easily change the cursor color in Windows 11. This makes it easier to find and use.
Why Change the Text Cursor Color?
- Make the cursor easier to see on your screen.
- Help if you have trouble spotting the blinking line while typing.
- Useful for people with vision problems or dyslexia.
- Choose a color you like better or one that stands out more.
How to Change the Text Cursor Color in 🪟 Windows 11
Follow these simple steps:
- Open Settings: Click the Start button and select Settings. Or press Windows key + I on your keyboard to open Settings quickly.
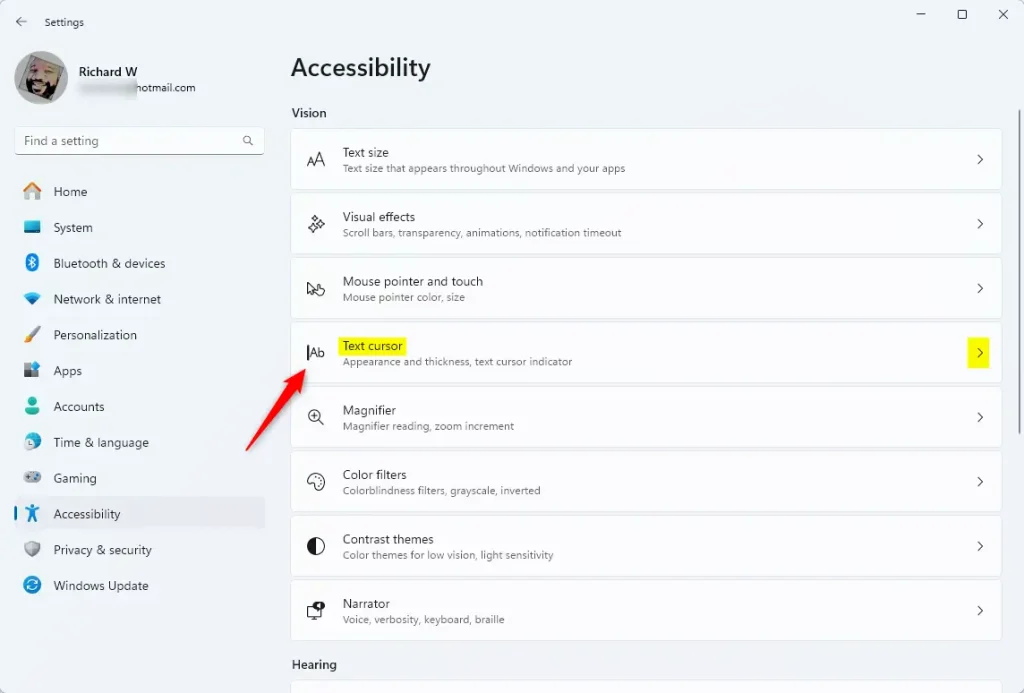
- Go to Accessibility: In the Settings window, click Accessibility on the left side menu.
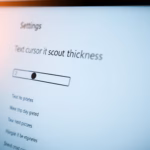
- Select Text Cursor: On the right side, find and click on the Text cursor option.
- Pick a Color: Under Recommended colors, click any color to instantly change the text cursor color.
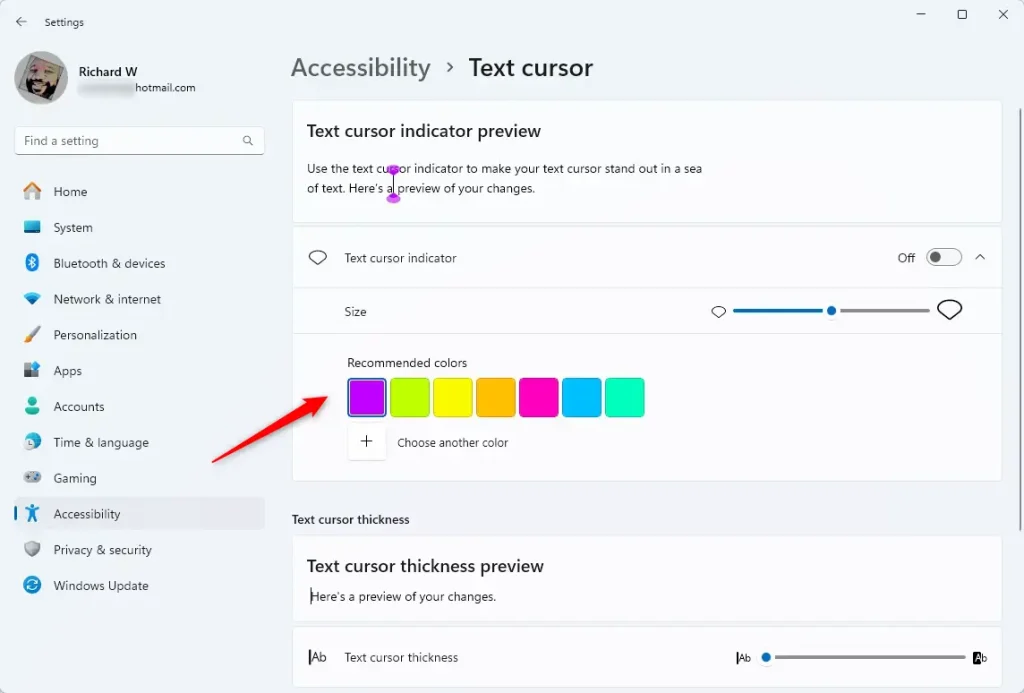
- Choose a Custom Color (Optional): If you don’t like the recommended colors, click the + button to pick a different one.
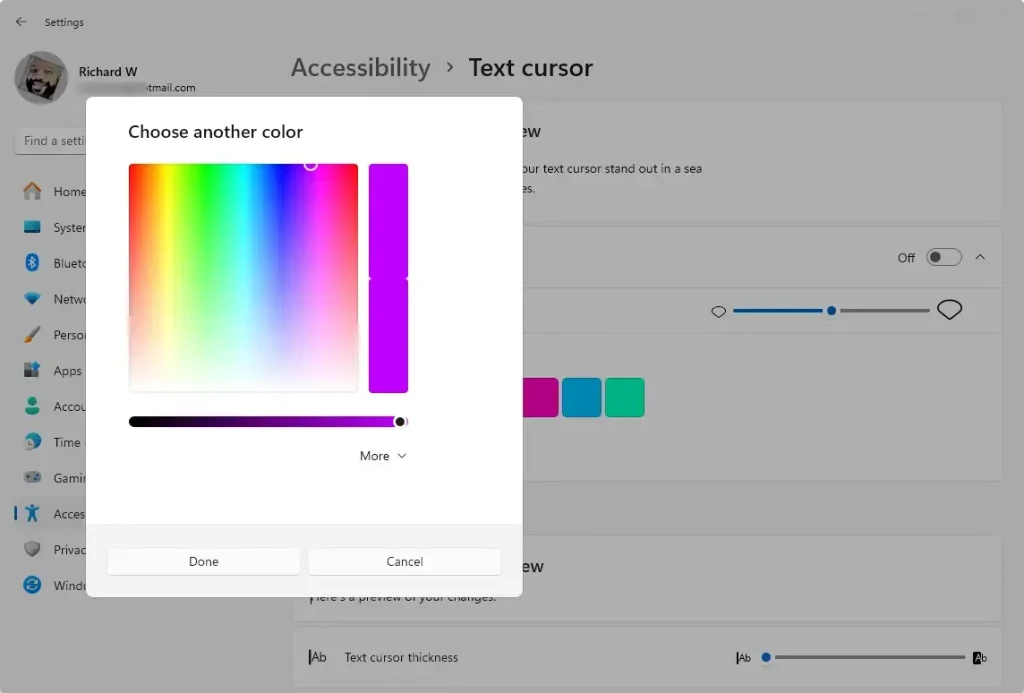
- Click More to enter specific color codes using
RGBorHSVsettings if you want a very exact color.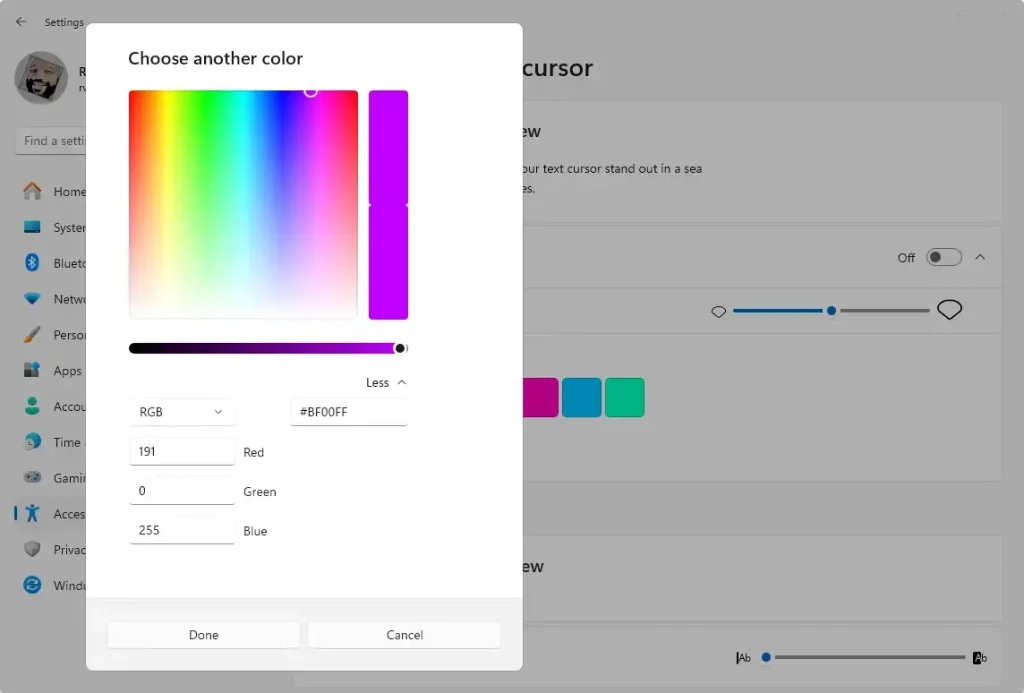
- When you’re happy with your color, press Done.
- Close the Settings window. Your new cursor color is now active!
Tips for Choosing a Cursor Color
- Pick a bright color that stands out against your desktop background and apps.
- Try a few colors to see which one feels easiest on your eyes.
- If you have vision problems, high contrast colors like bright yellow or green can help.
Summary
Changing the text cursor color makes it easier to see where you’re typing. This is especially helpful if you find the default blinking line too hard to spot. Windows 11 lets you pick from preset colors or create your own custom shade. It only takes a few clicks to make the change in Settings. If you found this guide helpful, feel free to share it with friends or leave a comment below if you have questions!
Was this guide helpful?

About the Author
Richard
Tech Writer, IT Professional
Richard, a writer for Geek Rewind, is a tech enthusiast who loves breaking down complex IT topics into simple, easy-to-understand ideas. With years of hands-on experience in system administration and enterprise IT operations, he’s developed a knack for offering practical tips and solutions. Richard aims to make technology more accessible and actionable. He's deeply committed to the Geek Rewind community, always ready to answer questions and engage in discussions.

No comments yet — be the first to share your thoughts!