
This brief tutorial shows students and new users how to change printer IP address names in Windows 10 easily.
When installing a new printer in Windows, it automatically assigns a name based on the printer’s manufacturer name, series, and model number.
This can be helpful for users who wish to use descriptive information to identify the correct printers when printing. Although this is useful, if the printer’s name is too long, you can rename it to something more identifiable.
To get started renaming printers in Windows, follow the steps below:
Rename Windows Printers
To rename a printer using the Settings app, use these steps:
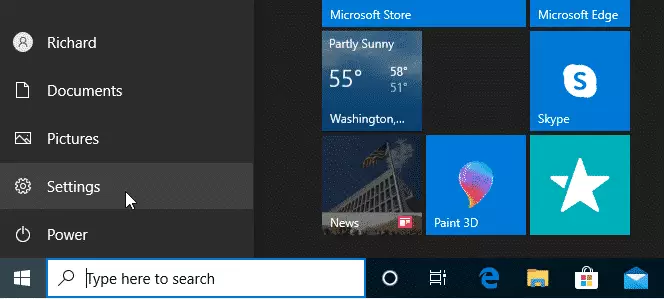
Click on Start at the bottom left corner, then open Settings.
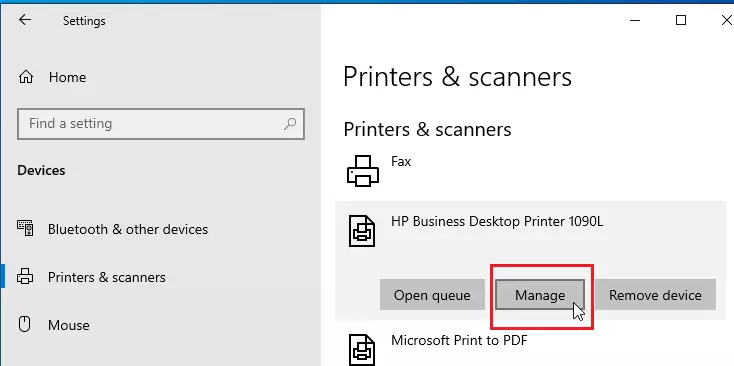
In the Settings pane, click on Devices and navigate to Printers & Scanners.
Select the printer under the “Printers & scanners” section and click the Manage button.
When you click Manage, the printer settings and properties pane will open.
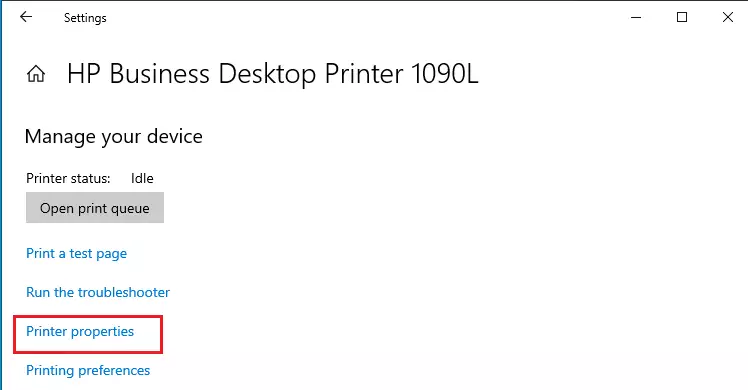
When it opens, go to the General page and rename the printer.
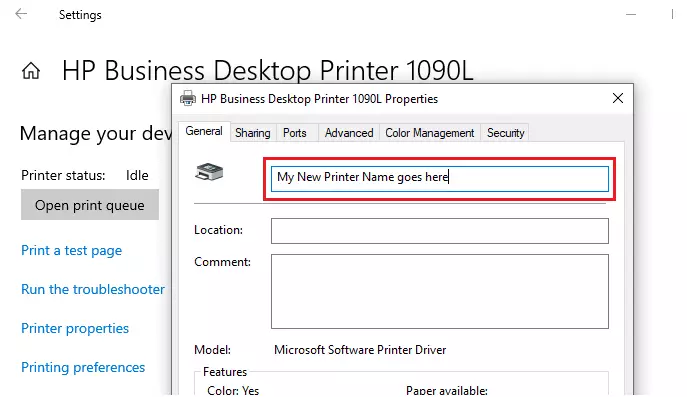
After renaming the printer, type Apply and Ok to finish.
This is how to change the Windows printer name. After completing the steps above, the printer should have the new name you specified.
That’s it!
Conclusion:
This post showed you how to rename a Windows printer easily. If you find any error above, please use the form below to report
You may also like the post below:

Leave a Reply