How to Change Your Product Key in Windows 11
If you need to change your Windows 11 product key, this guide will show you simple steps to do it. A product key is a special 25-character code that activates Windows on your computer.
Not sure what your product key is? Check out our guide on how to find your Windows 11 product key.
Sometimes, your PC might have a digital license instead of a product key. This means Windows is activated without you needing to type a key.
You might want to change your product key if you have a generic key installed or if you want to upgrade to a better version of Windows.
Open Settings, navigate to System, then Activation. Click “Change product key” and enter your new 25-character key. Click “Activate” to complete the process.
Change the Product Key Using Windows Settings
Here’s an easy way to change your product key using the Windows Settings app:
- Open Settings: Press the Windows key + I on your keyboard to open the Settings app.
Or click the Start button and then select the gear icon (Settings).
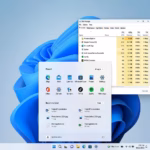
- Go to System: On the left menu, click System.
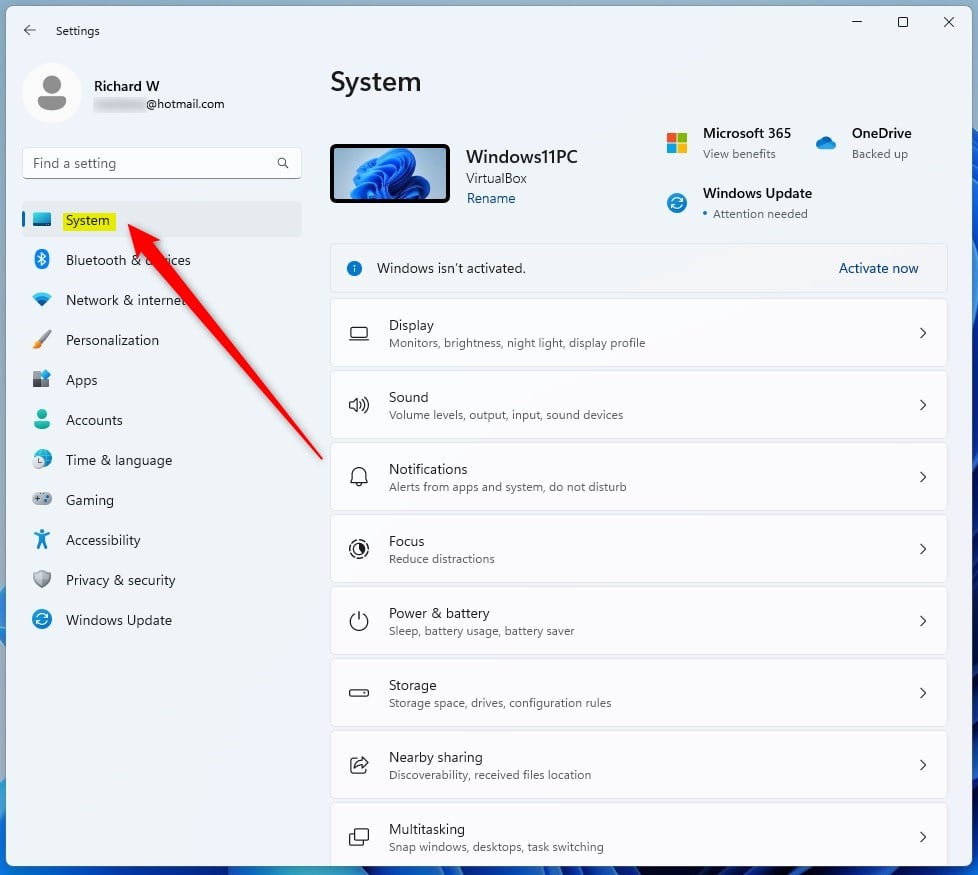
windows 11 system tile
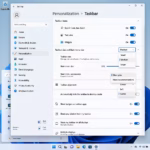
- Click Activation: On the right side, find and click Activation.
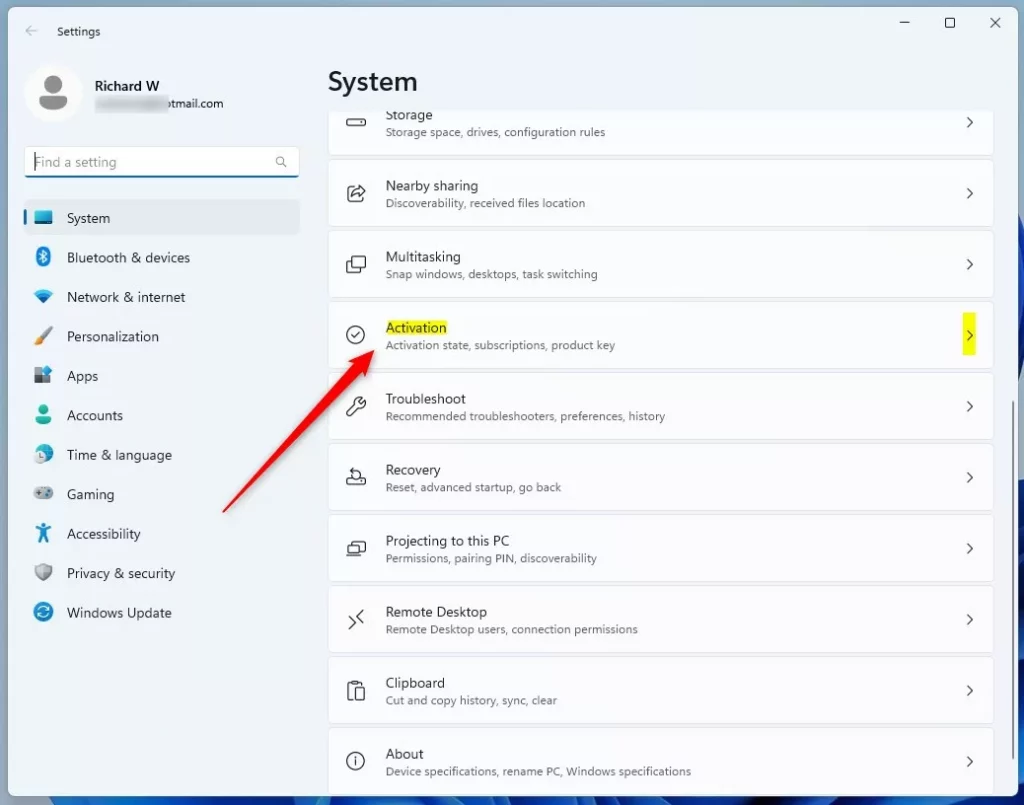
windows activation tile
- Change Product Key: Look for the Change product key button and click it.
Note: If you have Windows 11 Home, you might first see Upgrade your edition of Windows. Click to expand, and then find the change key option.
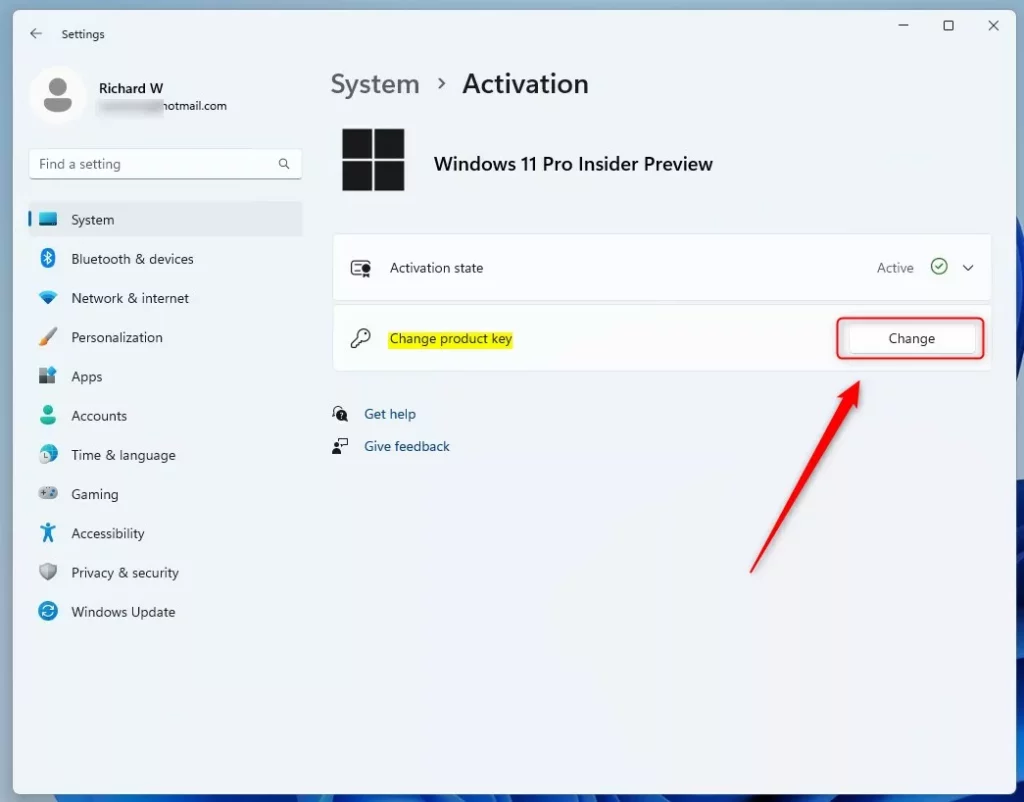
windows change product key button
- Enter Your New Key: Type your 25-character product key here.
Need help finding your key?
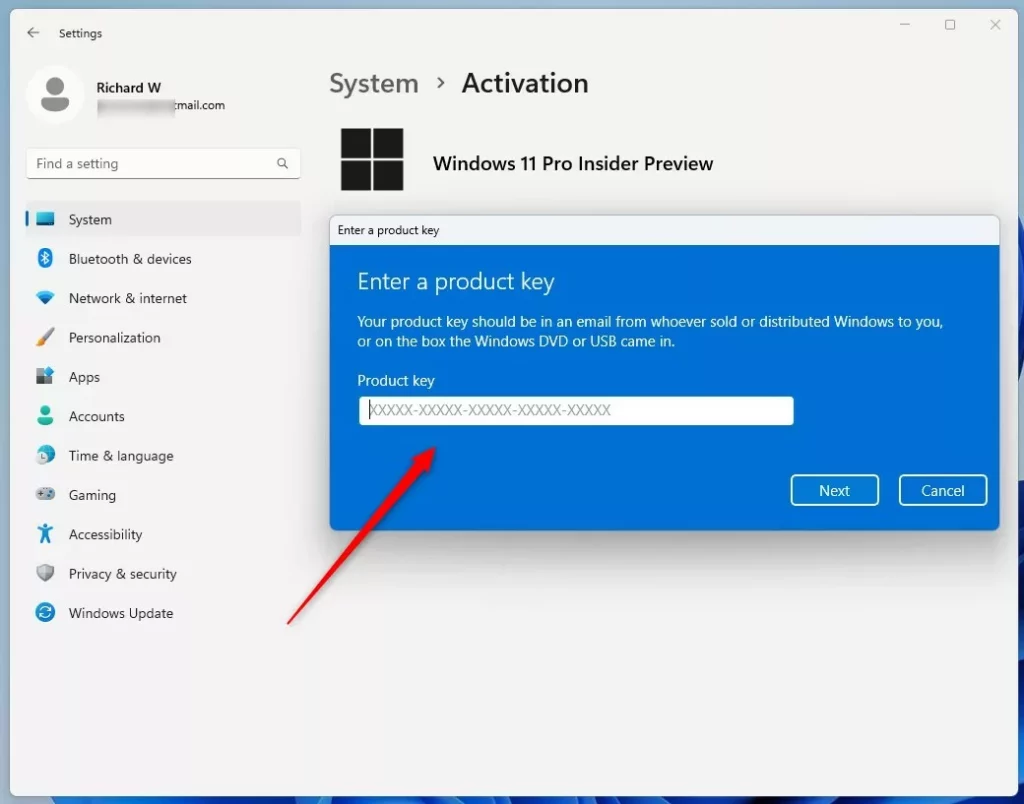
windows change product key enter field
- Activate: Click the Activate button to finish.
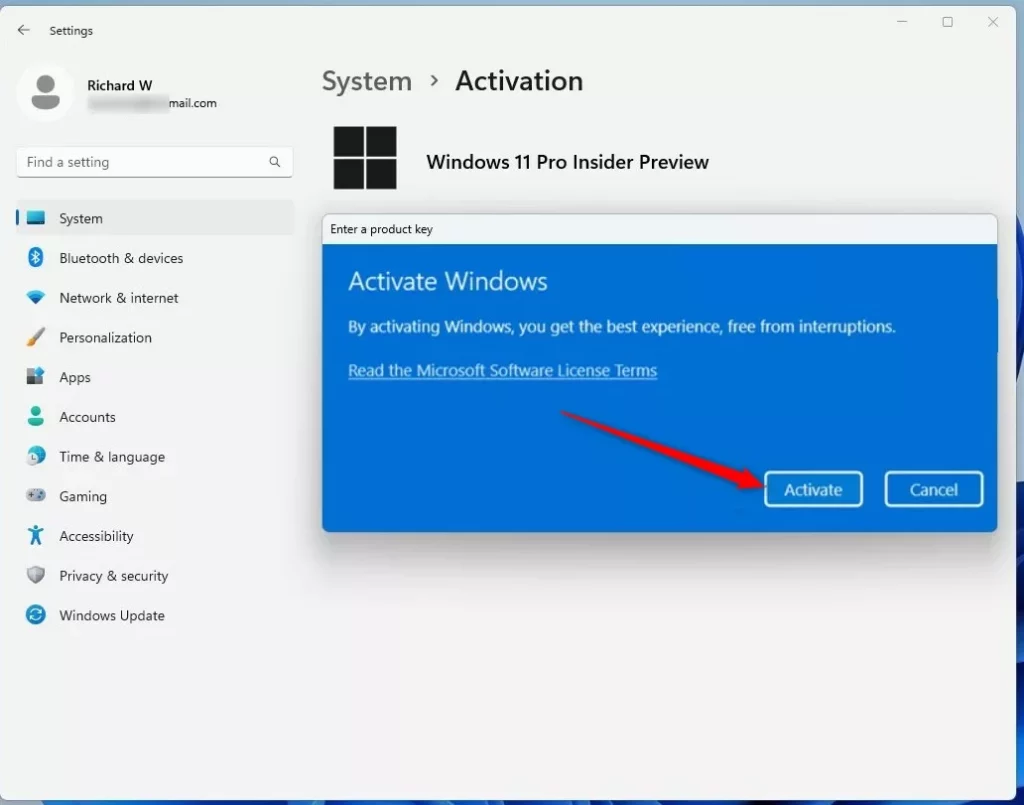
windows change product key activate button
- Close Settings: Click Close when done.
Change the Product Key Using Command Prompt
If you like using commands, you can change the product key with Command Prompt (or Windows Terminal):
- Open Windows Terminal: Press Windows key + X and choose Windows Terminal (Admin). Or search for “Windows Terminal” in the Start menu and run it as administrator.
Learn more about opening Windows Terminal.
- Type the Command: Enter this command, replacing
XXXXX-XXXXX-XXXXX-XXXXX-XXXXXwith your product key:Codeslmgr /ipk XXXXX-XXXXX-XXXXX-XXXXX-XXXXX
- Press Enter: Hit Enter to run the command.
- Confirm: A confirmation message will pop up. Click OK.
That’s it! Your product key should now be updated.
More Help & Official Info
For full details on Windows activation, visit Microsoft’s official page: Windows 11 Activation Support.
Summary
- Changing your product key helps activate or upgrade Windows 11.
- The easiest way is through the Windows Settings app.
- You can also use Command Prompt with the
slmgr /ipkcommand. - Check Microsoft’s official support for detailed guidance.
Was this guide helpful?
100% of readers found this helpful (1 votes)

About the Author
Richard
Tech Writer, IT Professional
Richard, a writer for Geek Rewind, is a tech enthusiast who loves breaking down complex IT topics into simple, easy-to-understand ideas. With years of hands-on experience in system administration and enterprise IT operations, he’s developed a knack for offering practical tips and solutions. Richard aims to make technology more accessible and actionable. He's deeply committed to the Geek Rewind community, always ready to answer questions and engage in discussions.

No comments yet — be the first to share your thoughts!