This guide will show you how to stop Windows 11 from showing your recently opened files and folders on the Start menu.
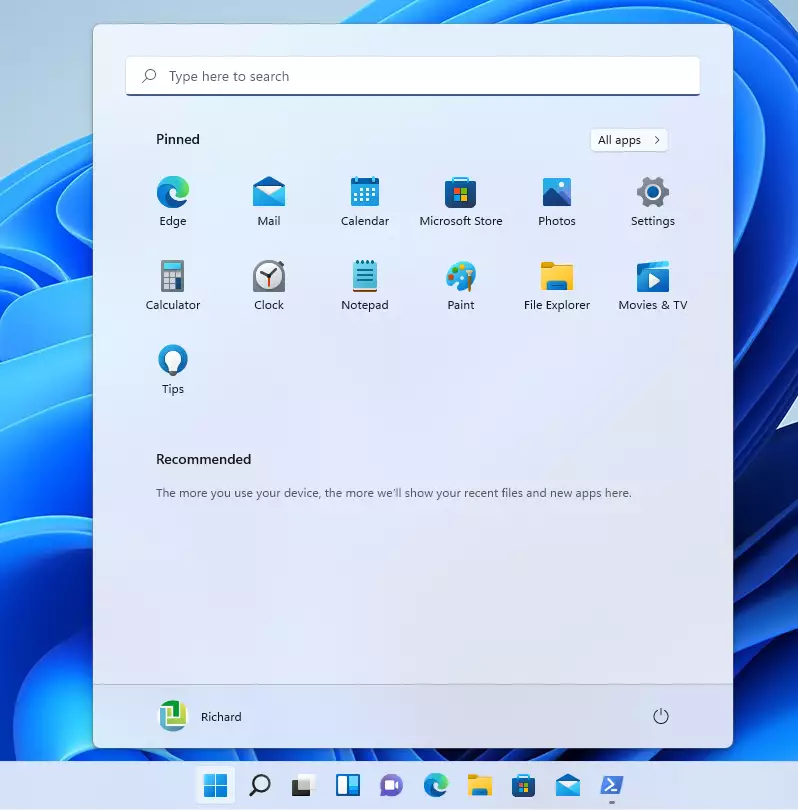
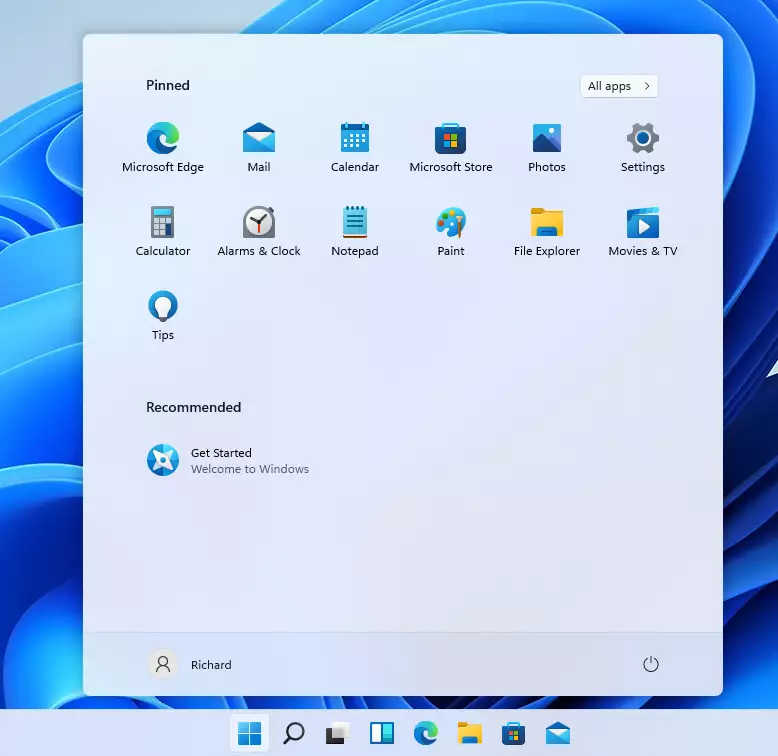
By default, Windows 11 shows some of your recent activity in the “Recommended” section of the Start menu. This includes files and folders you opened recently and apps you used.
If you want to keep your recent activities private — especially if you share your computer with others — you can turn this feature off.
How to Hide Recent Files on the Start Menu
Follow these simple steps:
Open the Settings app:
Click on the Start button (the Windows logo) and then click Settings.
Or press Windows key + I to open Settings quickly.
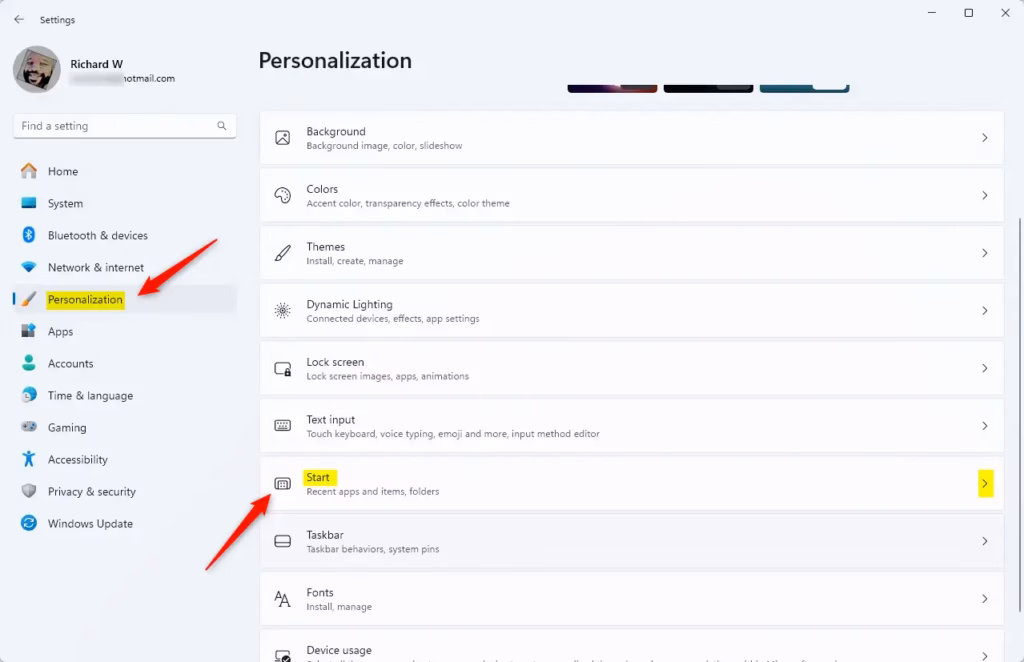
In the Settings window, click on Personalization in the left menu.
Then click on Start on the right side.
Find the option that says:
“Show recommended files in Start, recent files in File Explorer, and items in Jump Lists”
Click the switch next to it to turn it Off.
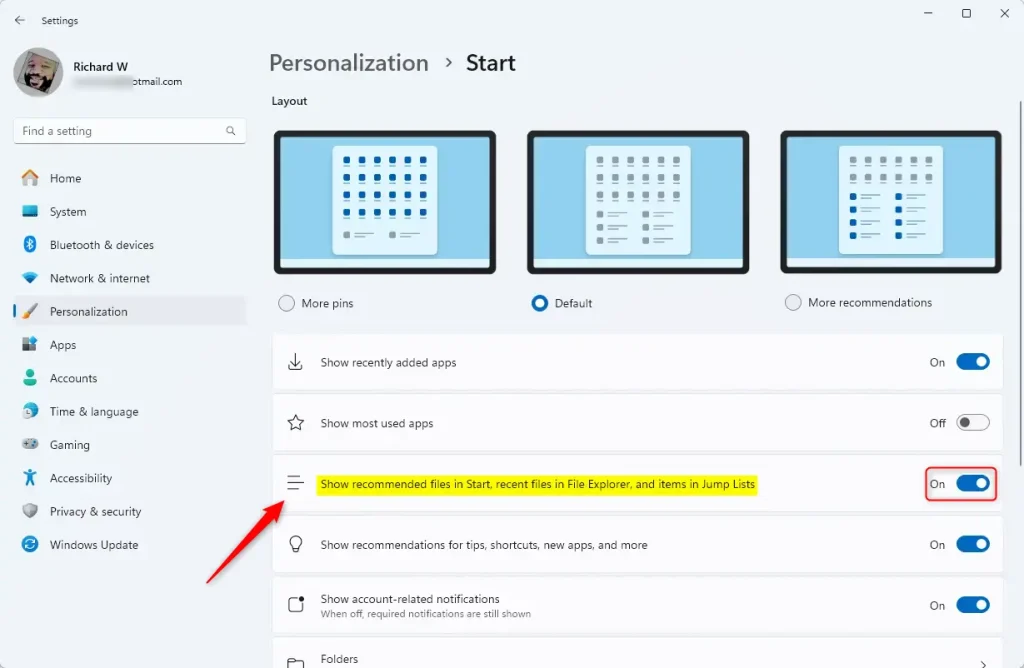
Once you turn this off, Windows won’t show your recent files and folders in the Clear the Recommended Section in the Windows 11 Start Menu anymore.
Note: This only affects recent files and folders shown by Windows. It does not clear or change your web browser history. To manage your browsing history, you need to adjust settings inside your web browser separately.
Summary
- Turning off recent files and folders in Windows 11 helps protect your privacy.
- This is useful if you share your computer with family, friends, or coworkers.
- You can easily find the option in the Settings app under Personalization > Start.
- Your web browser history is not affected by this change.
- Keeping control over what Windows shows on your Start menu helps keep your information safe.
For more Windows 11 tips, visit Geek Rewind.

Leave a Reply