How to Make Everything Bigger on Your Windows 11 PC
Making everything bigger on your Windows 11 PC involves adjusting the display scaling. Display scaling in Windows 11 changes the size of text, apps, and other items on your screen. This is different from just increasing font size; it enlarges everything proportionally for better visibility.
Many users find themselves needing to make their entire display larger, especially with high-resolution screens or for users experiencing eye strain. Windows 11 offers a straightforward way to achieve this through its display settings.
This setting can significantly improve readability and reduce the effort needed to interact with your computer. The main scaling option allows you to choose percentages, such as 125% or 150%, to enlarge your entire desktop.
Making Your Whole Screen Bigger: Scaling Up
Sometimes, making text bigger isn’t enough. Buttons, pictures, and even whole windows might still feel too small. This is where the scaling feature helps. It makes everything on your screen larger at the same time. This makes your computer screen feel more open and easier to use. Think of it like putting on reading glasses for your whole computer!
Step 1Go to Display Settings
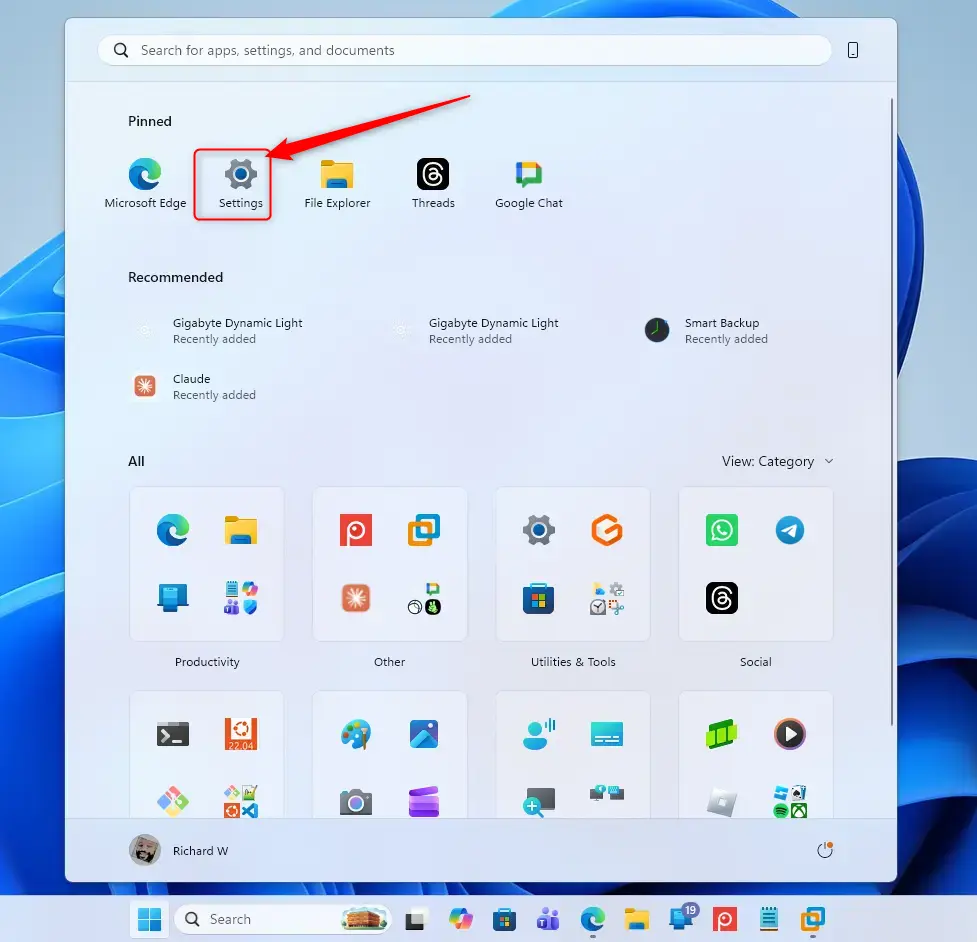
Open your Windows settings. Click the Start button (usually in the bottom-left corner). Then, click the gear icon for ‘Settings’. Or, press the Windows key + I on your keyboard.
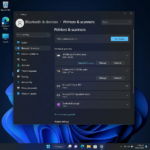
Step 2Find Display Options
In the Settings window, look for ‘Accessibility’ and click it. Then, scroll down and click ‘Display’; this section controls how things look on your screen.

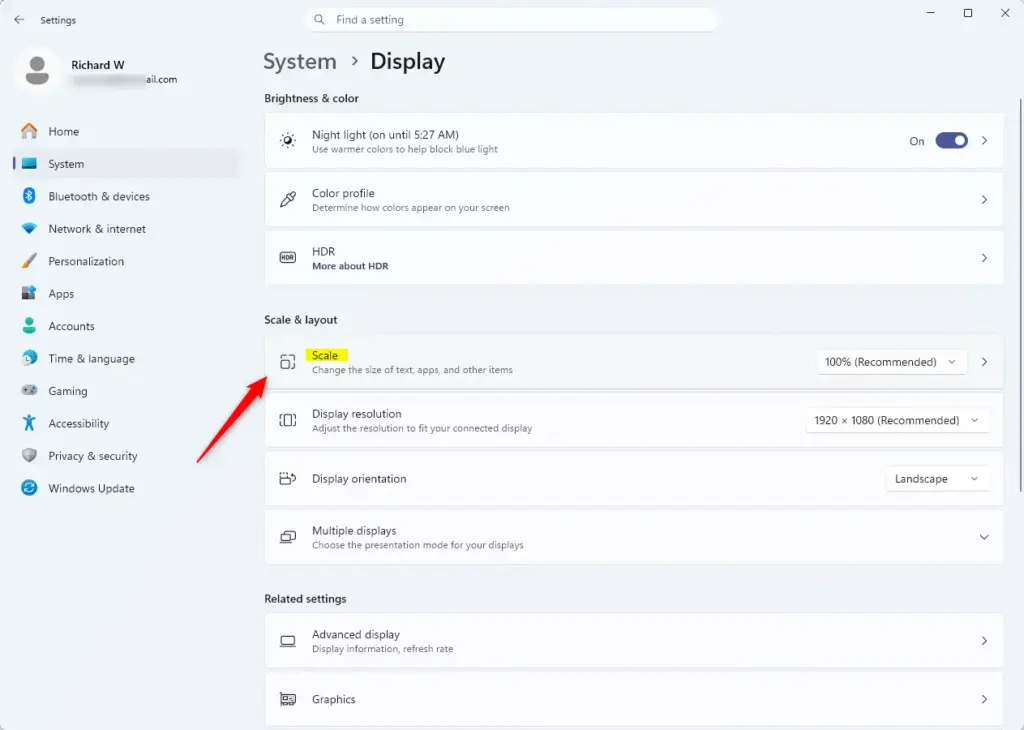
Step 3Find the Scale Setting
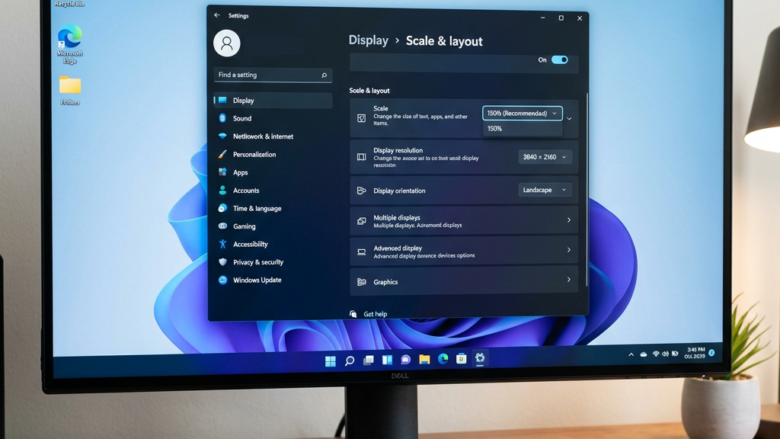
Now you are in the Display settings. Look for a setting called ‘Scale’ or ‘Make everything bigger’. Next to it, you’ll see a dropdown menu. This menu has different sizes, like 100%, 125%, 150%, and more.
What does ‘Scale’ mean? ‘Scale’ tells Windows how big to make everything on your screen. 100% is the normal size. A bigger number, like 125% or 150%, makes text, apps, icons, and pictures larger everywhere.
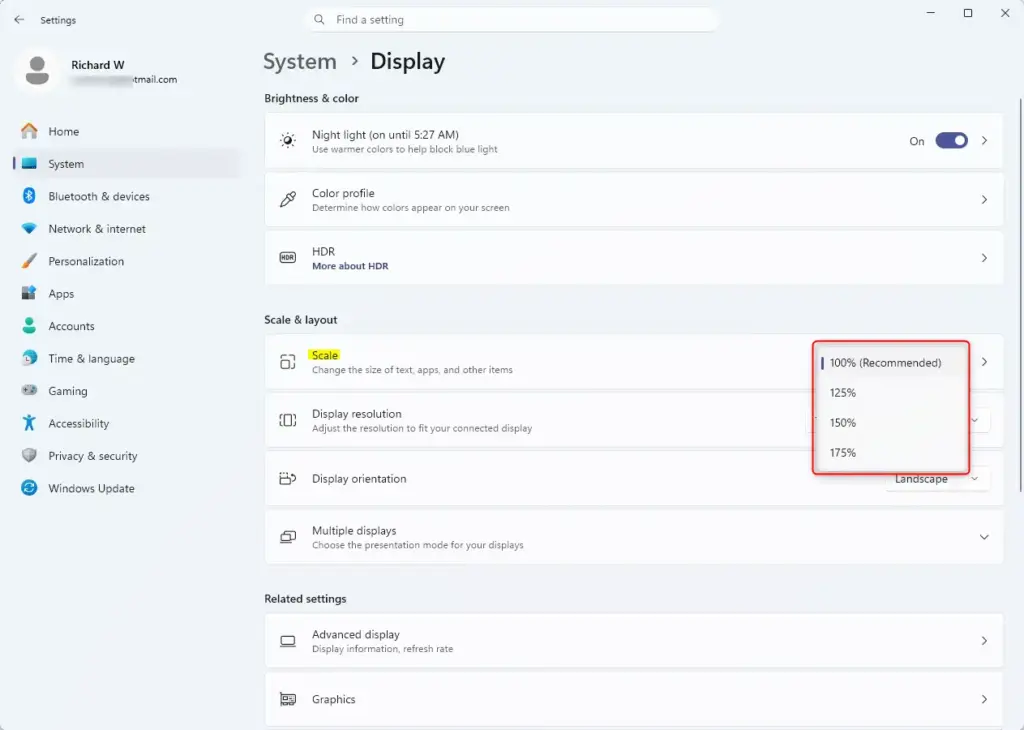
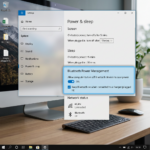
Step 4Pick Your Size
Click the dropdown menu next to ‘Scale’. You’ll see recommended sizes. Windows often suggests one that’s best. If you want things bigger, try 125%. If that’s still too small, try 150% or higher. There’s no single right answer. It depends on what you like and your screen.
Step 5Apply the Changes
Once you pick a new scale size, Windows typically applies it right away. Your desktop, icons, windows, and text should get bigger. Sometimes, Windows will ask you to sign out and sign back in for the changes to work everywhere. If some things don’t look right, signing out and back in can help.
Step 6Check Your Screen
Look at your desktop. Open apps you use often, like your web browser or email. Is the text easier to read? Are the buttons clearer? Can you see pictures better? If 125% feels good, keep it. If you need more space, go back and try 150%. The goal is to make your computer comfortable for you.
When Scaling Isn’t Enough: Use Magnifier
Scaling makes everything bigger all the time. But sometimes, you just need to zoom in on one part of your screen for a moment. That’s where Windows Magnifier comes in. It’s like a digital magnifying glass.
How to Use Magnifier
To turn on Magnifier, press the Windows key + Plus (+) on your keyboard. Your screen will zoom in. Keep pressing Windows key + Plus (+) to zoom in more. To zoom out, press the Windows key + Minus (-)**. To turn Magnifier off, press the Windows key + Esc.
Reference:
Conclusion
Making your computer screen easier to use is essential for a comfortable experience. By adjusting the scaling settings, you can ensure that text, images, and icons are the right size for your needs, enhancing your interaction with your device. Whether you opt for 125%, 150%, or even higher scaling options, the goal is to create a setup that works best for you. Remember, if adjusting the scale isn’t enough, the Windows Magnifier offers a quick solution for zooming in on specific content. Take the time to experiment with these settings until you find the perfect balance, allowing you to enjoy your digital workspace without straining your eyes.
Was this guide helpful?

About the Author
Richard
Tech Writer, IT Professional
Richard, a writer for Geek Rewind, is a tech enthusiast who loves breaking down complex IT topics into simple, easy-to-understand ideas. With years of hands-on experience in system administration and enterprise IT operations, he’s developed a knack for offering practical tips and solutions. Richard aims to make technology more accessible and actionable. He's deeply committed to the Geek Rewind community, always ready to answer questions and engage in discussions.

No comments yet — be the first to share your thoughts!