How to let Windows 11 Set the last printer used as the default printer
Windows 11 can automatically set your last-used printer as the default, saving you time and frustration.
This setting means your computer remembers which printer you just printed to and makes that one the default for your next print job.
This helpful feature helps avoid sending single-page prints to a large office printer, for example.
You can easily turn this on in Windows 11’s Settings app.
Here’s how to make Windows 11 pick the printer you last used automatically.
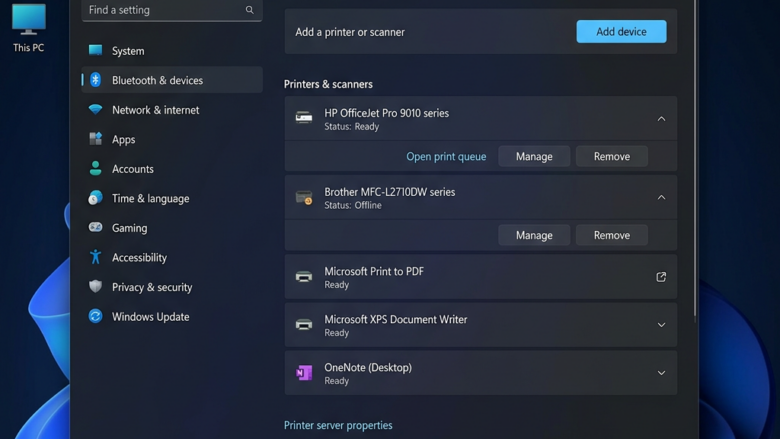
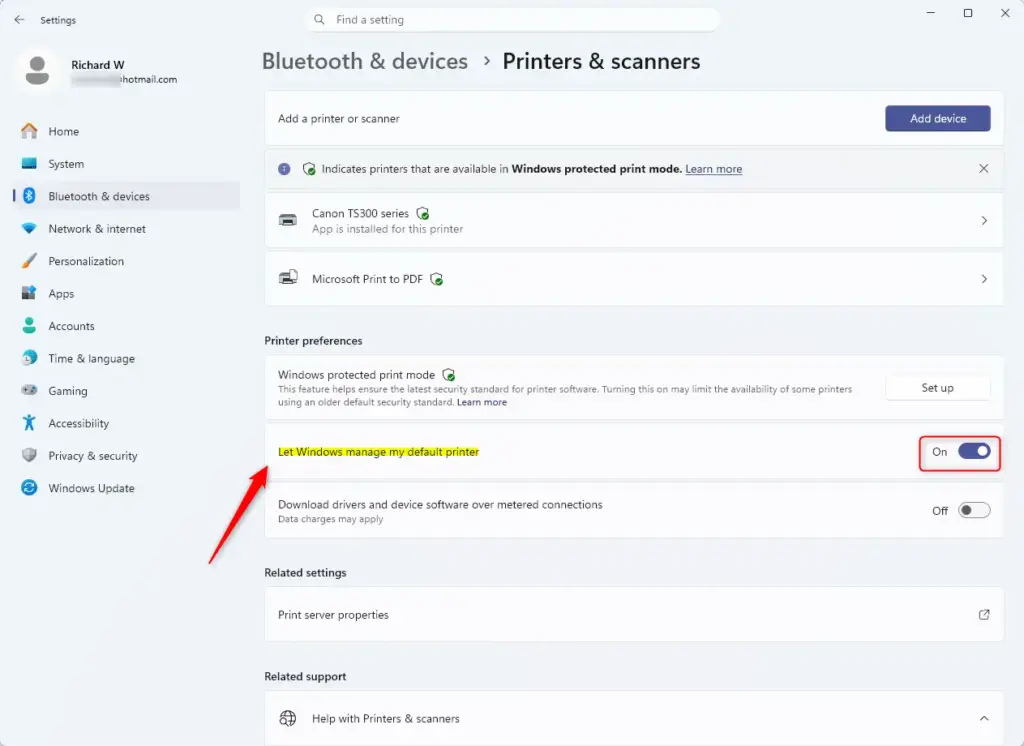
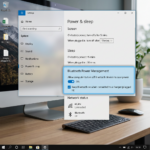
Go to Settings > Bluetooth & devices > Printers & scanners and turn the “Let Windows manage my default printer” option to On. Windows will then automatically use the printer you last printed to as the default.
Make Windows Your Printing Helper
Windows can automatically set your last used printer as the default, which is super handy if you print from different locations or use multiple printers.
Let’s learn how to set these options for better printing.
Option 1Windows Picks the Last Printer Used
This tells Windows to be smart about how you print. You don’t have to remember to change the default printer. Windows will remember for you. It’s like having a helper who knows you just printed a photo and might want to use the photo printer next.
Step 1Open Printer Settings
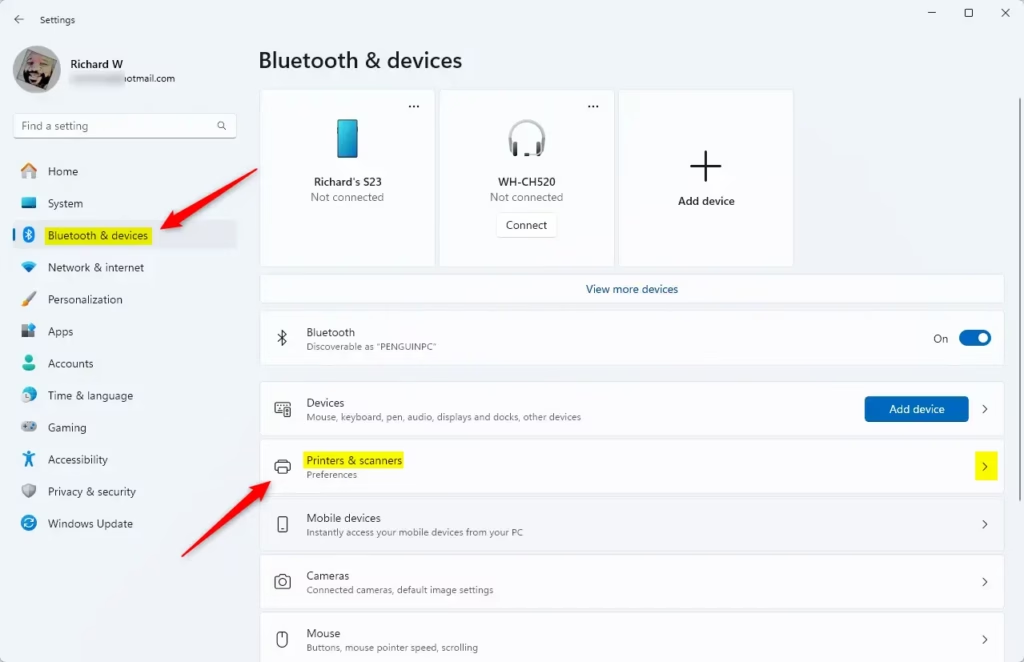
Open your Windows settings by clicking the Start button (usually bottom-left), then select Settings (the gear icon). Navigate to ‘ Bluetooth & devices,’ and then click on ‘Printers & scanners.’
Step 2Let Windows Manage Your Default Printer
In the Printers & scanners settings, look for “Printer preferences” or something similar. Look for a switch or box labeled ‘Let Windows manage my default printer’. Turn this option On.
Step 3Confirm the Setting
Once you’ve turned on the ‘Let Windows manage my default printer’ option, your PC will automatically select the printer you last printed to as the default for your next print job.
Reference:
Summary
Letting Windows manage your default printer means it will automatically pick the printer you used last, saving you the hassle of switching it manually.
Was this guide helpful?

About the Author
Richard
Tech Writer, IT Professional
Richard, a writer for Geek Rewind, is a tech enthusiast who loves breaking down complex IT topics into simple, easy-to-understand ideas. With years of hands-on experience in system administration and enterprise IT operations, he’s developed a knack for offering practical tips and solutions. Richard aims to make technology more accessible and actionable. He's deeply committed to the Geek Rewind community, always ready to answer questions and engage in discussions.

No comments yet — be the first to share your thoughts!