How to Create a Windows Recovery Drive for Windows 11

A Windows Recovery Drive is a bootable USB drive that contains system repair tools to help you fix your Windows 11 PC when it won’t start properly.
This essential tool allows you to troubleshoot startup problems, reset your PC to a previous state, or reinstall Windows without needing an original installation disc.
Creating a Windows 11 recovery drive typically requires a USB flash drive with at least 16GB of storage.
Having this recovery media ready gives you a powerful way to recover your system and avoid costly data loss or professional repair fees.
Search for “Create a recovery drive” in the Windows search bar and open the tool. Plug in a USB drive, check “Back up system files to the recovery drive,” select your USB, and click “Create.
What is a Recovery Drive?
A Windows recovery drive is a special USB stick that holds the files you need to fix big problems with your computer, like when Windows won’t start at all.
Here’s why it’s useful:
- System Files: It has important Windows files needed to start and use the recovery tools.
- Troubleshooting Tools: It gives you access to advanced tools like Startup Repair, System Restore, Command Prompt, and options to reset or reinstall Windows.
- Manufacturer Tools: If your computer maker added special recovery tools or drivers, they might also be copied to the drive.
Your personal files, like photos or documents, won’t be saved on it. You’ll need separate backup methods for those. The recovery drive is strictly for fixing your Windows system.
How to Create a Windows Recovery Drive
Let’s get started building your computer’s safety net. You’ll need a USB flash drive with at least 16GB of space. Make sure it’s empty, because this process will erase everything on it. Seriously, double-check that there’s nothing important on that USB drive before you start!
Search for the Recovery Drive Tool
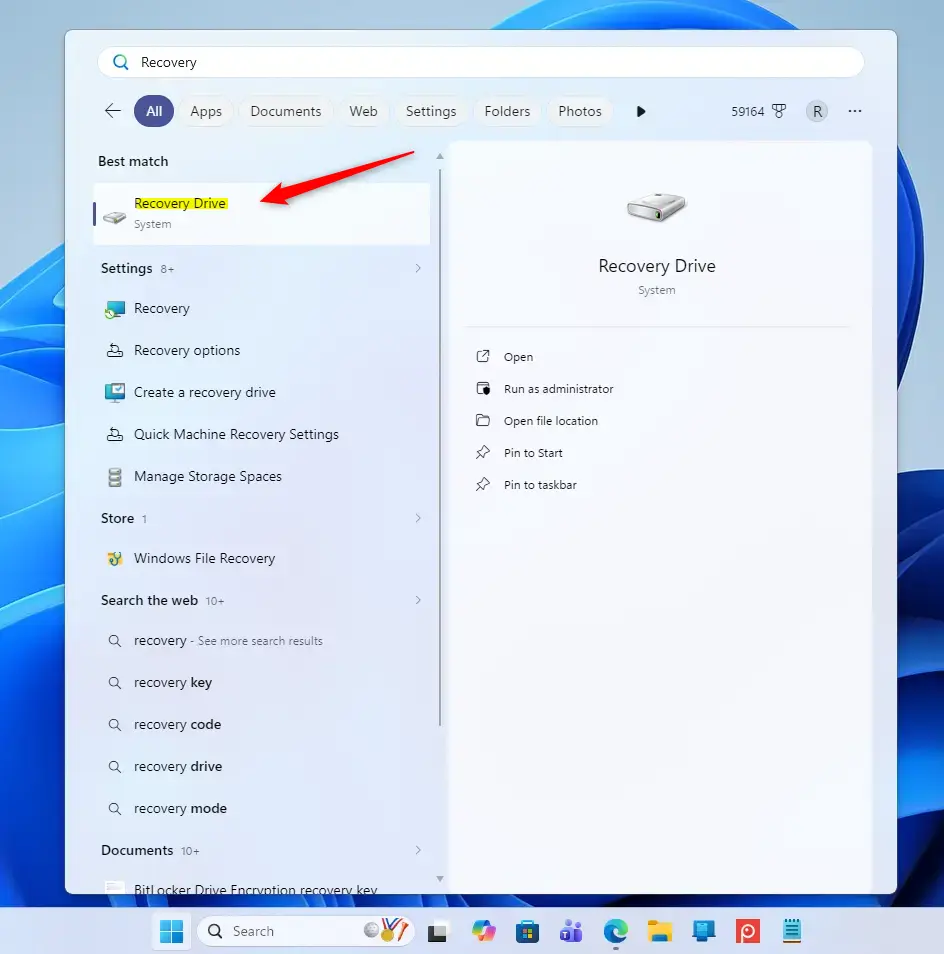
The fastest way to start is by using the Windows search bar. Click the Start button (that’s the Windows icon in the bottom-left corner) and then type ‘Recovery Drive.’ You’ll see an option called ‘Create a recovery drive.’ Click it to open the tool.
Connect Your USB Drive
Now, plug your empty USB flash drive into an available USB port on your computer. Make sure it’s connected securely.
Set Up the Recovery Drive
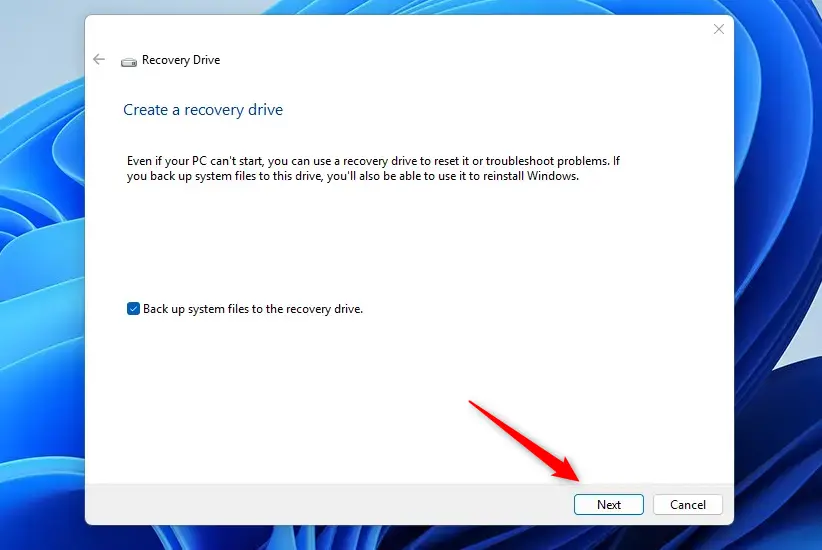
When the Recovery Drive tool opens, make sure to check the box that says “Back up system files to the recovery drive” to ensure it can fully reinstall Windows later.
Once you’ve confirmed that box is checked, click ‘Next.’
Choose Your USB Drive
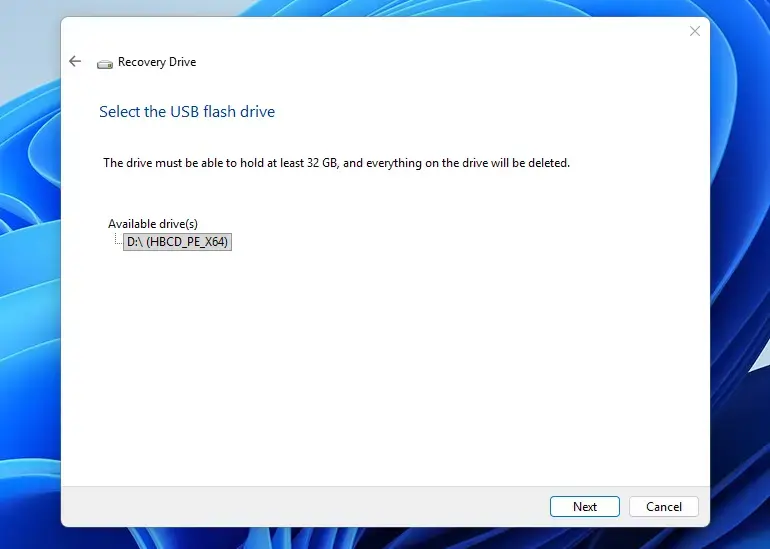
The tool will look for connected USB drives. You should see your USB drive listed. Select the correct drive from the list. Again, be very sure you’ve chosen the right one, because its contents will be erased.
Click ‘Next’ to move forward.
Start Creating the Drive
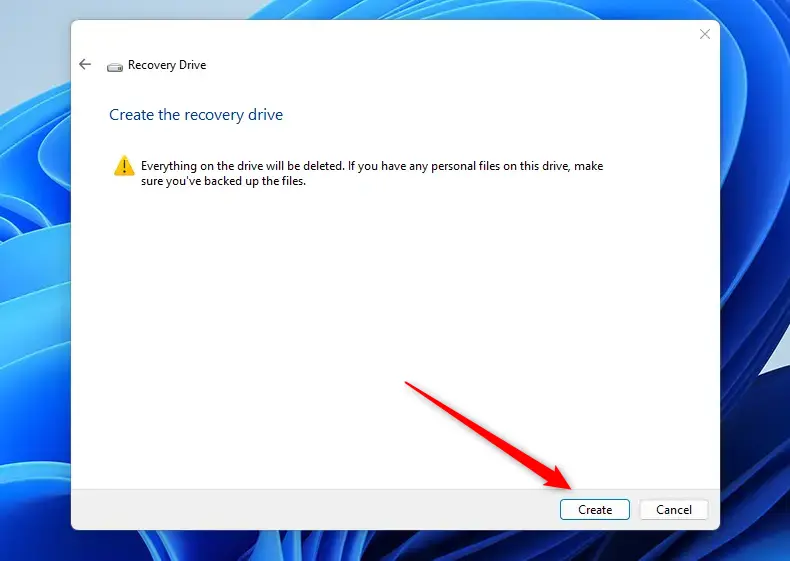
To start creating your Windows recovery drive, click “Create” on the warning screen, which confirms that all data on your USB will be erased.
This is where the process begins, and it takes time. Windows will start copying the necessary files to your USB drive. This can take a long time, from 20 minutes to over an hour, depending on how fast your computer is and how many system files need to be copied. Your computer might run a bit slower during this time, so it’s a good moment to take a break or do something else.
Finish and Store Safely
Once the process is complete, you’ll see a message confirming your recovery drive is ready, and you can then click “Finish” to complete the setup.
Click “Finish.” Your recovery drive is now created!
Reference:
https://support.microsoft.com/en-us/windows/recovery-drive-abb4691b-5324-6d4a-8766-73fab304c246
Summary: A Windows Recovery Drive is a bootable USB that helps fix startup issues, reset, or reinstall Windows. You need a 16GB USB drive. To create one, search for “Create a recovery drive,” follow the prompts, and select “Back up system files to the recovery drive.” This process erases the USB drive. To use it, boot your computer from the USB drive and choose recovery options. It’s recommended to recreate the drive yearly to include the latest updates.
Was this guide helpful?

About the Author
Richard
Tech Writer, IT Professional
Richard, a writer for Geek Rewind, is a tech enthusiast who loves breaking down complex IT topics into simple, easy-to-understand ideas. With years of hands-on experience in system administration and enterprise IT operations, he’s developed a knack for offering practical tips and solutions. Richard aims to make technology more accessible and actionable. He's deeply committed to the Geek Rewind community, always ready to answer questions and engage in discussions.

No comments yet — be the first to share your thoughts!