How to Add Members to Your Microsoft Family Group

You add members to your Microsoft Family group by sending them an email invitation that they accept.
A Microsoft Family group allows you to manage screen time, content filters, and app access for your children on Windows PCs and Xbox consoles. Adding members lets you share these management responsibilities or simply include everyone in your digital household.
For example, you can add a child to monitor their usage on a Windows 11 PC or an adult who can help you set limits and approve downloads.
This process is straightforward and can be completed through the Microsoft Family Safety website or app.
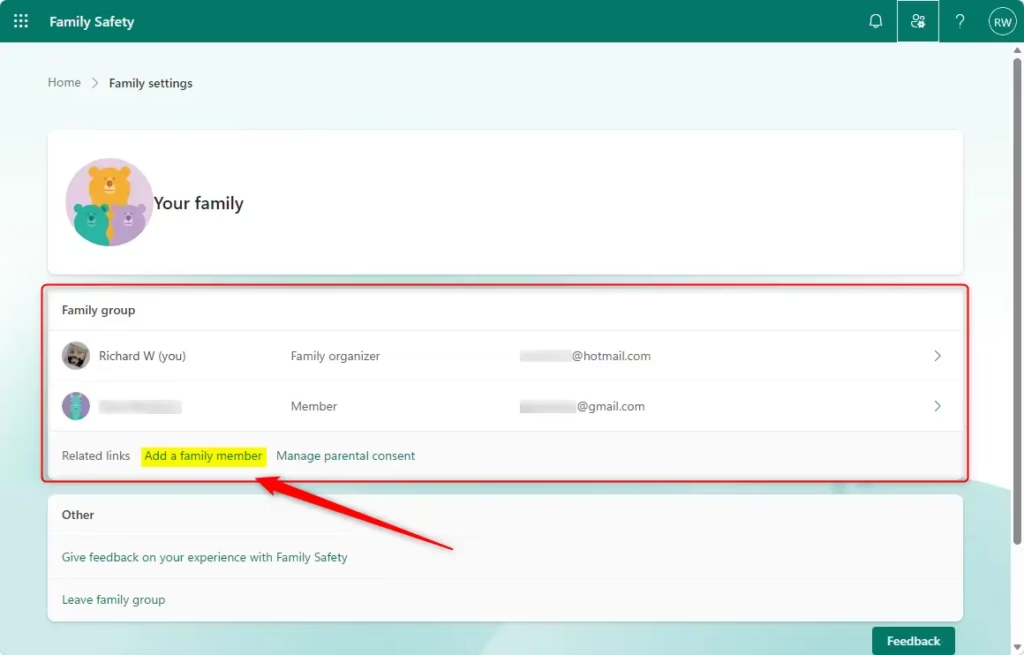
Sign in to family.microsoft.com as the organizer and select “Add a family member.” Choose the role for the new member and send the invitation for them to accept.
Step 1Go to the Family Hub Website
The most convenient way to manage your Microsoft Family group is through its website. This is where you’ll handle most of your family’s settings.
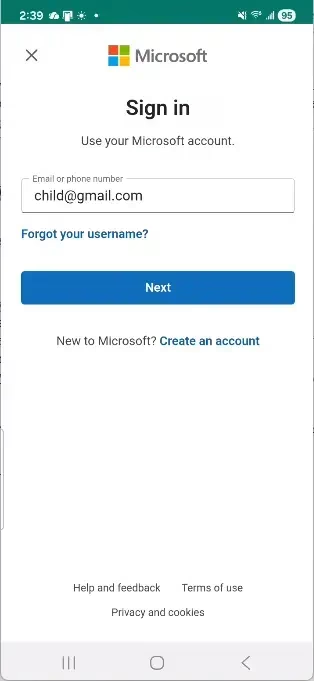
- Sign in as the Organizer: You need to use the Microsoft account that is set up as the Family Organizer. This is usually the account you used when you first set up Family Safety. Go to family.microsoft.com and sign in with your organizer details.
Tip: Make sure you sign in with the right account! If you have more than one Microsoft account, check which one is the organizer. Signing in with a regular member account will not give you the needed permissions.
- Find the “Add” Option: After you log in, you will see a list of your current family members. Look for a clear button or link that says something like “Add a family member.” It is usually easy to see on the main page.
Step 2Choose Their Role
Before you send an invite, you need to decide what role the new person will have in your family group. This is important because it determines what they can do.
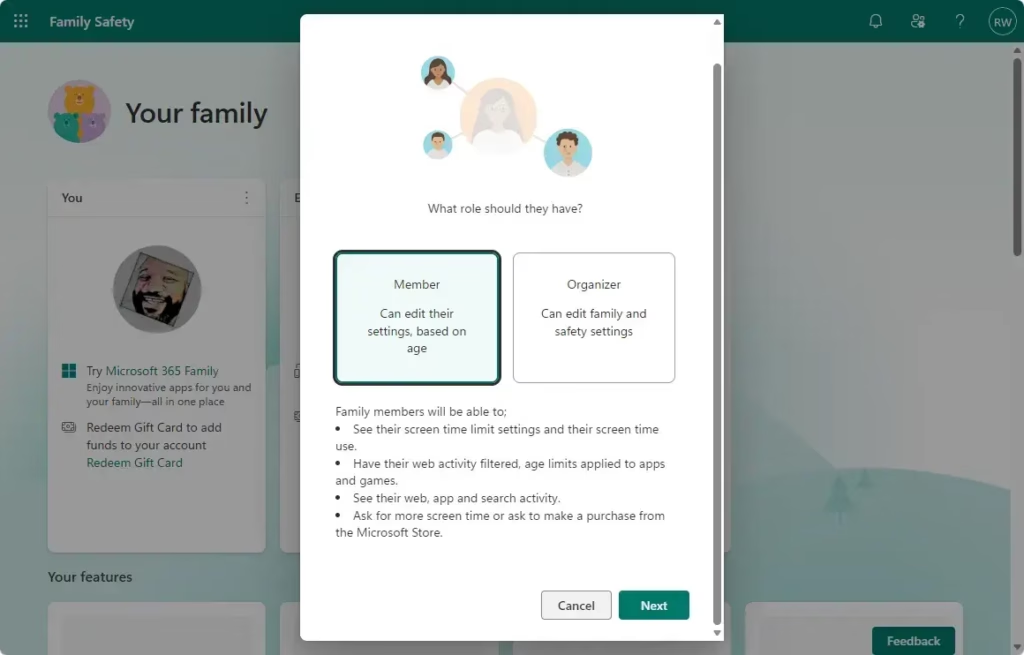
- Select the Role: When you click “Add a family member,” you will be asked to pick a role for the person you are inviting. There are two main choices:
Choose the correct role and click “Next.”
Warning: Be careful when you give someone the Organizer role. You are giving them the power to manage the family group. Only give this role to adults you trust.
- Member: This is usually for children. Organizers can watch what members do online. Organizers can also control which apps, games, and websites members can use.
- Organizer: This role is for adults in the family group. Organizers can manage other members. They can add or remove people from the group. They can also change settings for everyone. You can have more than one organizer.
Step 3What Happens for the Person You Invite
After you send the invite, the other person needs to take action. Here’s what they can expect and what they need to do.
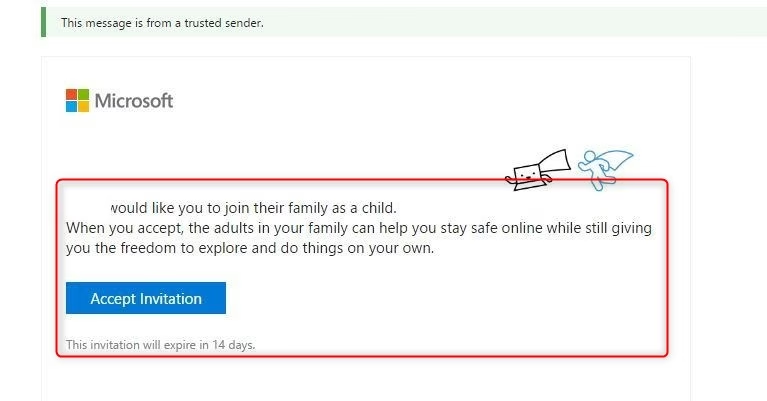
- Check Their Email (or Texts): The person you invited will get an email (or a text message if you used their phone number) with a link to join your family group. The email will be from Microsoft.
- Accept the Invitation: They need to click the link in the invitation. This will take them to a Microsoft page. There, they will be asked to sign in with their Microsoft account.
Important Note: If the person you are inviting is already in another Microsoft Family group, they need to be removed from that group first. Then they can join yours. They can ask the organizer of that group to remove them. Or, they can leave the group themselves if they have the right permissions.
- If they are an adult: They will sign in, confirm they want to join your family group, and that is usually all!
- If they are a child (under the legal age): This is a bit more complicated. They will be asked to get permission from an adult. This means you (or another organizer) will get another message asking you to approve them joining. This is important to make sure children are added with a parent’s okay.
Adding Family Members with the Family Safety App
Microsoft also offers a Family Safety app for phones and tablets. It’s a handy way to manage your family group when you’re away from your computer.
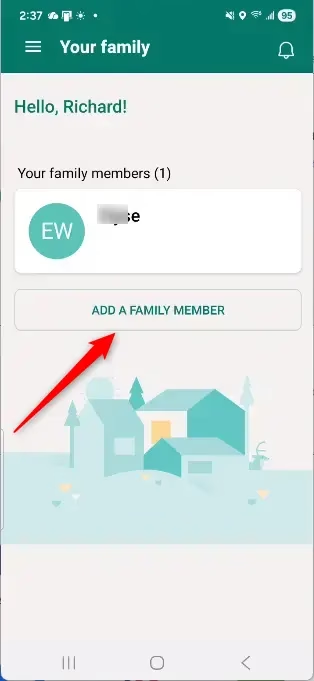
- Open the App: Open the Microsoft Family Safety app on your phone or tablet.
- Go to Add Member: Look through the app until you find an option to “Add a family member.”
- Enter Details and Role: Like on the website, you will be asked to enter the email address or phone number of the person you want to invite. You will also choose their role (Member or Organizer).
- Tap “Invite”: Check your choices and tap “Invite to family group.” The person you invited will then follow the same steps as shown in the web method to accept.
Tip: The Family Safety app is great for quickly checking activity reports or changing settings when you are away from your computer.
Reference:
https://support.microsoft.com/en-us/family-safety/add-people-to-your-family-group
Summary
Adding members to your Microsoft Family group involves a few steps. You can do this through the Family Hub website or the Family Safety app. You’ll need to sign in as the organizer, pick the role for the new member (Member or Organizer), and then send an invitation. The invited person will then accept the invite using their Microsoft account. If you’re inviting a child (under the legal age), it’s a bit more involved. They’ll need to ask an adult for permission. You, or another organizer, will receive a separate message asking you to approve their joining. This ensures children are added only with a parent’s agreement.
Was this guide helpful?

About the Author
Richard
Tech Writer, IT Professional
Richard, a writer for Geek Rewind, is a tech enthusiast who loves breaking down complex IT topics into simple, easy-to-understand ideas. With years of hands-on experience in system administration and enterprise IT operations, he’s developed a knack for offering practical tips and solutions. Richard aims to make technology more accessible and actionable. He's deeply committed to the Geek Rewind community, always ready to answer questions and engage in discussions.

No comments yet — be the first to share your thoughts!