How to Change Voice Access Filtering Options in Windows 11
This guide shows you how to change how Voice Access handles background noise on your Windows 11 computer. This helps Voice Access hear you better.
Voice access lets you control your computer and type using just your voice. You can open apps, browse the web, and write emails. It works even without the internet because it uses technology built right into your PC.
Newer versions of Windows 11 have a feature called Voice Isolation. This helps Voice Access focus only on your voice. It works even if other people are talking or there’s background noise. All of this happens privately on your computer.
Voice Access has three settings for how it listens:
- Voice Isolation: This blocks out other voices and background noise. You need to set it up once.
- Remove background noise only: This blocks sounds like typing or doors closing. No extra setup is needed.
- No filtering: This uses your microphone as is, with no extra sound cleaning.
How to Change Voice Access Sound Settings
Method 1: Using Settings
- Turn on Voice Access.
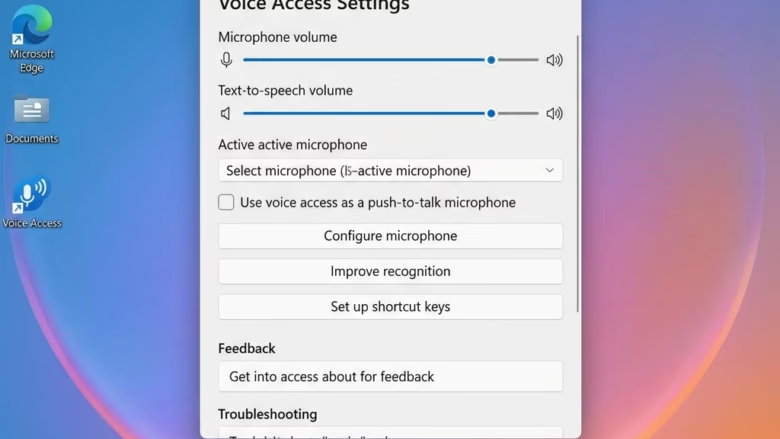
- Look for the Voice Access toolbar at the top of your screen. Click the Settings (gear) icon.
- In the menu that appears, click on Improve speech recognition.
- Now, choose the option you want: Voice Isolation, Remove background noise only, or No filtering.
Note: The Voice Isolation setting might not be fully functional yet.

Method 2: Using the Registry Editor (Advanced)
Warning: Editing the registry incorrectly can cause problems with your computer. It’s best to use Method 1 if possible.
You will need administrator rights to change these settings.
- Press the Windows key + R to open the Run box.
- Type
regeditand press Enter. Click Yes if prompted by User Account Control. - Navigate to the following key:
HKEY_CURRENT_USER\Software\Microsoft\Speech_OneCore\AudioProcessing\AcousticEchoCancellation - In the right-hand pane, find the value named
NoiseFilteringMode. - Double-click on
NoiseFilteringMode. - To use “Remove background noise only,” change the “Value data” to
1. - To use “No filtering” (the default), change the “Value data” to
0. - Click OK.
- Close the Registry Editor. You may need to restart your computer for the changes to take effect.
Summary
You can change how Voice Access filters sound in Windows 11 through the Settings app or by editing the registry. The Settings app is easier and safer. These changes help Voice Access understand your voice better by reducing background noise or isolating your voice.
Was this guide helpful?
No comments yet — be the first to share your thoughts!