System Restore is a handy tool in Windows 11 that helps you fix problems by going back to a previous time when your computer was working well. This guide will show you easy steps to turn System Restore on or off.
What is System Restore?
System Restore saves “restore points” — snapshots of your computer’s settings and files at a certain time. If something goes wrong, you can use these restore points to fix your computer without losing your personal files.
Windows usually creates these restore points automatically when important changes happen, like installing new software.
Want to learn more about creating or managing restore points? Check out these helpful guides:
- How to Create a Restore Point in Windows 11
- Change How Often Restore Points Are Made
- See All Your Restore Points
- Delete Old Restore Points But Keep the Latest
How to Turn System Restore On or Off (Simple Way)
System Restore is usually turned on by default for your main drive (where Windows is installed). You can switch it off or back on anytime by following these easy steps:
- Click the Start button (Windows icon) at the bottom left of your screen.
- Type create a restore point in the search box and click on the result.
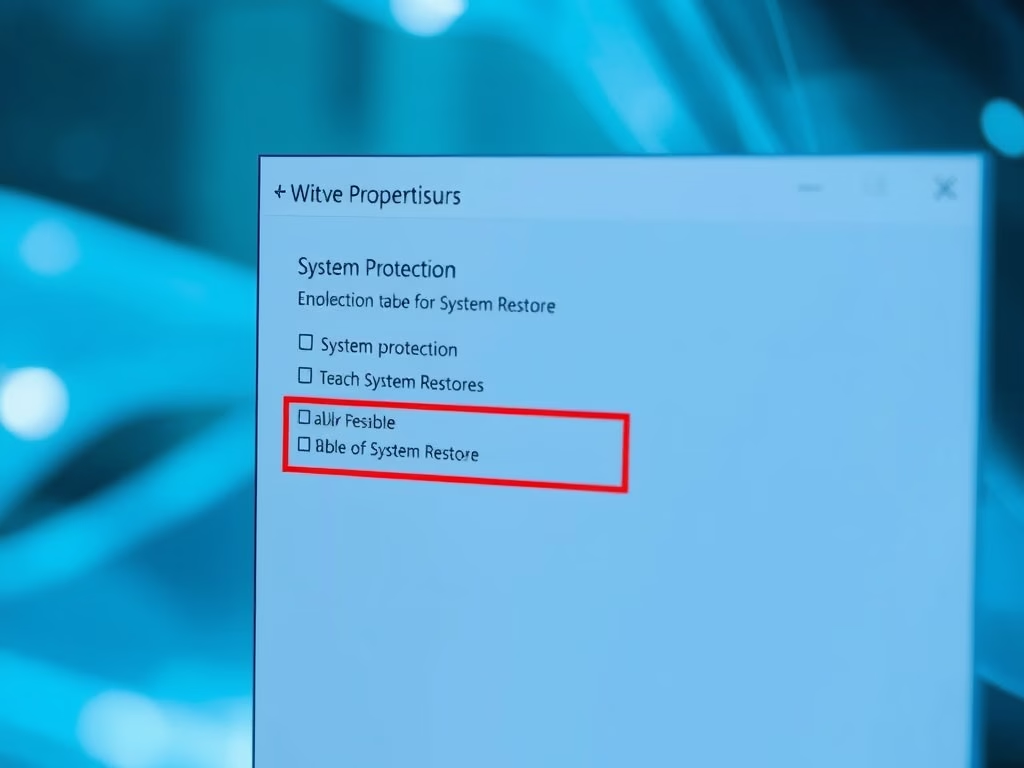
- In the System Properties window, under the System Protection tab, select your main drive (usually C:), then click Configure.
- To turn on System Restore, choose Turn on system protection. To turn it off, select Disable system protection.
- Click Apply and then OK to save your changes.
Here is what the window looks like:

How to Disable or Enable System Restore for All Users (Advanced)
If you are a computer administrator and want to stop other users from using System Restore, you can use the Local Group Policy Editor. Here’s how:
- Press Windows + S to open the search box.
- Type Edit group policy and click on it to open the Local Group Policy Editor.
- In the left pane, go to:
Computer Configuration > Administrative Templates > System > System Restore
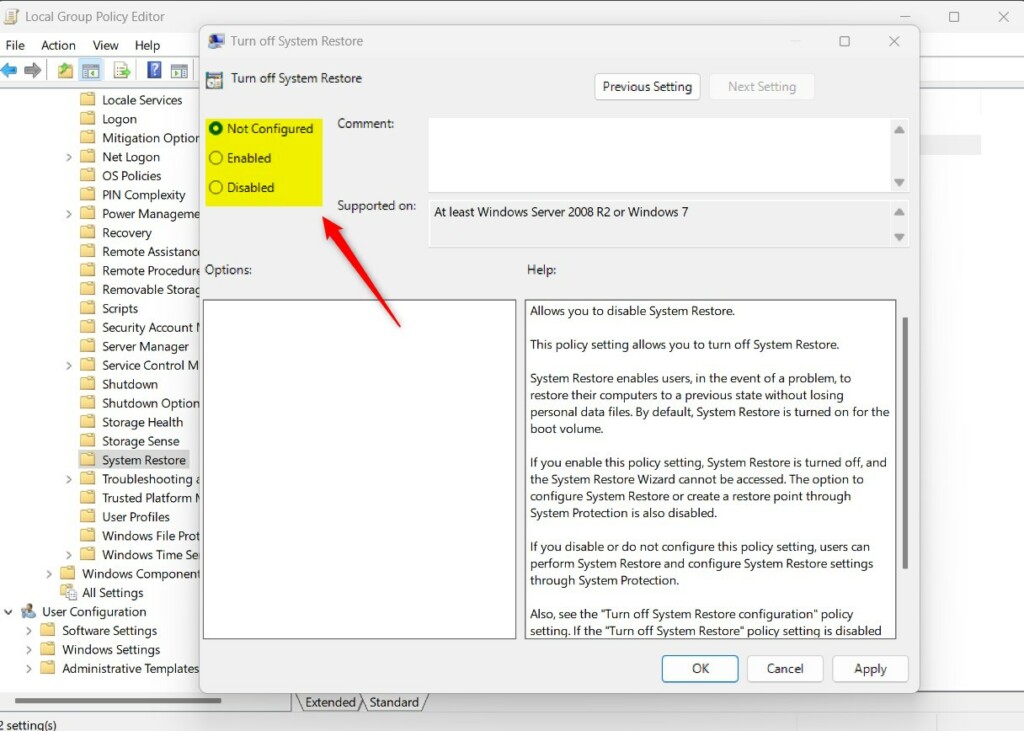
- In the right pane, double-click Turn off System Restore.
- You will see three options:
- Not Configured – System Restore is turned on (default).
- Enabled – System Restore is turned off and users cannot use it.
- Disabled – System Restore is turned on.
- Choose your preferred setting, click Apply, then OK.
- Close the Group Policy Editor.
How to Turn System Restore On or Off Using Registry Editor (Advanced)
Another way for advanced users or administrators is to use the Windows Registry Editor. Be careful with this method, as changing the registry can affect your system.
- Press Windows + R, type regedit, and press Enter to open the Registry Editor.
- Navigate to this folder:
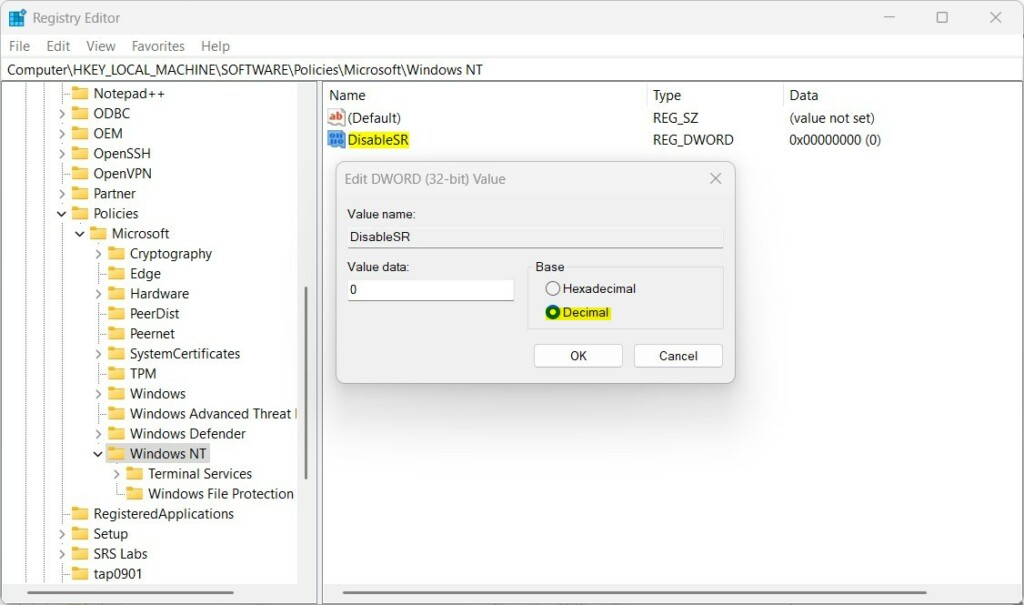
HKEY_LOCAL_MACHINE\SOFTWARE\Policies\Microsoft\WindowsNT\SystemRestore
- If the SystemRestore folder doesn’t exist, right-click on Windows NT, choose New > Key, and name it SystemRestore.
- Right-click in the right pane, select New > DWORD (32-bit) Value, and name it DisableSR.
- Double-click the DisableSR value and set its data to:
- 1 to turn off System Restore
- 0 or delete the value to turn System Restore back on
- Click OK and close the Registry Editor.
- Restart your computer to apply the changes.
Summary
- System Restore helps you fix problems by restoring your computer to an earlier state.
- You can easily turn System Restore on or off using System Properties.
- Administrators can control System Restore for all users using Group Policy Editor or Registry Editor.
- Be careful when using Group Policy or Registry Editor—these are advanced tools for managing Windows.
If you want to keep your computer safe and fix problems easily, it’s a good idea to keep System Restore turned on!


Leave a Reply