This article describes the steps to turn Windows Defender on or off in Windows 10.
Windows Defender is free anti-malware software included with the Windows operating system, and you can update it automatically through Windows Update. It’s a great feature to have when running Windows computers.
Turning Windows Defender Firewall on or off in Windows 10 is important for maintaining your computer’s security. Windows Defender Firewall is a built-in security feature that helps protect your computer from unauthorized access and malicious activity.
By turning it on, you activate an added layer of security that helps safeguard your data and identity from bad actors. On the other hand, if you need to install or use specific software that requires you to turn off the firewall, you can follow the same steps to turn it off.
However, it’s important to remember to turn it back on once you’re done using the software to maintain your computer’s security.
Turn on or off Windows Defender
Turn Windows Defender Firewall on or off in Windows 10 computers following the steps below:
- Select the Start button at the bottom left corner.
- Then Select Settings > Update & Security > Windows Security > Firewall & network protection.
- Select a network profile. (you may see three network profiles (Domain network, Private network, and Public network)
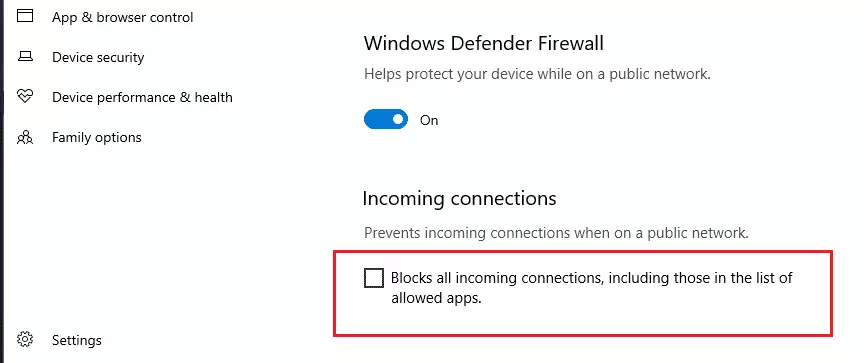
- Under Windows Defender Firewall, switch the setting to On.
That’s it!
Congratulations! You’ve successfully turned on | and off Windows 10 Defender. I hope you stay secure!


Leave a Reply