
This post describes how to create NFS shares in Ubuntu Linux and mount them in Windows 11.
Network File System (NFS) is a protocol that lets you share files and directories over a network. You can store files on a single server and have multiple clients access them.
With NFS, you can effectively manage permissions for users and groups, ensuring your files are securely shared and protected.
NFS is a widely used protocol for sharing files across different operating systems. If you’re in a mixed environment where Windows systems need to access files stored on NFS servers (like Linux servers), mounting NFS allows seamless access to shared files.
Install and export NFS share
To mount an NFS share on Windows, you must first install and configure the NFS share.
If you haven’t already done so, use the post below to learn how to do it.
How to install and export NFS share on Ubuntu
Once you’re done, continue below.
Mount NFS share in Windows
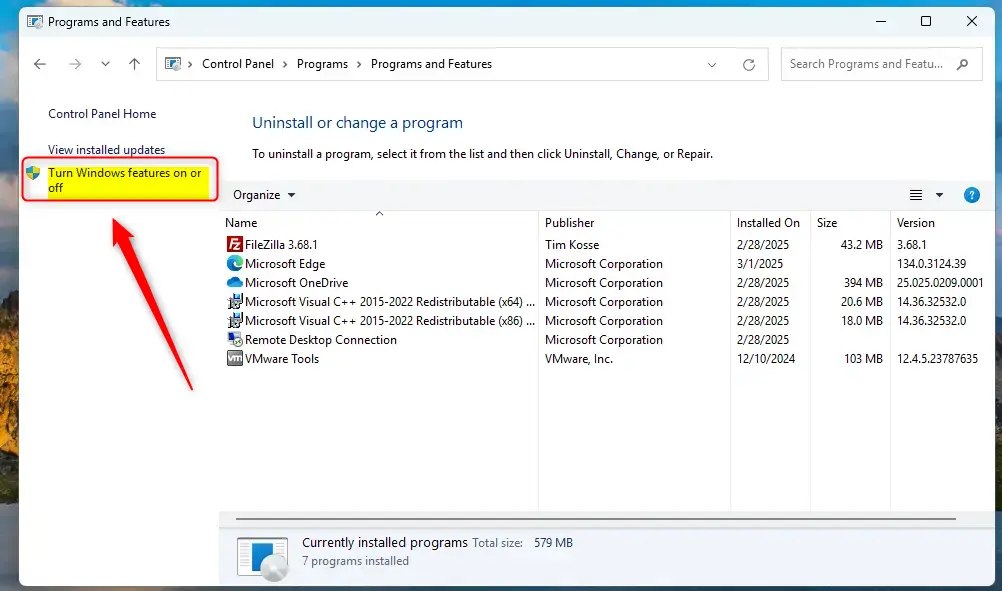
After sharing the folder on the NFS server, open the Windows machine and navigate to Control Panel > Programs > Programs and Features.
Next, click “Turn Windows features on or off,” as shown below.
When the configuration panel opens, select and enable the NFS Services option.
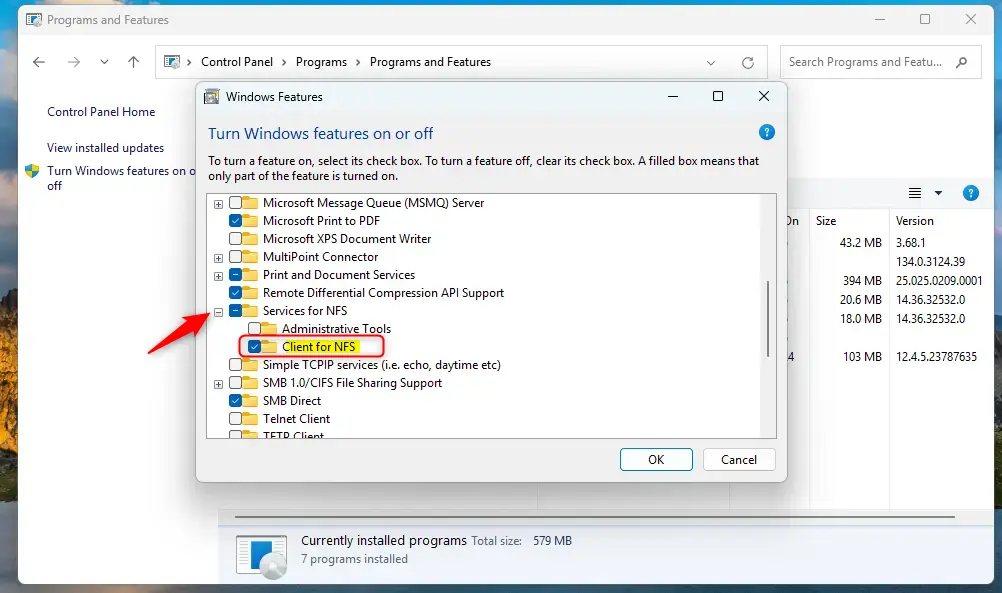
Click OK and close.
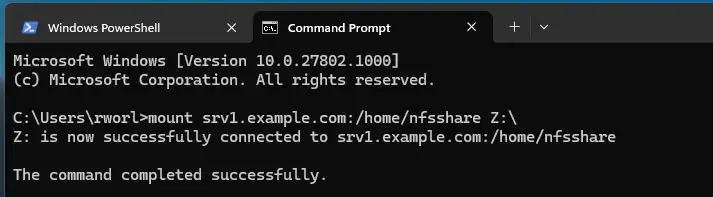
That should enable Windows clients to mount NFS shares. Now that this feature is enabled on your Windows machine, open the command prompt and mount the share from the NFS server.
mount srv1.example.com:/home/nfsshare Z:\
You should see Windows mount the share.
You can now go to Windows File Explorer and see the mounted share.
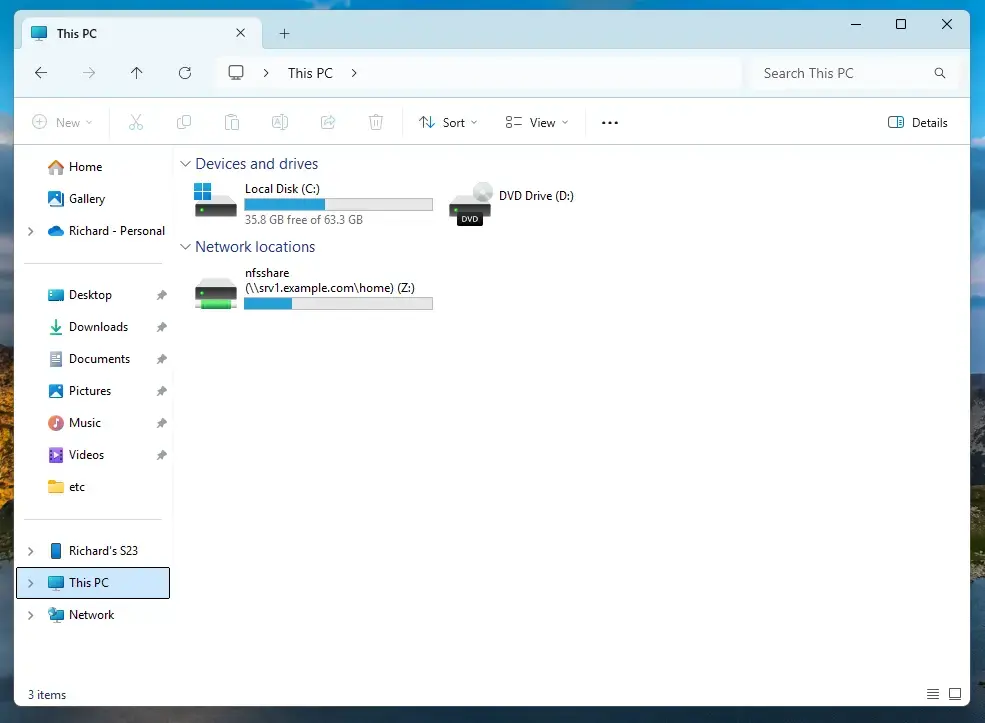
That should do it!
Conclusion:
In summary, mounting NFS shares on Windows allows for seamless integration of file access between Linux and Windows systems. Here are the key points to remember:
- NFS Protocol: Enables file sharing across different operating systems efficiently.
- User and Group Management: Ensures secure file sharing with proper permission settings.
- Installation: Ensure NFS services are installed and configured correctly on the server and client machines.
- Command Prompt: Use the command line to mount NFS shares with ease.
- File Accessibility: Mounted shares can be accessed directly through Windows File Explorer.
With these steps completed, you can enjoy a seamless file-sharing experience across your network!
Leave a Reply