
This article explains downloading and using Microsoft Safety Scanner when using Windows 11.
Microsoft Safety Scanner is a tool designed to find and remove malware from Windows computers. If the Windows Security app isn’t working and you suspect malware or viruses on your PC, you can download and use the safety scanner to scan your computer.
Windows machines with malware or virus issues can download it, run a scan to find malware, and try to reverse changes made by identified threats. The software is only available for 10 days after download and expires. This is done so you always download the latest version to find the newest threats.
Windows 11 has a built-in antivirus and antimalware security app called Microsoft Defender (Windows Security). Microsoft Safety Scanner does not replace your antimalware product. The safety scanner should only be used when other malware software is unavailable.
The safety scanner can also be downloaded onto an external drive and manually triggered on the infected computer to find and remove unwanted programs.
How to download Microsoft Safety Scanner in Windows 11
Again, as mentioned above, Microsoft Safety Scanner is for situations where the infected computer cannot run other security scanners and tools or can not connect to the internet to download the latest definitions.
Go to the website below to download Microsoft Safety Scanner to an infected computer or use another computer.
Microsoft Safety Scanner Download
Download the 64-bit version for Windows 11.
Once downloaded, go to your Downloads folder, double-click the downloaded file, and begin the installation.
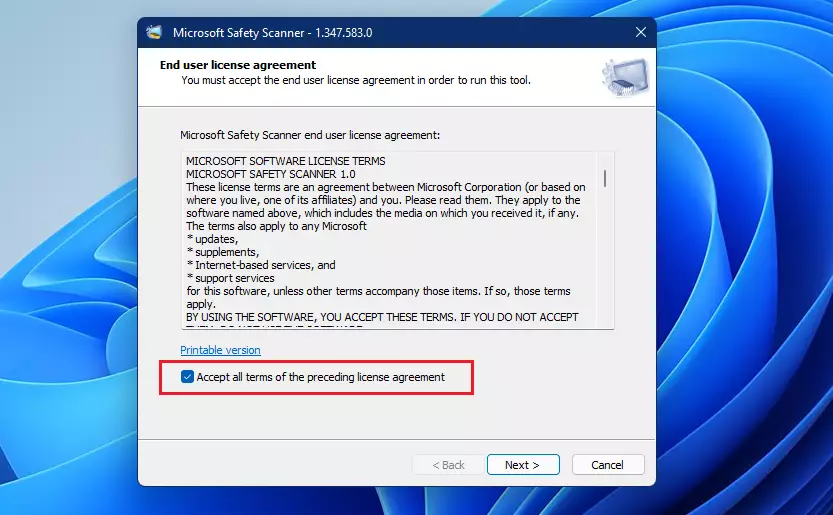
When launched, accept the license agreement.
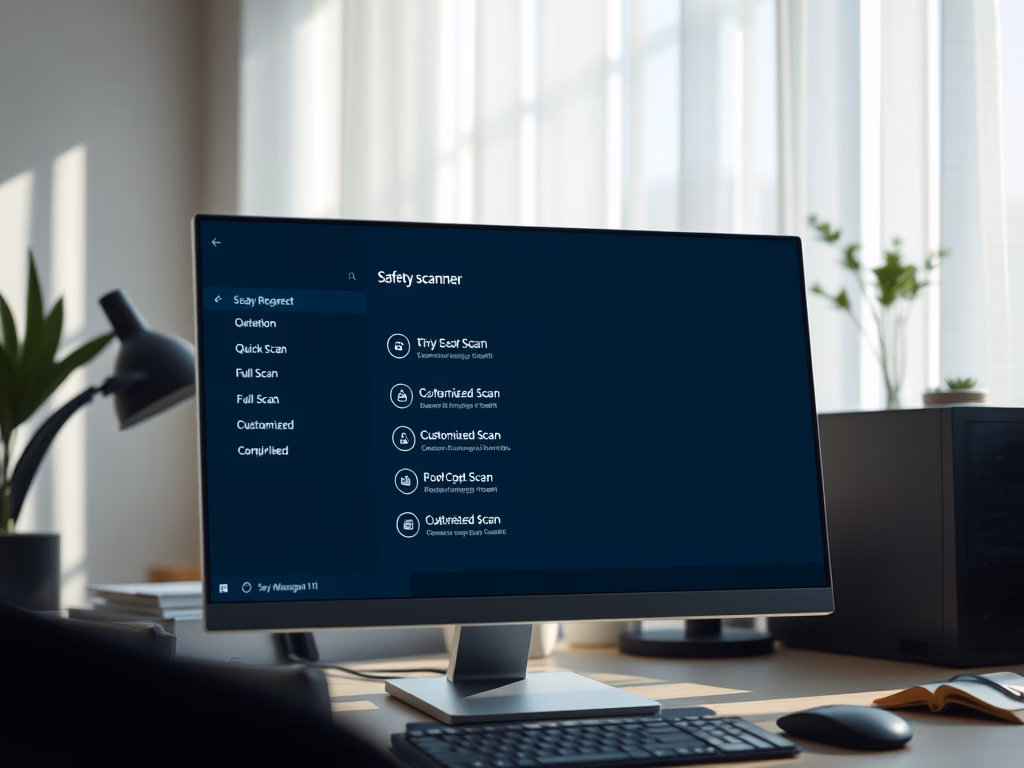
There are multiple scan types available after installation. These are the types of scans available:
Quick scan – Scans areas of the system most likely to contain viruses, spyware, and other potentially unwanted software. This is quick and may not be the best option in most situations.
Full scan – Scans the entire system. Depending on the scanned system, this could take several hours to complete.
The customized scan uses the Quick scan settings and targets additional folders identified.

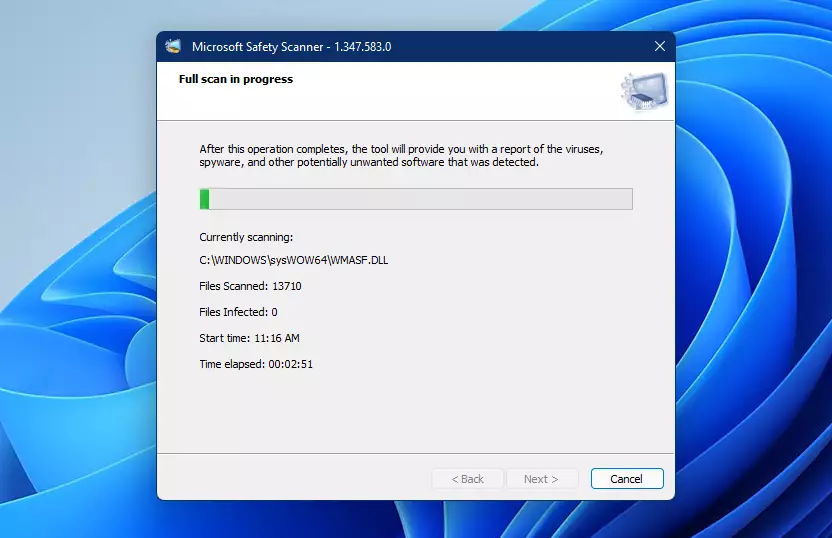
For this post, we chose the Full scan to scan the entire system.
When you click Next, the scan action should begin scanning your system for unwanted software. Again, a Full scan could take hours to complete.
Review the scan results displayed on the screen. For detailed detection results, view the log at %SYSTEMROOT%\debug\msert.log.
That should do it!
Conclusion:
- Microsoft Safety Scanner is an effective tool for detecting and removing malware when other security solutions fail.
- It’s essential to download it from the official Microsoft site to ensure you’re using the latest version.
- The tool offers different scanning options: Quick, Full, and Customized, providing flexibility based on user needs.
- After running a scan, review the detailed results to understand any threats identified on your system.
- Always use Microsoft Safety Scanner as a supplement to your main antivirus software, not as a replacement.
- Regularly check your system for malware to maintain optimal performance and security.


Leave a Reply