How to Turn On System Protection in Windows 11
You turn on System Protection in Windows 11 to create restore points that safeguard your PC against software issues.
System Protection is a Windows feature that automatically saves snapshots of your system files, installed applications, and registry settings. These snapshots, called restore points, allow you to revert your PC to a previous stable state if software problems arise.
For example, if a recent Windows update or new software installation causes your PC to misbehave, a restore point can help you fix it. While typically off by default, enabling System Protection for your drives, especially your C: drive, ensures you have a fallback. This guide will walk you through activating it.
Turning On System Protection: Your First Step
Getting System Protection working is the first important thing you can do to get your PC ready for recovery. It’s not hard, and we’ll show you step-by-step. This makes sure Windows starts saving those important system snapshots, giving you a safety net.
Here’s how:
Open System Properties
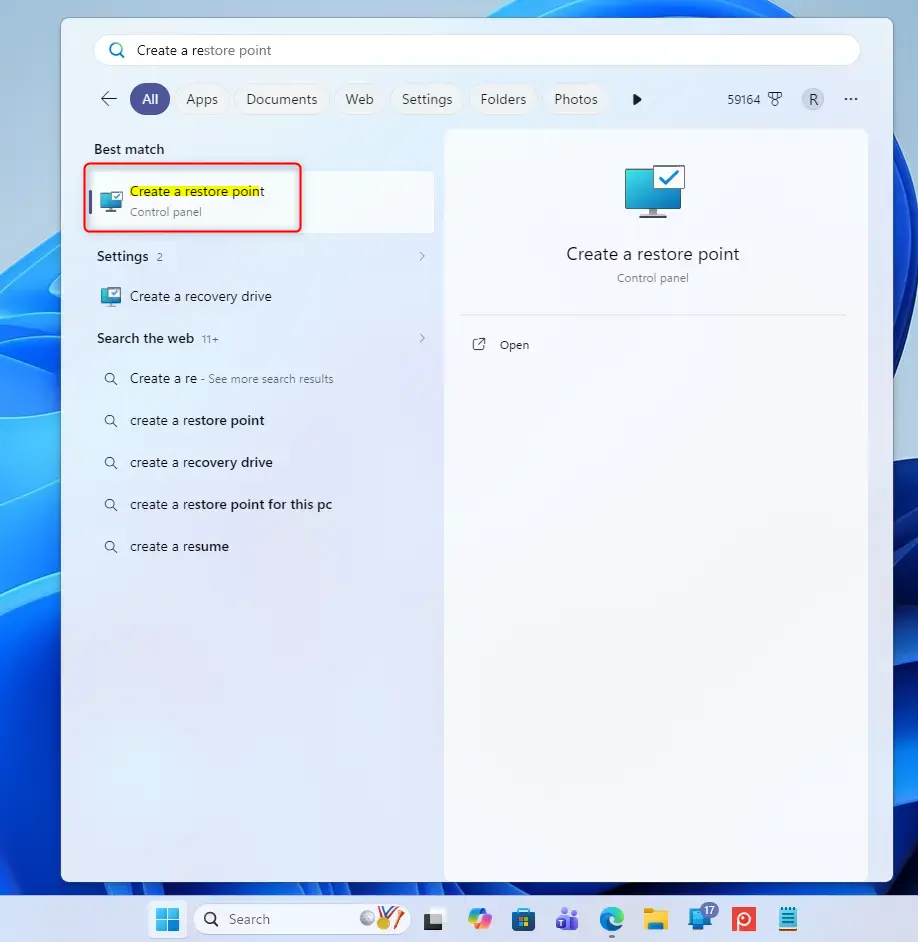
You need to open the System Properties window to manage Windows System Protection. The easiest way to get there is by clicking the Start button and typing ‘Create a restore point’ into the search bar, then selecting the matching option from the results.
Method 1Using the Search Bar
Click the Start button (that’s the Windows icon, typically in the bottom-left corner of your screen). In the search box, type Create a restore point. You’ll see “Create a restore point” in the results. Click it.
Method 2Using the Run Command
Press the Windows key and the R key on your keyboard together. This opens a small “Run” window. Type systempropertiesprotection.exe in the box and press Enter or click OK.
Configure System Protection Settings
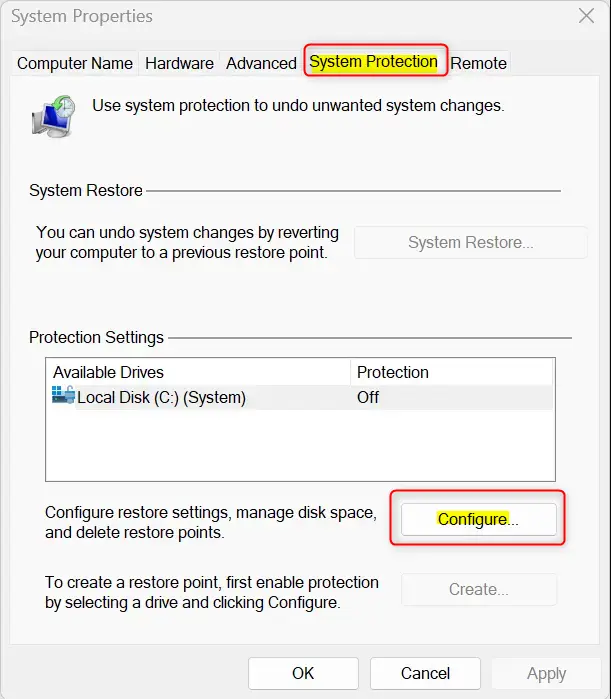
After opening System Properties, go to the System Protection tab to see your drives and their current protection status. If protection is off for your main drive, like C:, select it and click the ‘Configure…’ button to change its settings.
Under “Protection Settings,” you’ll see your drives listed. If protection is off, it will say “Off.” To change this, select the drive where Windows is installed (usually your C: drive) and click the Configure… button.
Turn On System Protection
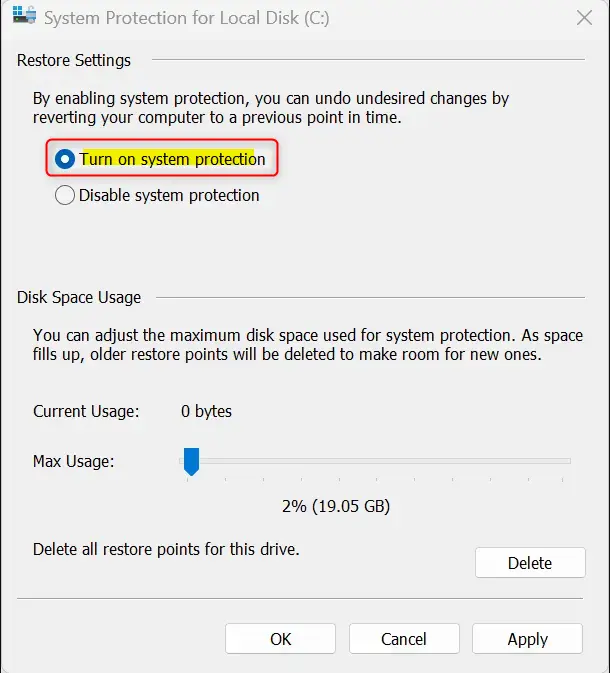
In the new window that appears, you can turn on System Protection for your chosen drive. Select the ‘Turn on system protection’ option to enable this important safety feature for your computer.
Select the circle next to Turn on system protection. This is the main step to enable the feature for that drive.
Apply Your Changes
To save your new settings, click the ‘Apply’ button after turning on System Protection and adjusting the Max Usage slider. Then, click ‘OK’ on the Configure System window and again on the System Properties window to finish.
Click the Apply button. You might see a quick message that System Protection is turning on.
After clicking Apply, click OK to close the “Configure System” window. Then, click OK again to close the “System Properties” window.
Reference:
https://support.microsoft.com/en-us/windows/system-protection-e9126e6e-fa64-4f5f-874d-9db90e57645a
Summary
System Protection is a key Windows feature that automatically creates restore points, letting you go back to an earlier time if your computer runs into trouble. It’s important to turn this on because it’s not enabled by default, helping to keep your system safe.
Was this guide helpful?

About the Author
Richard
Tech Writer, IT Professional
Richard, a writer for Geek Rewind, is a tech enthusiast who loves breaking down complex IT topics into simple, easy-to-understand ideas. With years of hands-on experience in system administration and enterprise IT operations, he’s developed a knack for offering practical tips and solutions. Richard aims to make technology more accessible and actionable. He's deeply committed to the Geek Rewind community, always ready to answer questions and engage in discussions.


No comments yet — be the first to share your thoughts!