

This article explains turning on or off App Execution Aliases in Windows 11.
Some Windows can declare execution aliases used to run the app’s executable file from a command prompt. It is doubtful that multiple apps will use the same aliases.
However, if multiple apps use the same execution alias, you can choose the apps you want to use by turning off or on execution aliases in the Settings app.
By default, app execution aliases are stored separately in the registry location below.
HKEY_CURRENT_USER\Software\Microsoft\Windows\CurrentVersion\App Paths.
Enable or disable app execution aliases in Windows 11
As described above, if multiple apps use the same alias, you can choose which one to use by turning off the other.
Here’s how to do that.
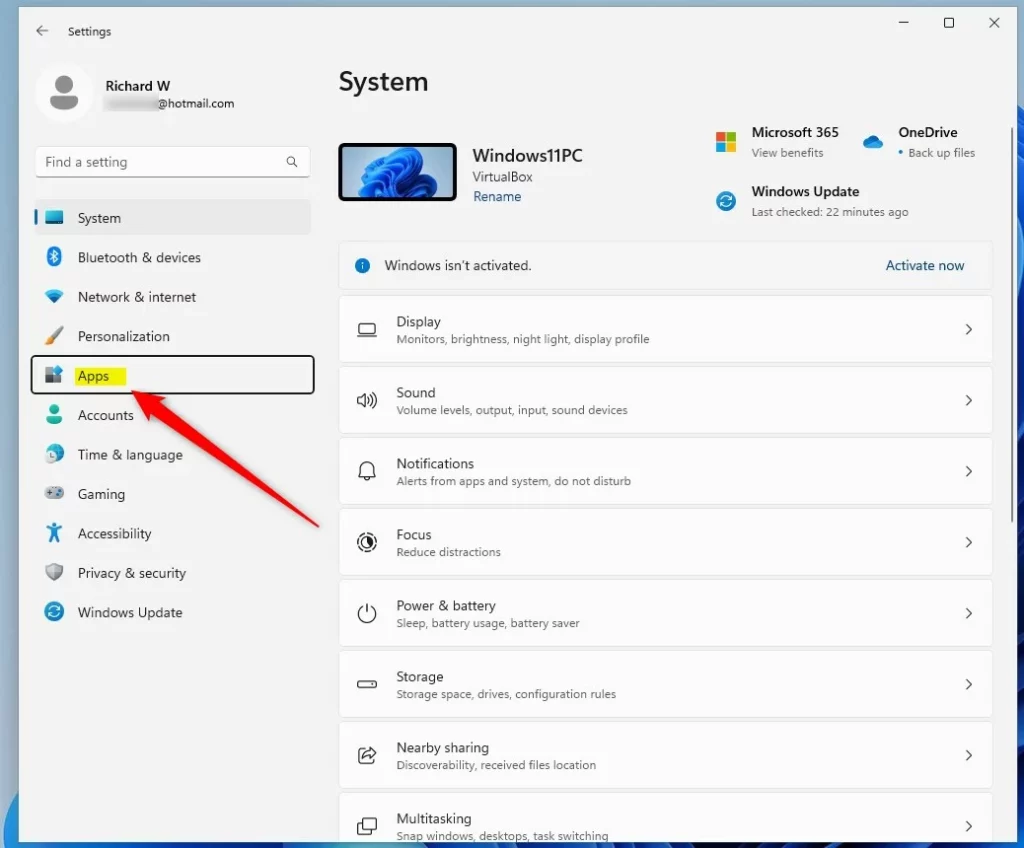
First, open the Windows Settings app.
You can do that by clicking on the Start menu and selecting Settings. Or press the keyboard shortcut (Windows key + I) to launch the Settings app.
When the Setting app opens, click the Apps button on the left.
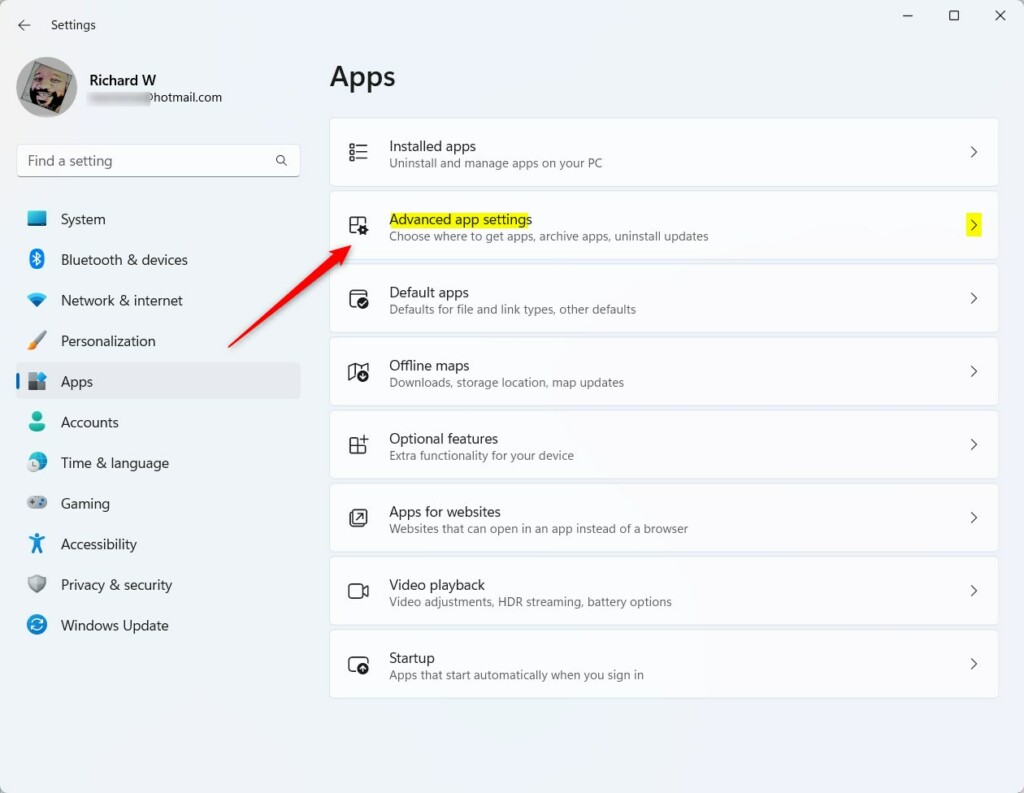
Select the Advanced app settings tile on the right to expand it.
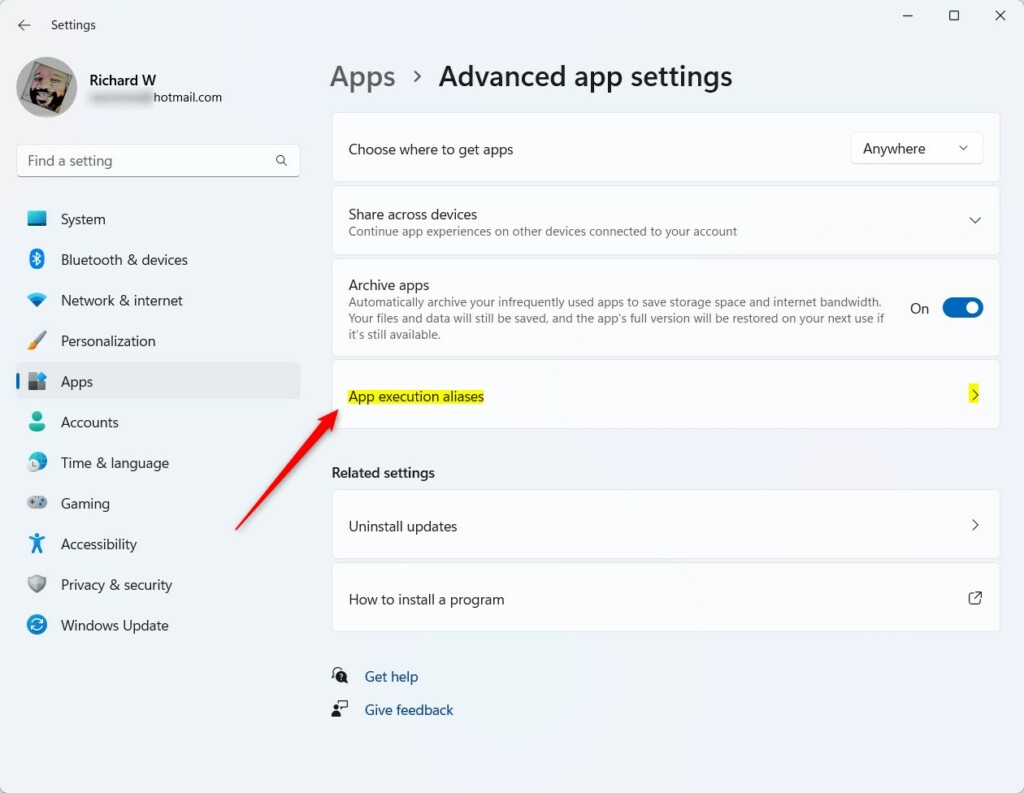
Next, click and expand the App execution aliases tile on the App -> Advanced app settings pane.
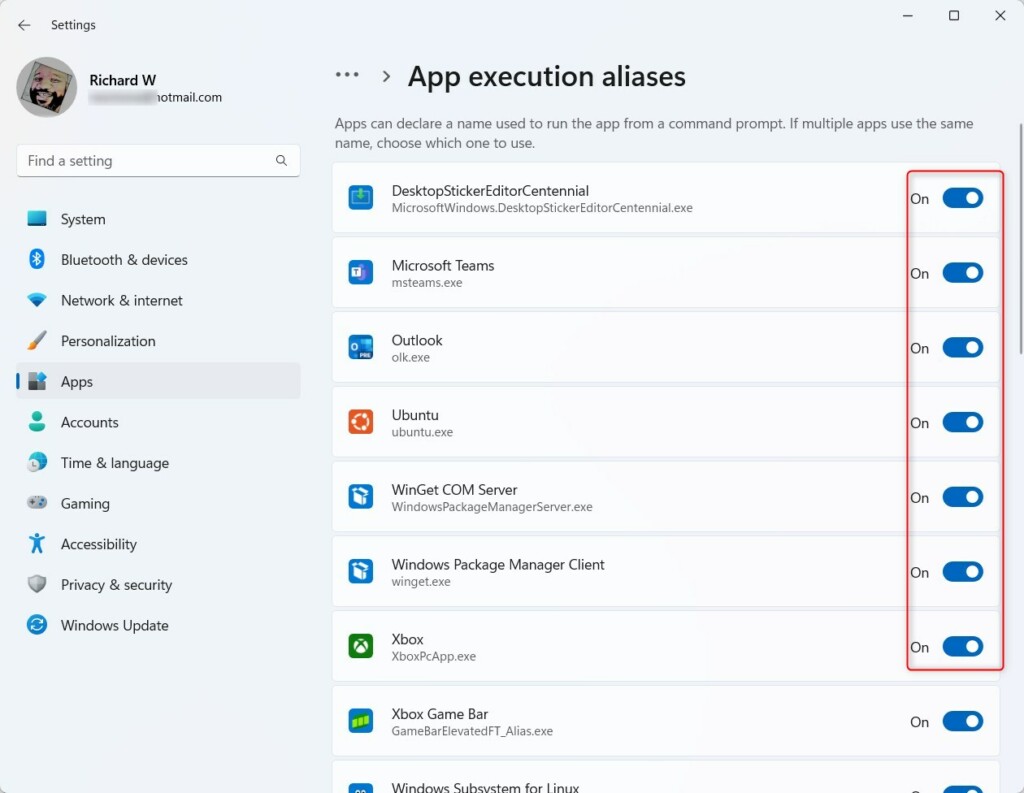
Finally, select an app on the list you wish to turn off, then toggle the switch button to the Off position.
To turn it back on, toggle the switch button to the On position.
That should do it!
Conclusion:
- App execution aliases in Windows 11 can be managed through the Settings app.
- By accessing the Advanced app settings, users can select which apps to enable or disable for a specific execution alias.
- Toggling the switch button to the “Off” position disables the alias for the selected app while toggling it to the “On” position enables the alias.
- This straightforward process allows users to customize app execution aliases according to their preferences.


Leave a Reply