How to Turn “Auto-verify” On or Off in Google Chrome
“Auto-verify” in Google Chrome allows websites to confirm you’re human without requiring you to solve CAPTCHAs.
This feature, introduced in Chrome version 121, helps streamline your browsing experience by automatically handling certain bot checks.
When you enable “Auto-verify,” Chrome securely stores information that websites can use to verify your identity, reducing the need for manual puzzles.
You can toggle this setting on or off based on your preferences, whether you want a smoother browsing experience or enhanced privacy by limiting data sharing.
Navigate to Settings > Privacy and security > Site settings > Additional content settings > Auto-verify. Toggle the switch to turn the feature on or off.
Turn “Auto-verify” on or off in Chrome
You can easily turn “Auto-verify” on or off in Chrome to control how the browser handles certain website checks, helping you manage your browsing experience and privacy.
Here’s how to do it.
First, open the Google Chrome browser.
Then click on the Customize and Control (3 vertical dots button) in the top right corner and select Settings.
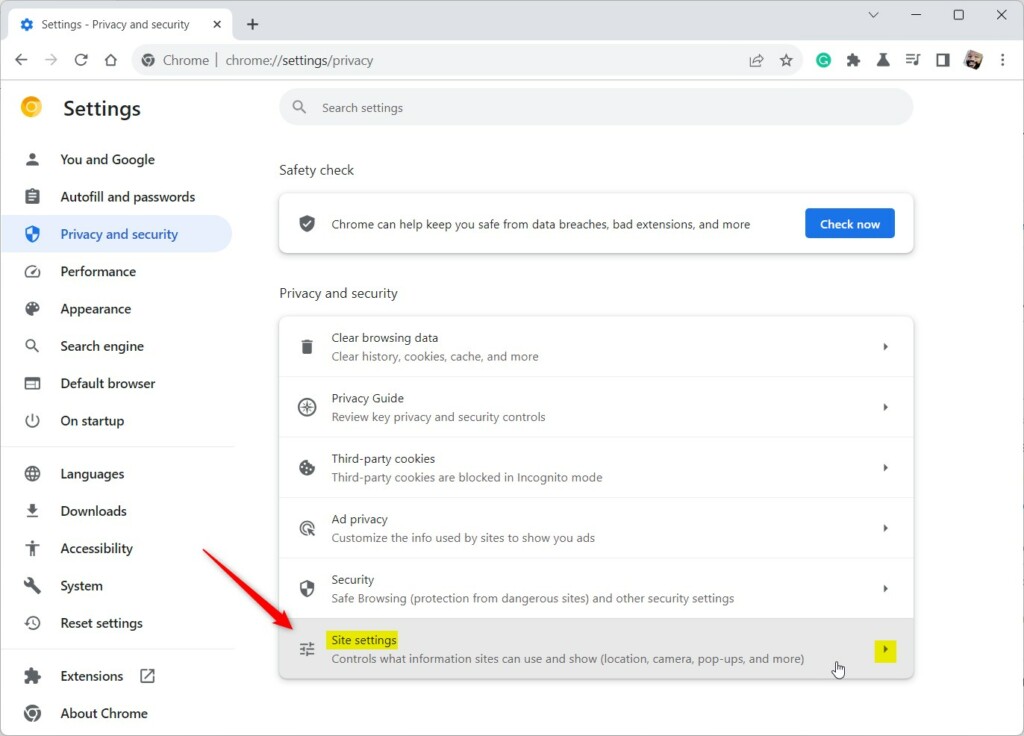
On the Settings page, look to the left panel and click the Privacy and security link.

On the right side, select the “Site settings” tile to expand it.
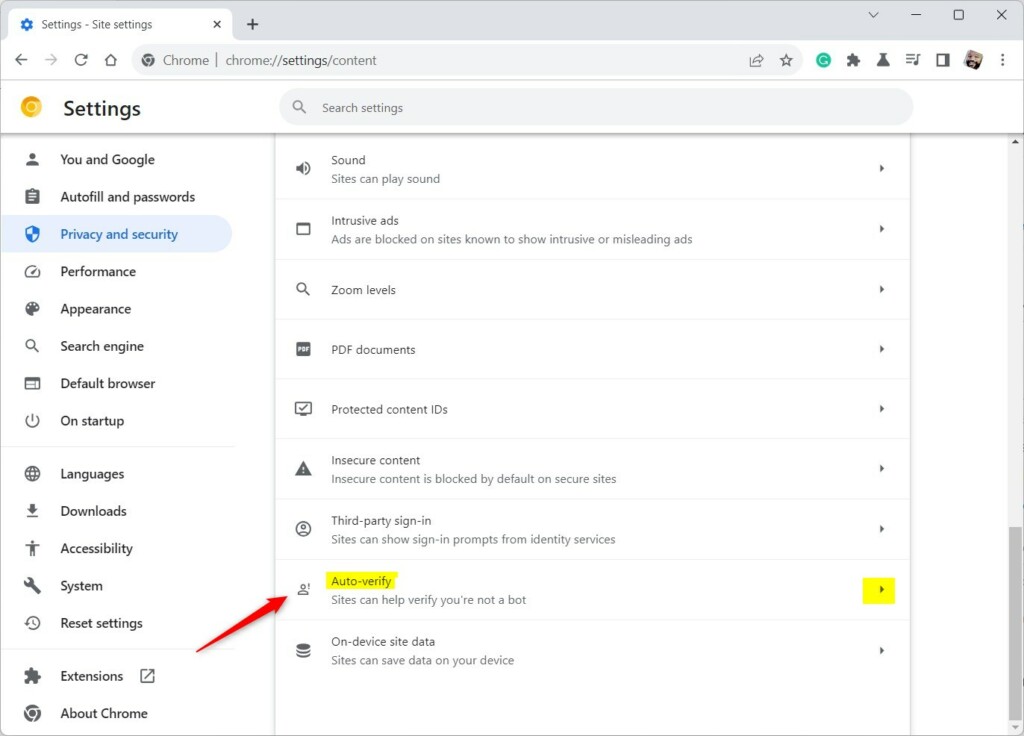
On the Site settings page, under Content, find and expand the Additional content settings tile.

Next, click the “Auto-verify” tile to expand it.
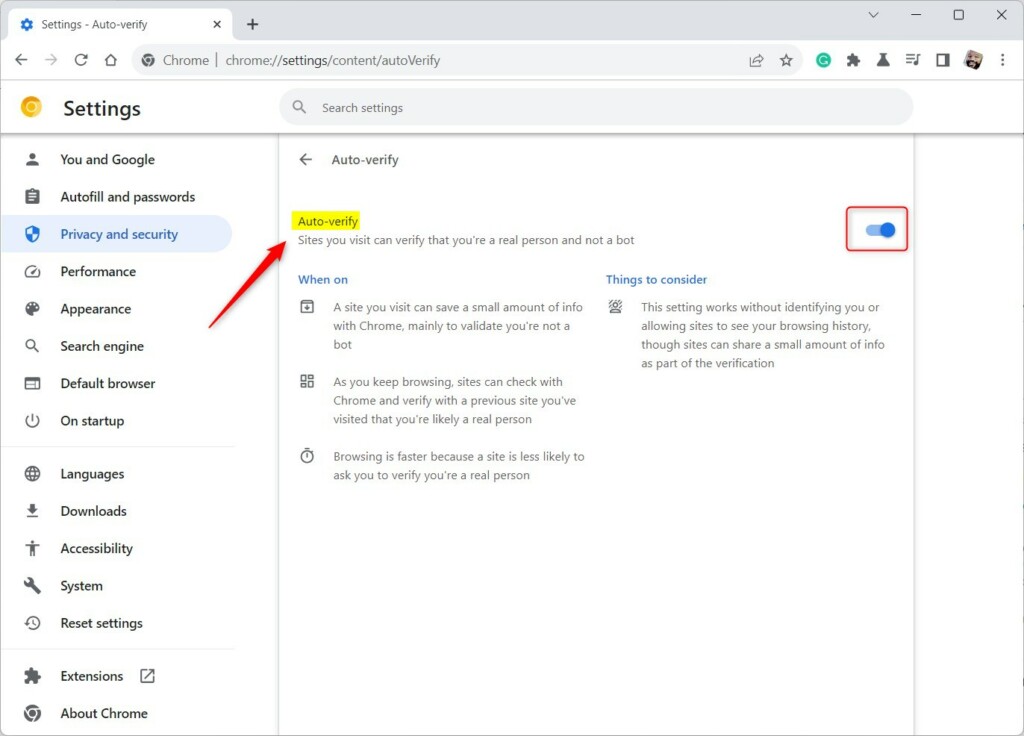
You can access “Auto-verify” settings in Chrome either directly by typing “chrome://settings/content/autoVerify” into the address bar, or by navigating through the browser’s menus.
chrome://settings/content/autoVerify
On the Auto-verify settings page, select the “Auto-verify” tile. Then, toggle the switch button to the On position to enable it.
To disable it, toggle the switch button to the Off position.
That should do it!
Conclusion:
- Enabling “Auto-verify” can streamline the browsing experience on verification-requiring sites
- Disabling “Auto-verify” can enhance privacy by preventing the sharing of browsing data
- Access “Auto-verify” settings in Chrome via “chrome://settings/content/autoVerify” or through the browser interface
- Toggling the switch to On or Off efficiently manages the “Auto-verify” feature for a personalized browsing experience
Was this guide helpful?

About the Author
Richard
Tech Writer, IT Professional
Richard, a writer for Geek Rewind, is a tech enthusiast who loves breaking down complex IT topics into simple, easy-to-understand ideas. With years of hands-on experience in system administration and enterprise IT operations, he’s developed a knack for offering practical tips and solutions. Richard aims to make technology more accessible and actionable. He's deeply committed to the Geek Rewind community, always ready to answer questions and engage in discussions.


after Toggling the switch to Off I can still see “Auto-verify” icon on the top right on google browser . his there a other step I need to do to delete it ? The auto verify in the setting is turn off