
Is your Windows Firewall acting strange? Maybe someone changed your settings by accident. The good news is you can reset it back to how it was. This guide will show you how to do it on Windows 11. It’s easier than you think!
What is Windows Firewall?
Windows Firewall is like a guard for your computer. It blocks unwanted visitors from getting into your computer through the internet or your network.
Method 1: Reset Firewall Using the Windows Security App
This is the simplest way to reset your firewall. Why use this method? Because it’s built right into Windows and takes just a few clicks.
- Click the Start button in the bottom-left corner of your screen.
- Click Settings (the gear icon).

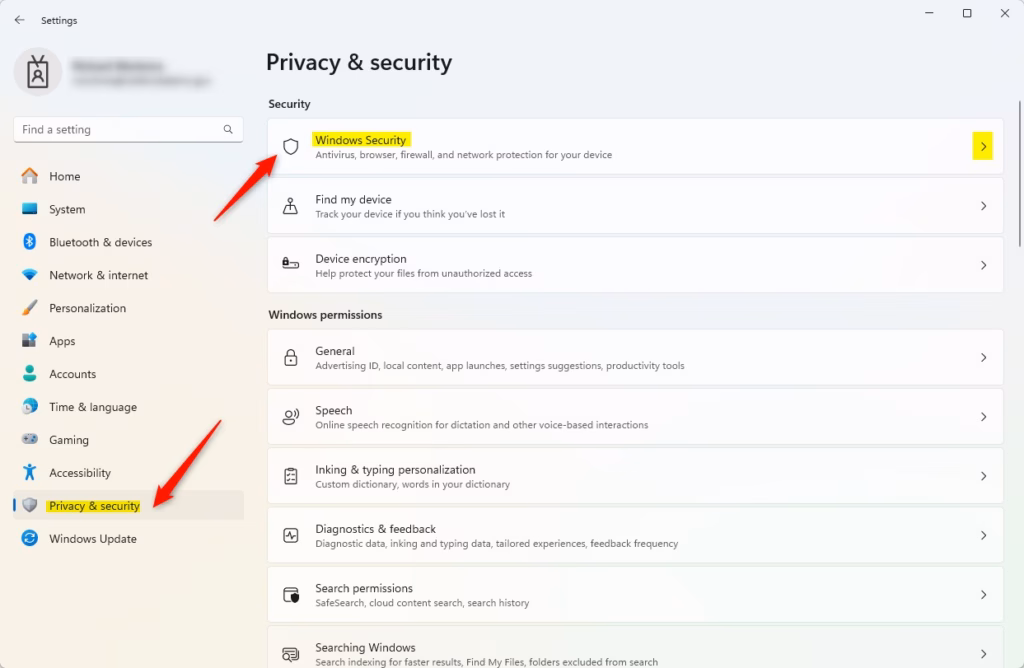
- In the Settings window, click Privacy & security on the left side. Then click Windows Security.
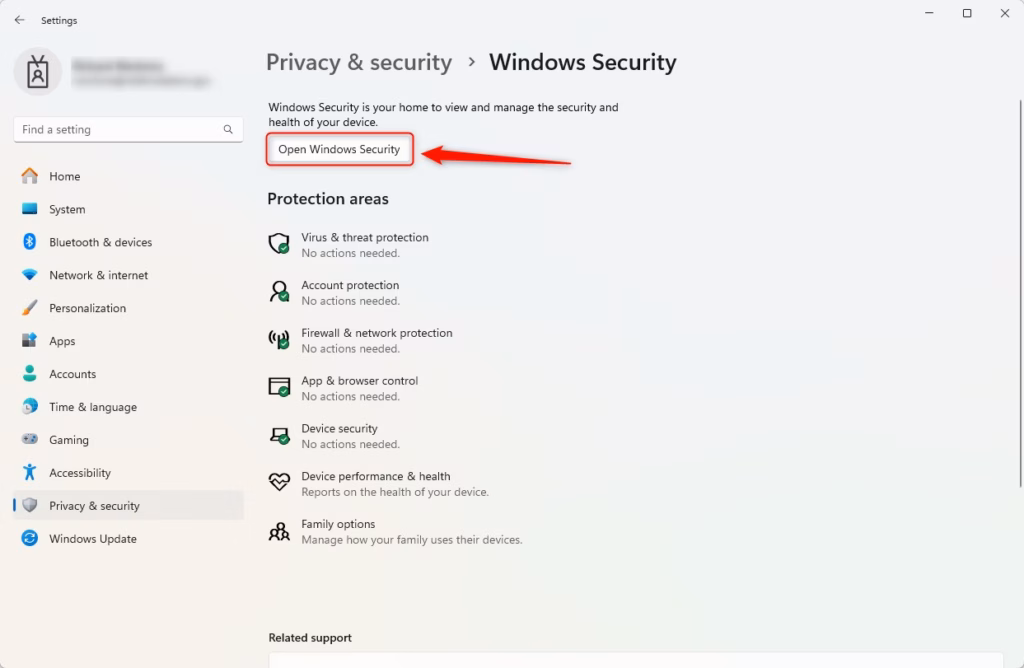
- Click the Open Windows Security button.
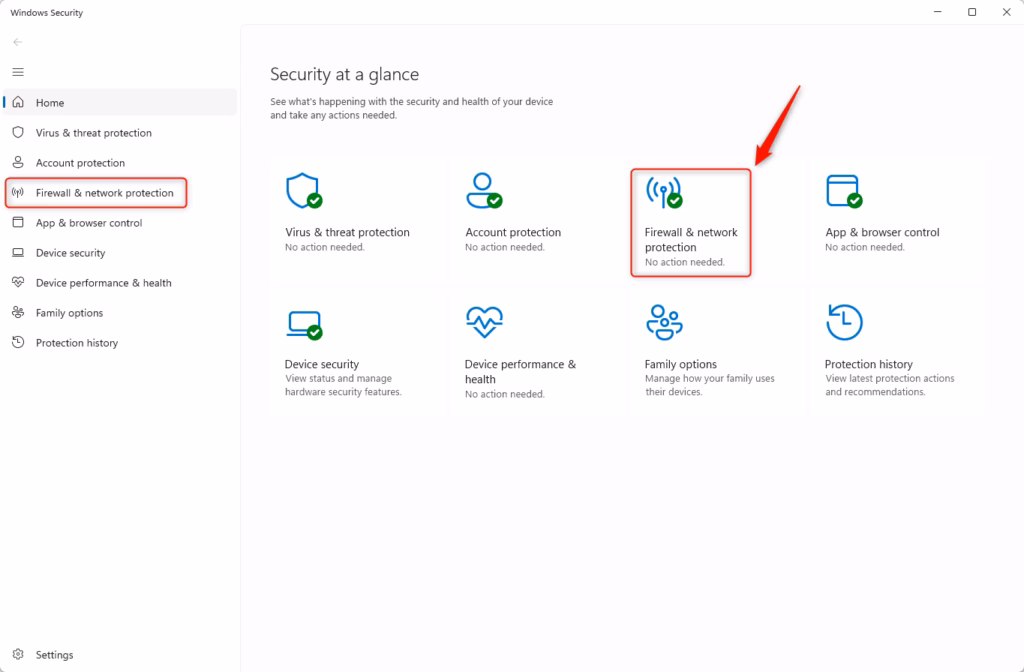
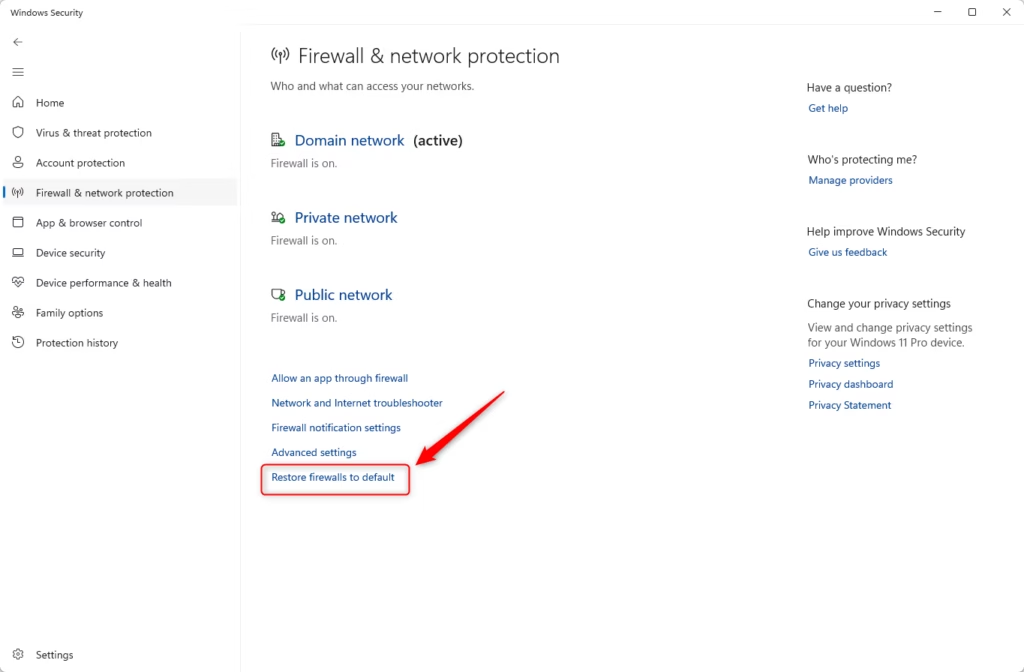
- In the Windows Security app, click on Firewall & network protection. You can also open this directly by clicking here.
- Scroll down and click Restore firewalls to default.
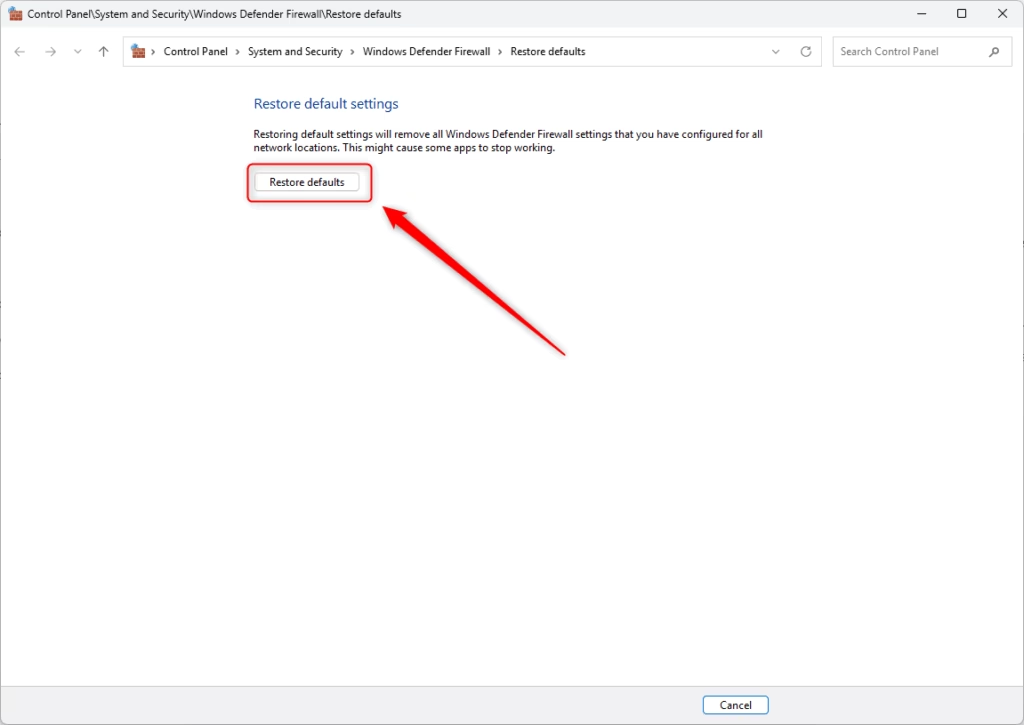
- When a pop-up appears, click Restore defaults.
- Click Yes if asked to confirm.
That’s it! Your firewall is now back to its original settings. What happens next? Your computer will be protected with the standard firewall rules that Windows recommends.
Method 2: Reset Firewall Using Advanced Security
Want more control? Try this method. Why choose this? Because it gives you access to detailed firewall settings.
- Press Windows key + R on your keyboard to open the Run box.
- Type
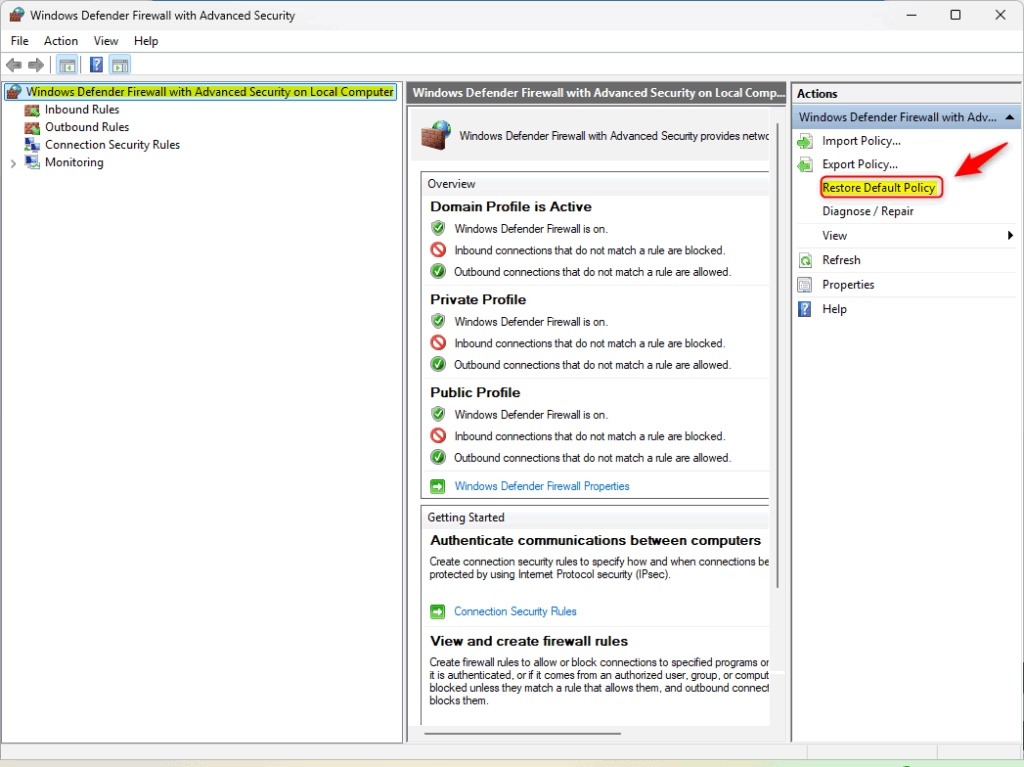
wf.mscand press Enter. - In the window that opens, click on Windows Defender Firewall with Advanced Security on Local Computer on the left side.
- On the right side, find and click Restore Default Policy.
- Confirm any pop-ups that appear.
Method 3: Reset Firewall Using Command Prompt
⚠️ Admin privileges required
Like using commands? This method is quick and direct. Why use this? Because one command does all the work for you.
- Right-click the Start button and select Windows Terminal (Admin).
- If needed, click the down arrow at the top and select the Command Prompt tab.
- Type the following command and press Enter:
netsh advfirewall resetWhat happens? This command tells your firewall to go back to its default settings right away.
Method 4: Reset Firewall Using PowerShell
⚠️ Admin privileges required
Another command option is PowerShell. Why try this method? Because it works directly with your firewall settings.
- Open Windows Terminal (Admin) again.
- Choose the PowerShell tab.
- Type this command and press Enter:
(New-Object -ComObject HNetCfg.FwPolicy2).RestoreLocalFirewallDefaults()What happens? PowerShell will reset your firewall settings back to default immediately.
Summary
- The Windows Security app is the easiest way to reset your firewall.
- Advanced Security gives you more control if you need it.
- Command Prompt and PowerShell are for people comfortable with typing commands.
- Resetting your firewall fixes problems caused by wrong settings.
- Following these steps keeps your PC safe from threats online.


Leave a Reply