
This article explains how to rename a “Storage Pool” in Storage spaces on Windows 11.
Storage Spaces is a feature in Windows that allows you to combine multiple hard drives into a single virtual drive, also known as a storage pool. This feature enables you to create a more flexible and scalable storage solution for your computer.
These storage spaces typically store two copies of your data, so if one of your drives fails, you will still have an intact copy of your data. If you run low capacity, add more drives to the storage pool.
After you create a “Storage pool,” you can rename it to be unique and identifiable.
Renaming a storage pool on Windows can help you keep your storage more organized and easier to manage. By giving your storage pool a unique and identifiable name, you can quickly identify it when you need to make changes or add additional drives.
This is especially useful if you have multiple storage pools on your computer or if you manage storage for multiple computers or users.
Rename a Storage pool on Windows
As mentioned, users can rename a storage pool on Windows after creating it.
Here’s how to do it.
First, open the Windows Settings app.
You can do that by clicking on the Start menu and selecting Settings. Or press the keyboard shortcut (Windows key + I) to launch the Settings app.
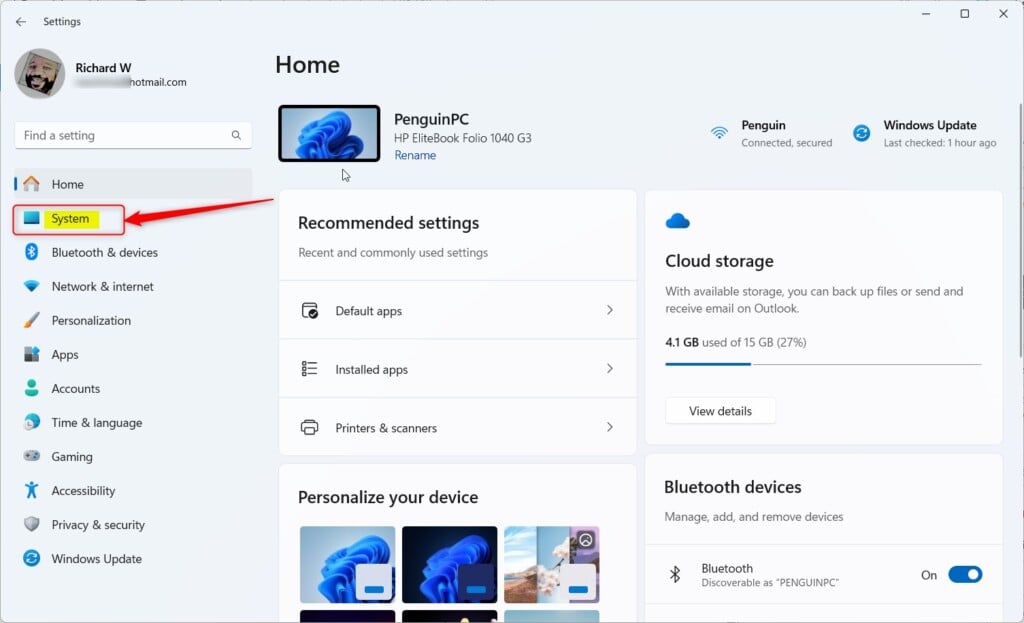
When the Setting app opens, click the System button on the left.
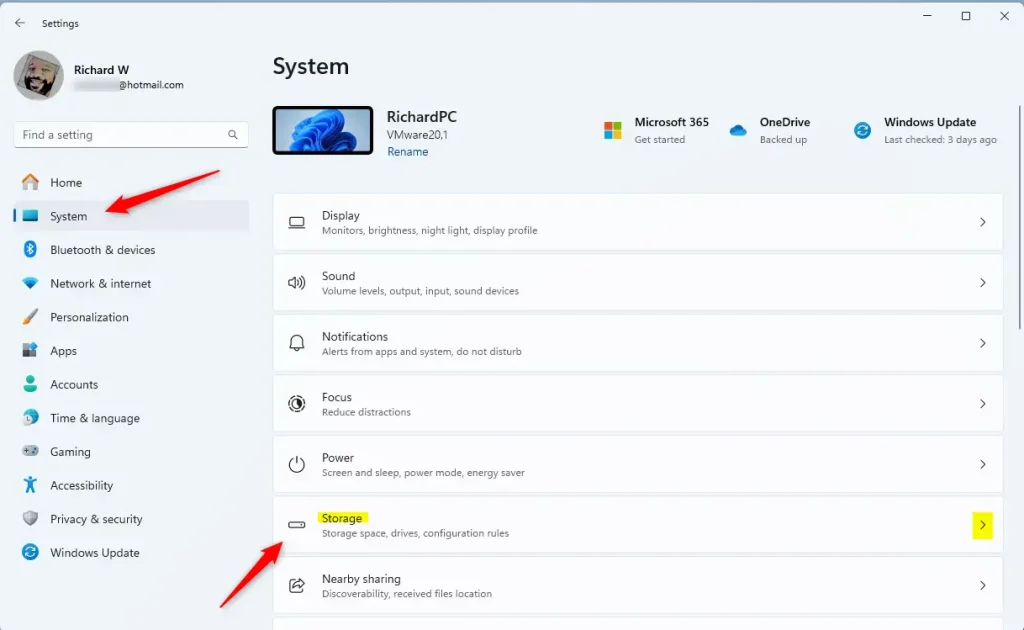
Select the Storage tile on the right to expand it.
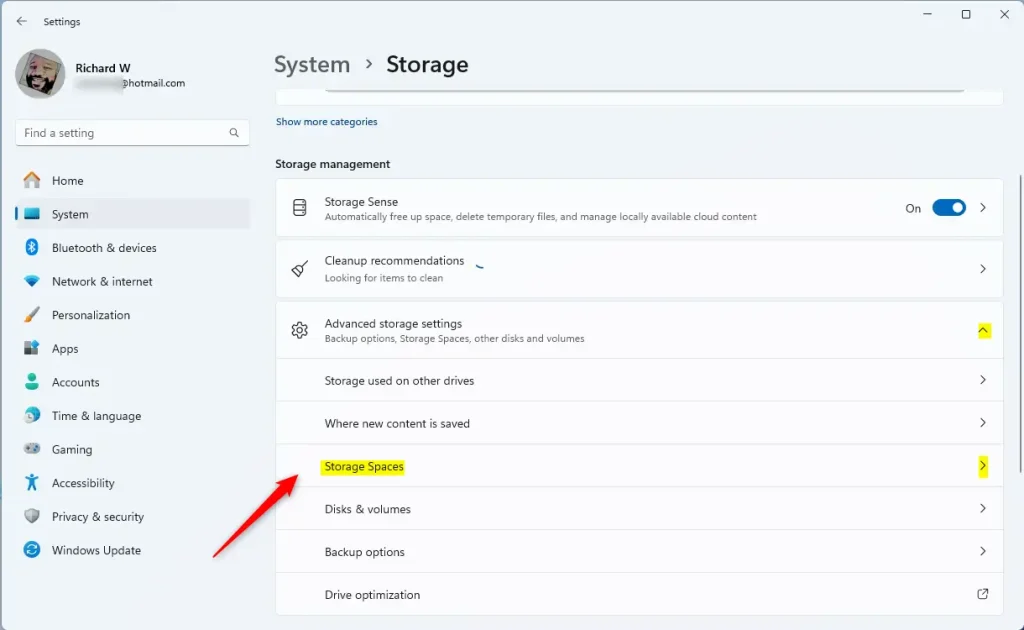
On the System -> Storage settings page, select and expand the “Advanced storage settings tile, and click the “Storage Spaces” tile to expand it.
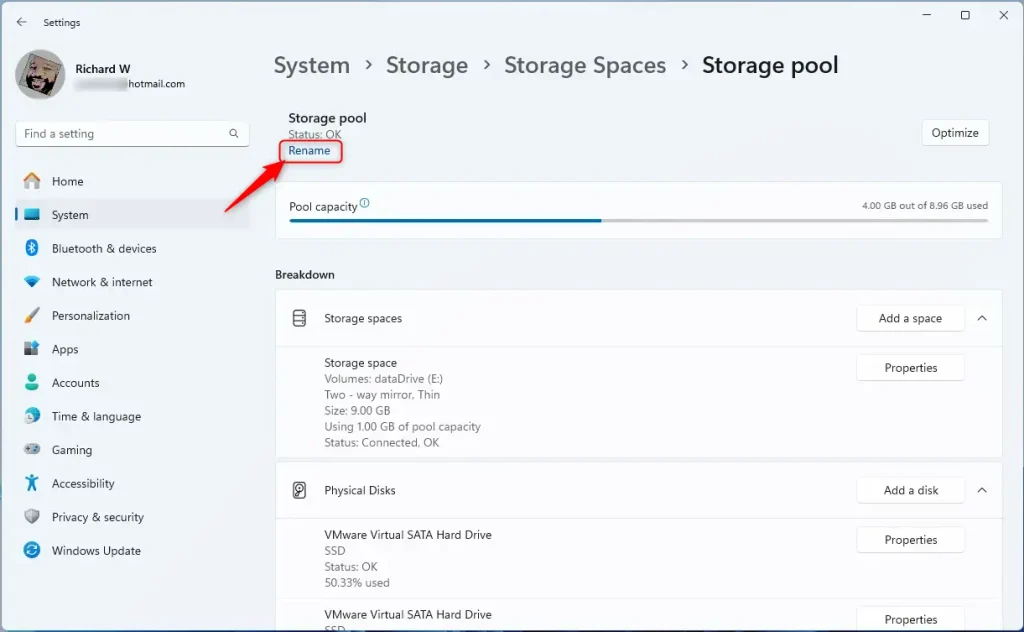
Next, select the “Storage pool” tile to expand it.
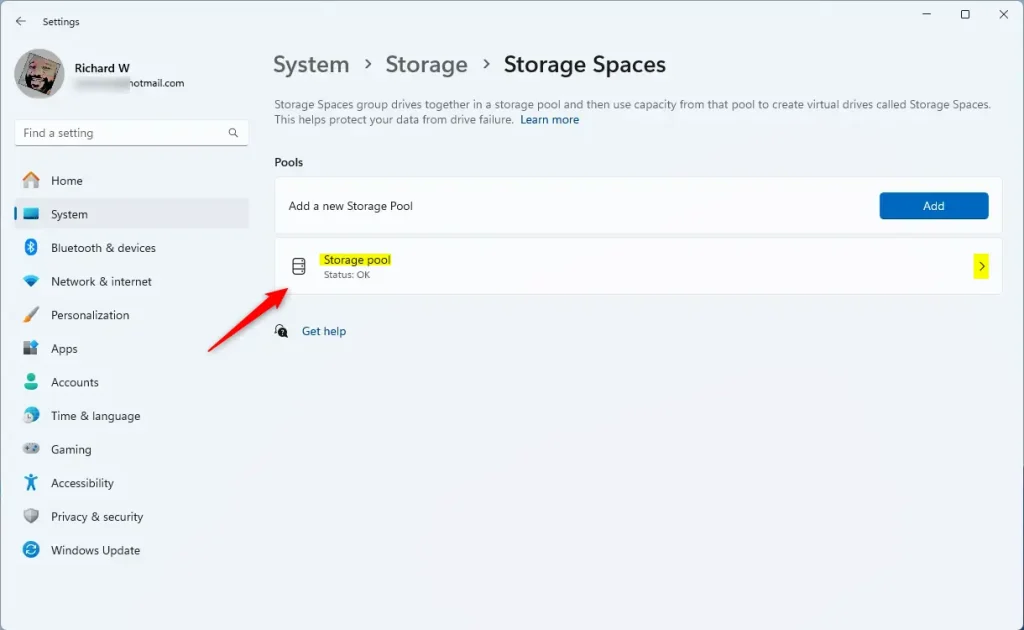
On the Storage pool status page, click the “Rename” link to change the pool’s name.
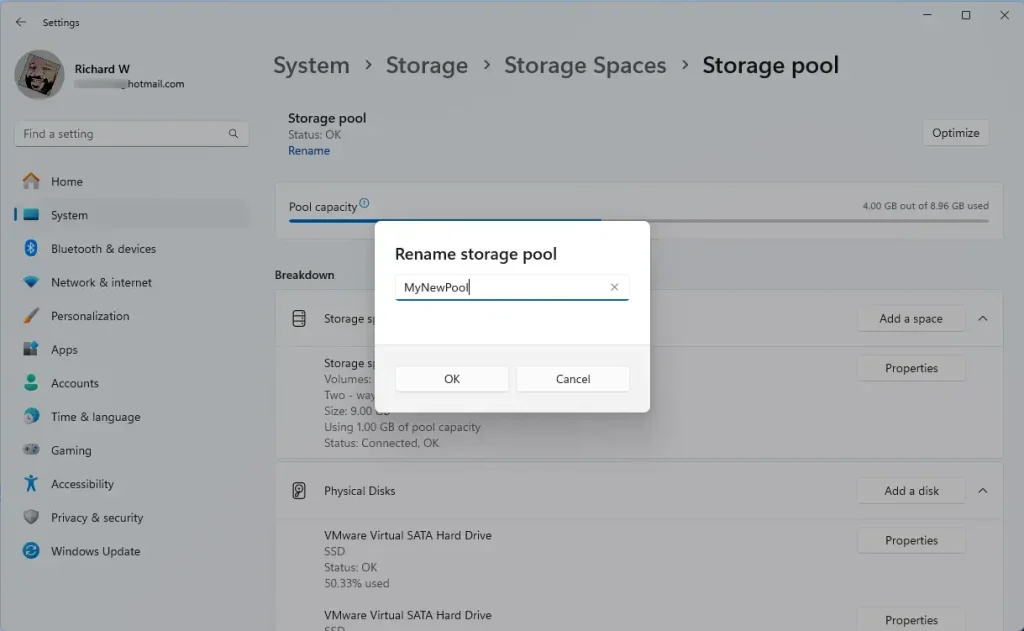
Type the new name and click OK to apply.
Change the Storage pool name using PowerShell
Another way to change the name of the storage pool on Windows is to use the PowerShell command.
First, open PowerShell in Windows Terminal as administrator.
Use the command below to list all storage pools on your machine.
Get-StoragePool
Then, update or change a storage pool name using the command format below.
Set-StoragePool -FriendlyName "CurrentPoolName" -NewFriendlyName "NewPoolName"
To update or change a storage pool name from “storage pool” to “MyNewStoragePool,” run the command below.
Set-StoragePool -FriendlyName "Storage pool" -NewFriendlyName "MyNewStoragePool"
That should do it!
Conclusion:
- Renaming a storage pool on Windows 11 can help you keep your storage more organized and easier to manage.
- It lets you quickly identify the storage pool when you need to make changes or add additional drives.
- This is particularly useful for those managing storage for multiple computers or users.
- Users can rename a storage pool via the Windows Settings app or PowerShell commands.
- Following the steps outlined in this article, you can efficiently rename your storage pool and enhance your storage management experience.


Leave a Reply to How to Add Drive to Windows 11 Storage Pool | Geek Rewind Cancel reply