How to Remove Windows 11 Desktop Stickers
Windows 11 includes a hidden feature that lets you place decorative stickers on your desktop. These stickers stay in place even if you change your background. Because this feature is hidden and not officially turned on, you may have used the Windows registry to enable it. We recommend caution when editing registry paths like HKEY_CURRENT_USER\Control Panel\Desktop.
Why use this? It allows for extra personalization of your computer workspace. What happens when done? You will have a clean desktop without any extra sticker overlays.
Right-click your desktop and select “Add or edit stickers” to open the editor. Click on a sticker and then the “Delete” button to remove it individually. Close the editor when finished.
How to remove stickers
If you enabled the Desktop Stickers feature and now want to remove them, follow these steps:
- Right-click on any empty space on your desktop.
- Select Add or edit stickers from the menu.
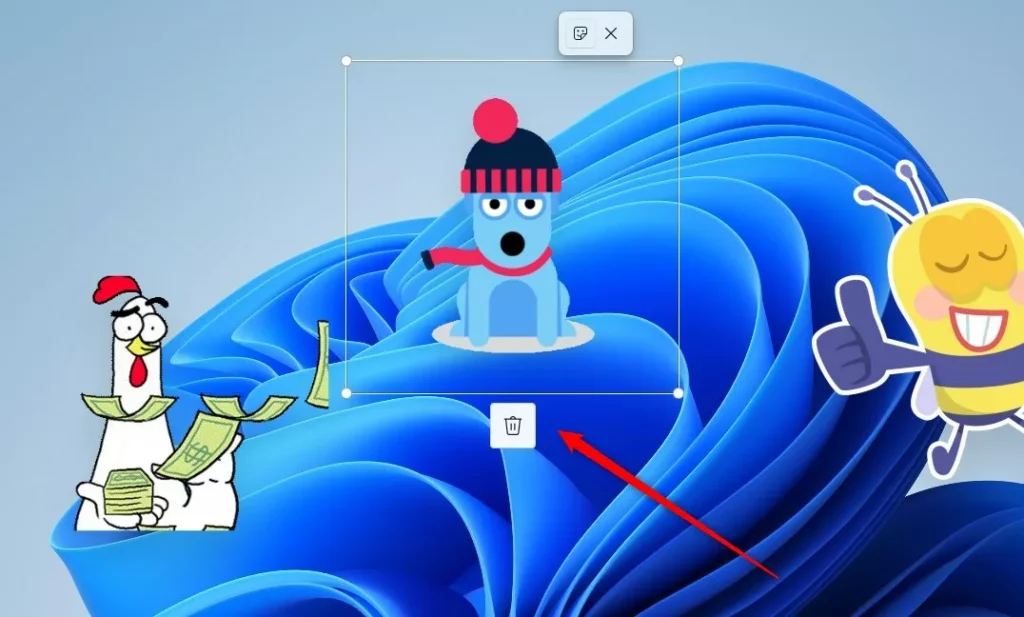
Once the editor is open, you can remove individual items:
- Click on the specific sticker you want to remove.
- Click the Delete button that appears.
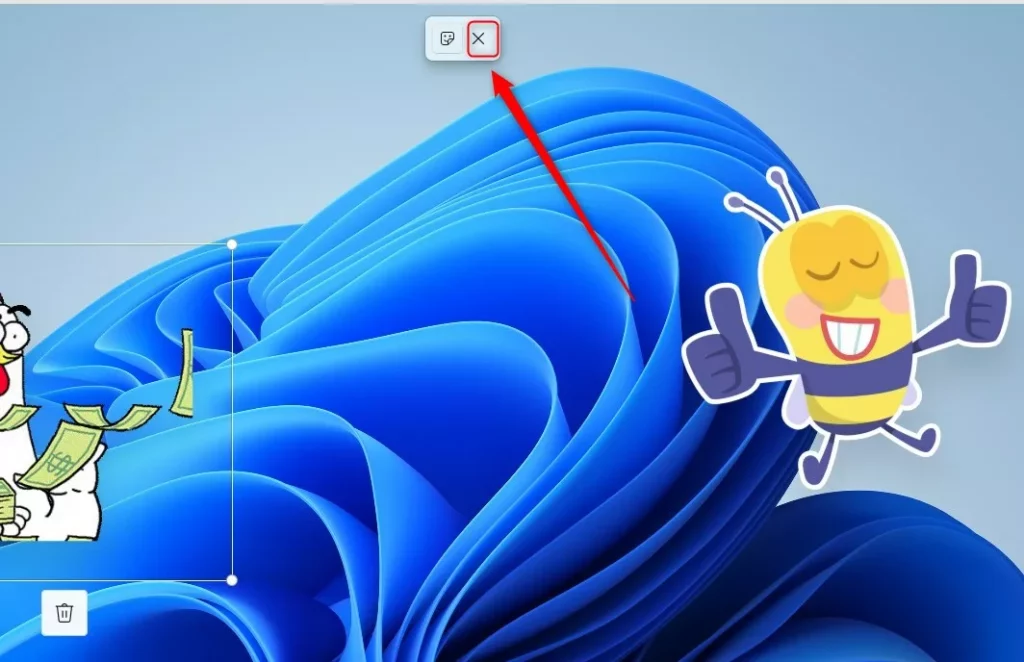
When you have finished removing your stickers, click the Close (X) button on the toolbar to exit the editor.
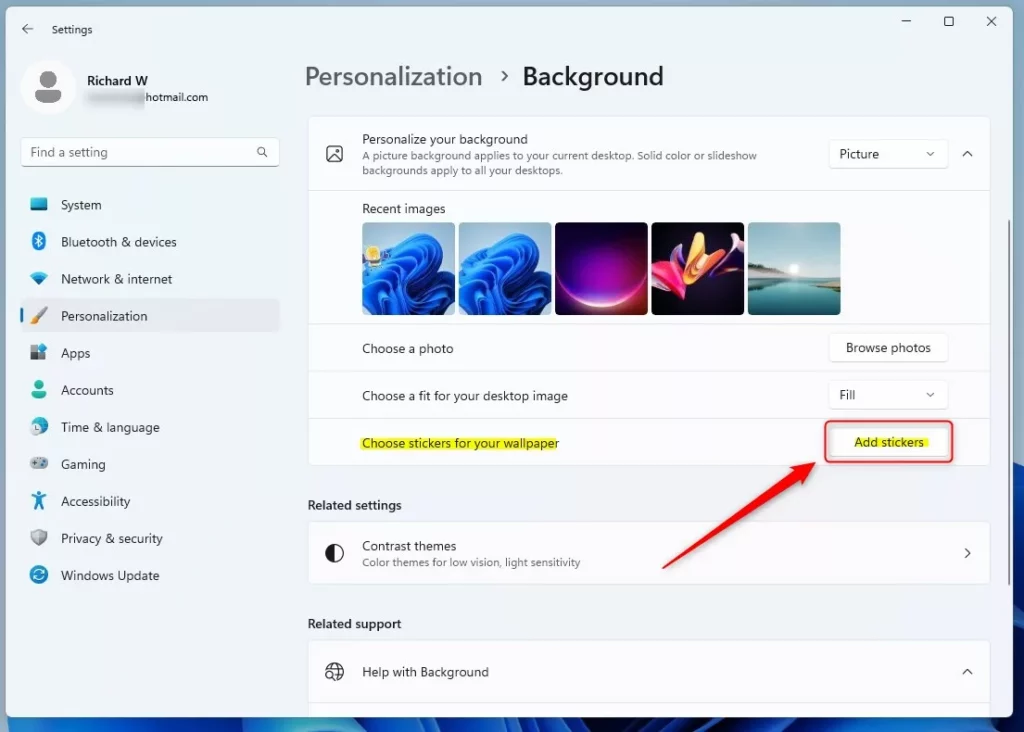
You can also access these settings through the Windows menu:
- Open the Start menu and go to Settings.
- Select Personalization, then choose Background.
- Click the Choose stickers for your wallpaper tile.
- Use the Add stickers button to manage or remove them.
Note: Some advanced settings changes may require administrative privileges. If you are not an administrator, you may need to log in with an account that has these permissions to modify your system settings.
Summary
Desktop stickers are a hidden experimental feature. You can remove them by opening the sticker editor via the right-click desktop menu or through the Personalization settings. Always be careful when changing hidden Windows features, as they are not officially supported for all users.
If you enable stickers and are using them on your desktop or need to use the Settings app, ensure you are following the steps carefully to avoid system errors.
Was this guide helpful?

About the Author
Richard
Tech Writer, IT Professional
Richard, a writer for Geek Rewind, is a tech enthusiast who loves breaking down complex IT topics into simple, easy-to-understand ideas. With years of hands-on experience in system administration and enterprise IT operations, he’s developed a knack for offering practical tips and solutions. Richard aims to make technology more accessible and actionable. He's deeply committed to the Geek Rewind community, always ready to answer questions and engage in discussions.

No comments yet — be the first to share your thoughts!