
This article provides instructions on how to remove or delete a user account in Windows 11.
Users may want to remove a user account in Windows 11 for various reasons. One common reason is to declutter the system by deleting unused accounts. Another reason is to enhance the system’s security by removing no longer needed or used accounts.
Regularly reviewing your system accounts is essential to avoid security risks. Ensure that all accounts are valid and actively in use.
Delete user accounts from Windows 11
Windows 11 features a centralized location for most settings. Users can perform various tasks, ranging from system configurations to creating new accounts and updating Windows, all from the System Settings pane.
To access System Settings, use the Windows key + I shortcut or click on Start and then select Settings.

Alternatively, you can use the search box on the taskbar and search for Settings. Then select to open it.
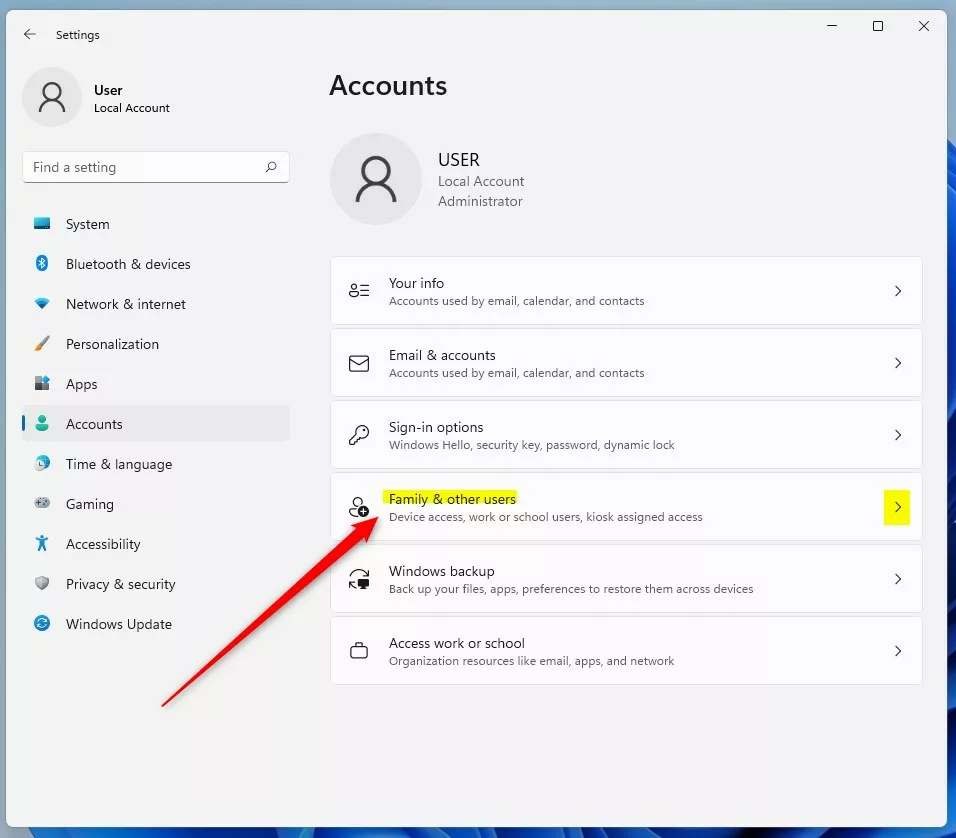
The Windows Settings pane should resemble the image below. In the Windows Settings, click on Accounts, then select Family & Other Users from the right pane of your screen.
In the Family & Other Users settings pane, locate the user account you wish to delete under the Other users section and select it to expand.
Once expended, click the Remove button below to remove the account from Windows 11.
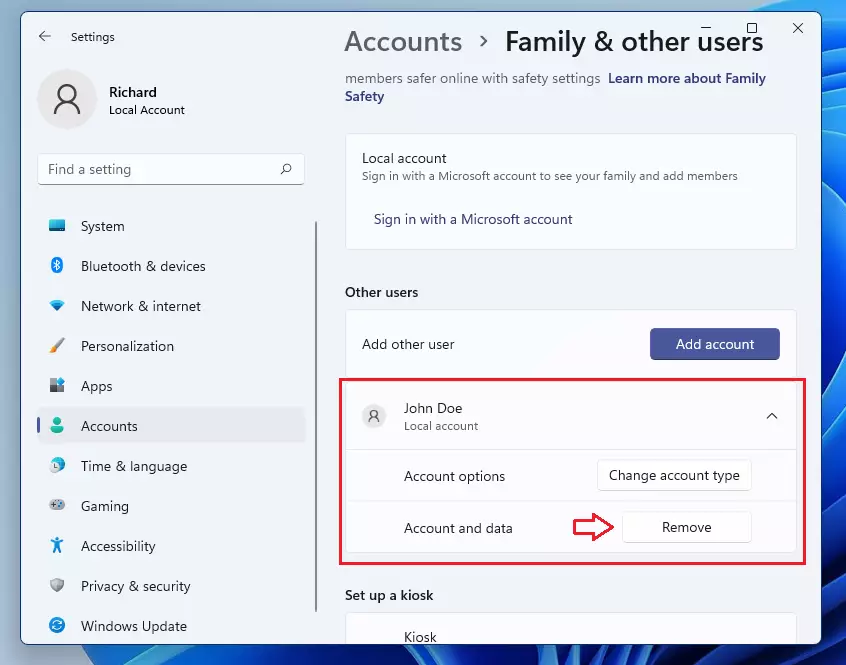
To proceed, click ‘Delete account and data‘ in the confirmation box. The account will be removed from the system and will no longer exist.
Remove a Microsoft account from Windows 11
Removing both local and Microsoft online accounts from Windows is straightforward. Simply navigate to the settings page, select the account you wish to remove, and click on Remove.
There are alternative methods to remove or delete an account in Windows 11. If the previous method doesn’t work, try the one below.
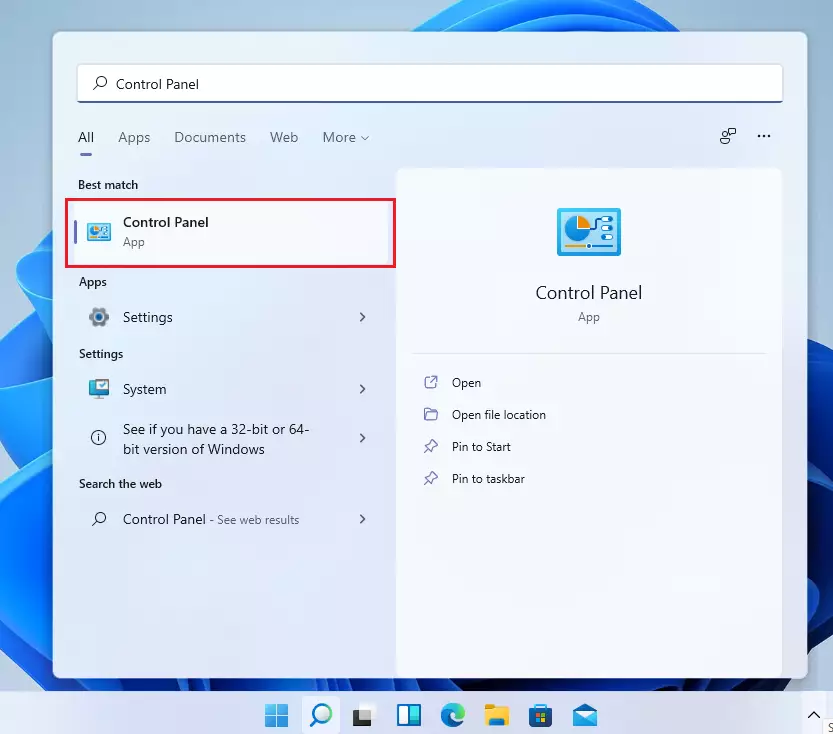
To remove a Microsoft account, open the Control Panel by searching for ‘Control Panel’ in the Start Menu and clicking on the app to launch it.
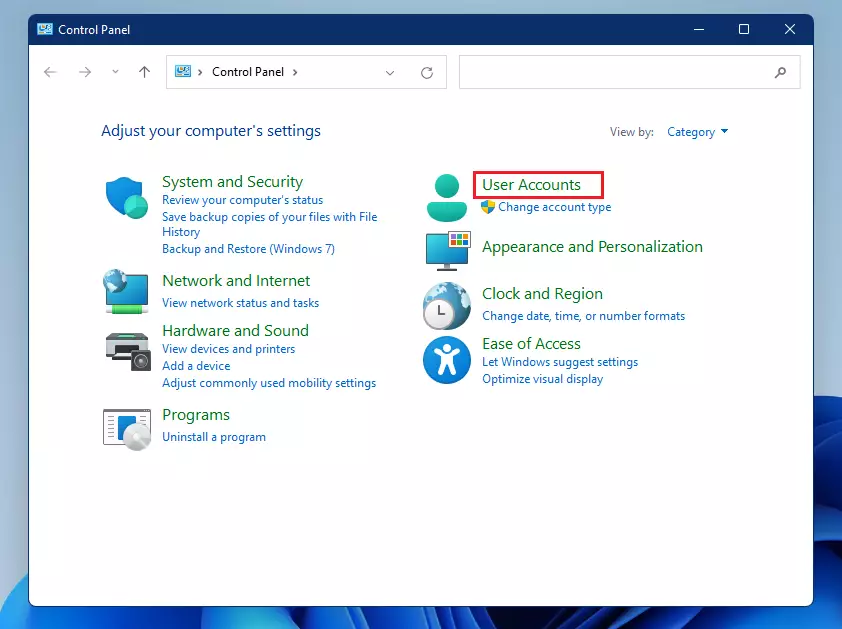
When the Control Panel app opens, go to User Accounts, as shown in the image below.
Next, click the Remove User Account link under User Accounts, as shown below.

Next, select the user account you want to remove from the system.

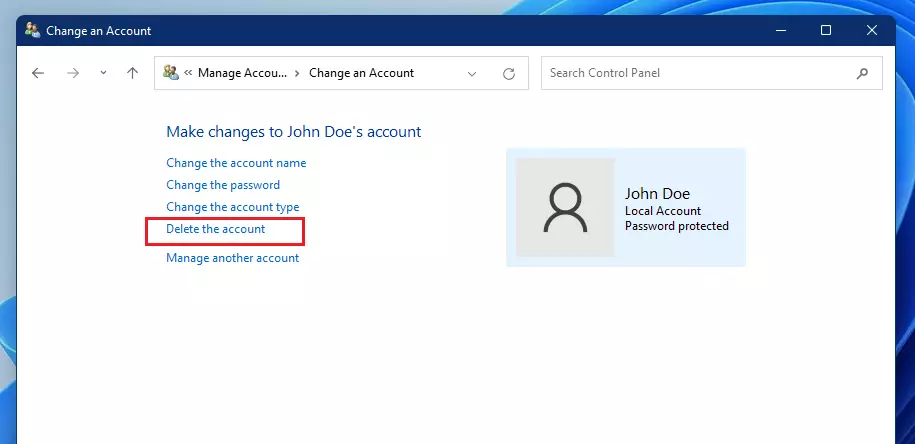
Finally, click the Delete the Account link highlighted in the image below.
You’re then given the option to delete the account along with the user data or keep the data and delete the account.
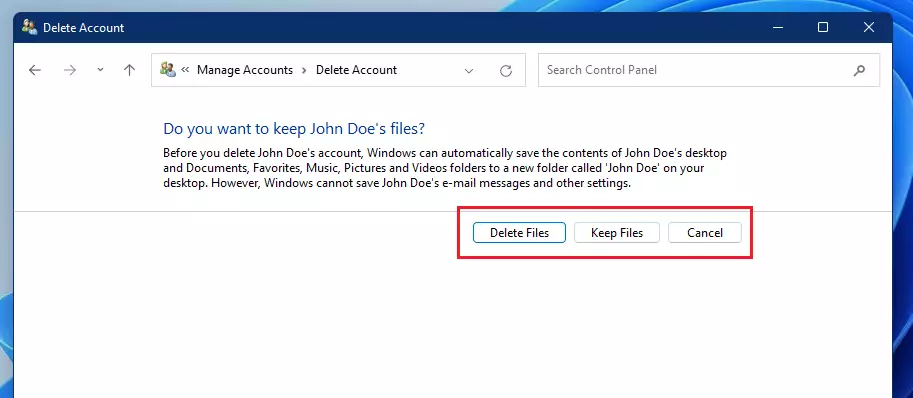
When you are ready, click the provided option and then proceed to delete your account.
That will do it!
Conclusion:
- Removing unused user accounts in Windows 11 helps improve system performance and security.
- Regularly reviewing and deleting unnecessary accounts can reduce clutter and potential security risks.
- Two methods are available to delete user accounts: through the System Settings and the Control Panel.
- Users can choose to delete accounts with or without retaining user data, providing flexibility based on individual needs.
- Following these steps ensures a cleaner, more efficient Windows 11 experience.
Leave a Reply