How to Move App to another Drive in Windows 11
Want to free up space on your C drive in Windows 11? Here’s how to move an app from the Microsoft Store to another drive.
Open Settings, navigate to Apps, then Installed apps. Find the app, click the three dots, select Move, choose your desired drive, and click Move again. Your app will then be transferred to the new location.
Why Move Apps to Another Drive?
Moving apps to another drive in Windows 11 is a great way to free up space on your main C drive, especially if it’s getting full.
By default, apps from the Microsoft Store install on your C drive. They go into specific folders there for app files and app data.
%ProgramFiles%\WindowsApps(for the app files)%LocalAppData%\Packages(for your app data)
You can move apps to any internal or external drive formatted with NTFS (a common file system for Windows). This includes SD cards and USB drives.
What Happens When You Move an App?
When you move an app in Windows 11, new folders are created on the drive you choose to hold its files, but the app won’t work if you disconnect that drive.
Important: If you disconnect the drive where you moved your app, that app will stop working. It will work again once you connect the drive back.
Not all apps support being moved to another drive.
How to Move Your App
To move an app in Windows 11, open Settings, go to Apps, then Installed apps, find the app you want to move, click the three dots, select ‘Move’, and choose the new drive.- Open Settings by pressing ⊞ Win+I.
- Click on Apps on the left side. Then click on Installed apps on the right side. Open Installed apps settings Open System components settings
- Find the app you want to move. Click the 3 dots button next to it. Then click Move.
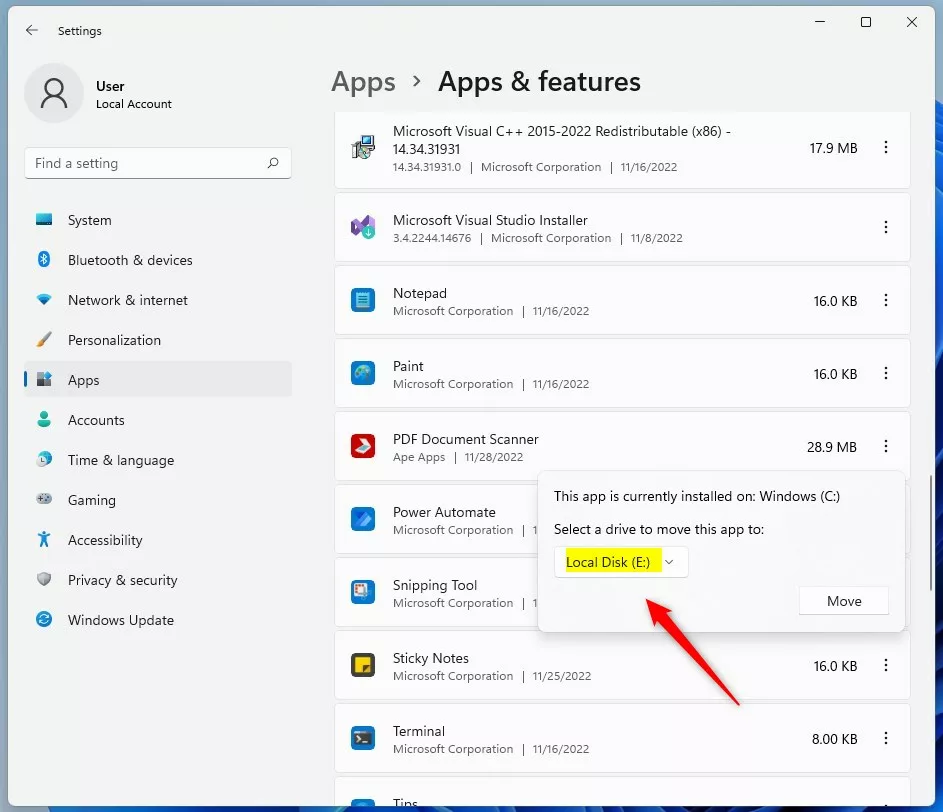
- A dropdown menu will appear. Select the drive you want to move the app to. Then click Move.
- Windows may ask: “Delete other apps?” You have two choices:
- Click Yes to delete apps already on that drive and move your app.
- Click No to cancel the move.
- Windows will now move your app to the new drive. Wait for it to finish.
- When done, you can close Settings.
Summary
You can easily move Microsoft Store apps to another drive in Windows 11 using the Settings app to save space on your C drive.
Why can't I move apps on Windows?
If the ‘Move’ button is grayed out for an app in Windows 11, it usually means the app doesn’t support being moved, or you might need to set a default install location for new apps.
Was this guide helpful?

About the Author
Richard
Tech Writer, IT Professional
Richard, a writer for Geek Rewind, is a tech enthusiast who loves breaking down complex IT topics into simple, easy-to-understand ideas. With years of hands-on experience in system administration and enterprise IT operations, he’s developed a knack for offering practical tips and solutions. Richard aims to make technology more accessible and actionable. He's deeply committed to the Geek Rewind community, always ready to answer questions and engage in discussions.

No comments yet — be the first to share your thoughts!