
This tutorial shows new users how to install and run Ubuntu Linux on Windows Subsystem for Linux 2 (WSL2). It’s easier than you might think!
Why Use WSL2?
In 2017, Windows released Windows Subsystem for Linux. This tool lets you run a Linux environment directly inside Windows. You don’t need a virtual machine or dual-boot setup.
WSL2 is the newer version. It’s faster and more compatible with Linux programs. It’s a great way to use Linux tools while staying in Windows.
What You Need Before Starting
Your computer must have:
- Windows 10 May 2020 (version 2004) or later
- Hyper-V Virtualization support enabled on your computer
Step 1: Turn On WSL in Windows
⚠️ This step requires admin privileges.
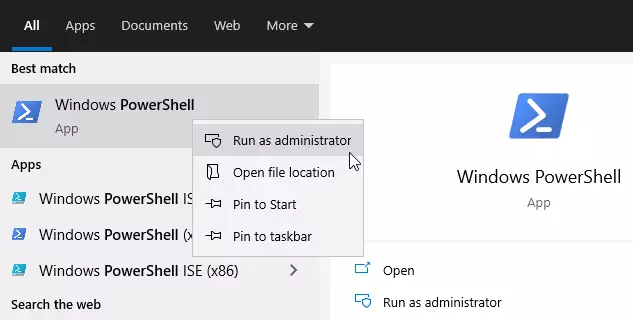
First, open PowerShell as an administrator. Click the Start menu. Type “PowerShell” in the search box.
Right-click on “Windows PowerShell” and select “Run as administrator.”
When the console opens, copy and paste this command:
dism.exe /online /enable-feature /featurename:Microsoft-Windows-Subsystem-Linux /all /norestart
Press Enter. You should see a success message like this:
Deployment Image Servicing and Management tool

Version: 10.0.19041.844
Image Version: 10.0.19042.844
Enabling feature(s)

[==========================100.0%==========================]

The operation completed successfully.
Step 2: Turn On Virtual Machine Platform
⚠️ This step requires admin privileges.
WSL2 needs Windows Virtual Machine Platform. This is different from Hyper-V. In the same PowerShell window, run this command:
dism.exe /online /enable-feature /featurename:VirtualMachinePlatform /all /norestart
If you have Windows 10 version older than 2004, use this command instead:
Enable-WindowsOptionalFeature -Online -FeatureName VirtualMachinePlatform -NoRestart
After running the command, restart your computer. This is important. The changes won’t work until you restart.
Step 3: Set WSL2 as Default
⚠️ This step requires admin privileges.
After restarting, open PowerShell as administrator again. Run this command:
wsl --set-default-version 2
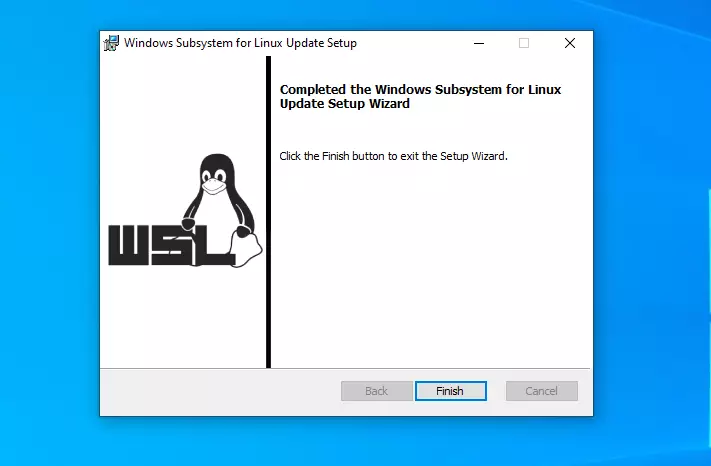
If you get an error about missing Linux kernel, download it from here: https://wslstorestorage.blob.core.windows.net/wslblob/wsl_update_x64.msi
Run the downloaded file in Windows. Then run the command above again.
Step 4: Install Ubuntu
Now you’re ready to install Ubuntu. Open the Windows Store and search for Ubuntu 20.04 LTS, or click here: Get Ubuntu 20.04 LTS – Microsoft Store
Ubuntu gives you access to Linux tools like bash, ssh, git, and apt.
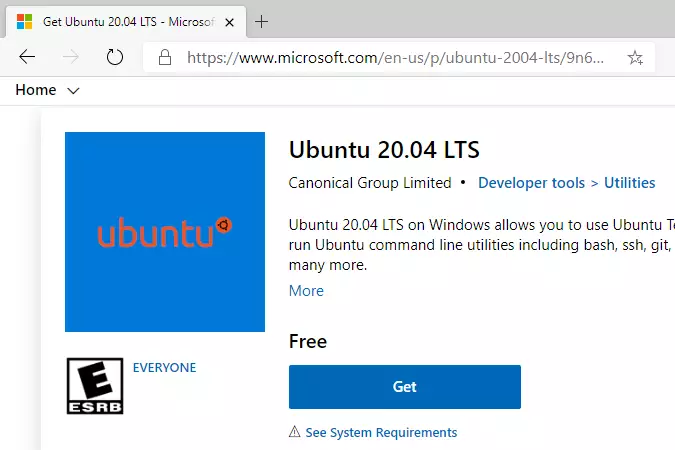
Click “Get” to install. After installation, you can launch Ubuntu.
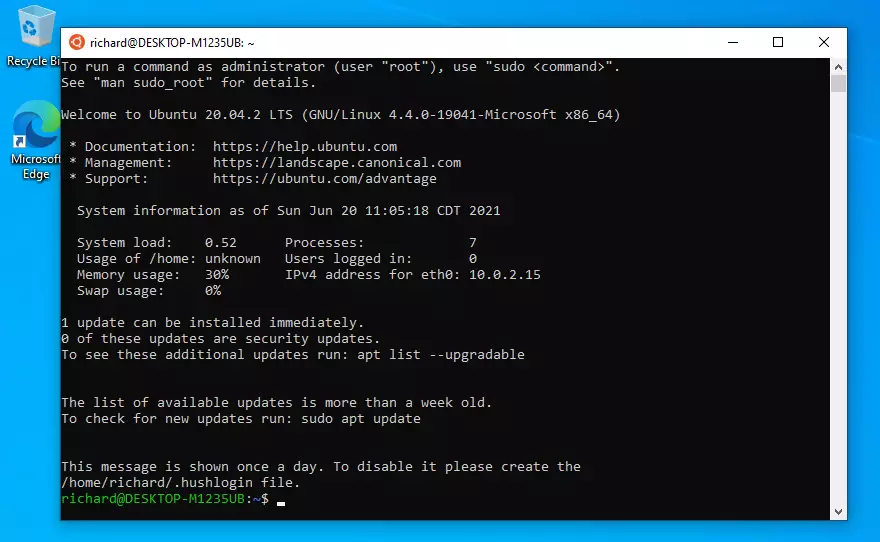
When you start Ubuntu for the first time, it will ask you to create a user account. This is your Linux username. It doesn’t need to match your Windows username.
The setup will look like this:
Installing, this may take a few minutes.

Please create a default UNIX user account. The username does not need to match your Windows username.

For more information visit: https://aka.ms/wslusers

Enter new UNIX username: userprofile

New password:

Retype new password:

passwd: password updated successfully

Installation successful!

To run a command as administrator (user "root"), use "sudo <command>".

See "man sudo_root" for details.
Welcome to Ubuntu 20.04.2 LTS (GNU/Linux 4.4.0-19041-Microsoft x86_64)
 * Documentation:  https://help.ubuntu.com

 * Management:     https://landscape.canonical.com

 * Support:        https://ubuntu.com/advantage
  System information as of Mon Apr 12 17:57:37 CDT 2021
  System load:    0.52      Processes:             7

  Usage of /home: unknown   Users logged in:       0

  Memory usage:   26%       IPv4 address for eth0: 192.168.1.100

  Swap usage:     0%
1 update can be installed immediately.

0 of these updates are security updates.

To see these additional updates run: apt list --upgradable
That’s it! You’re done installing.
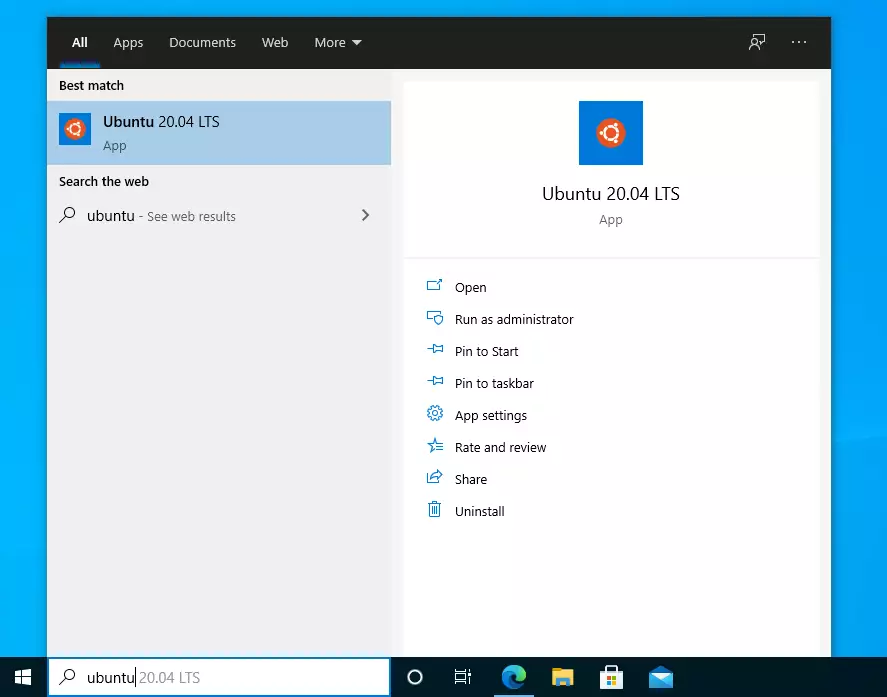
How to Launch Ubuntu
You can now launch Ubuntu anytime. Search for it in the Windows Start menu. You can also pin it to your taskbar for quick access.
Troubleshooting Commands
If you run into issues, try these commands in PowerShell:
wsl --set-default-version 1
bcdedit /set hypervisorlaunchtype auto start
Summary
Installing Ubuntu with WSL2 on Windows is a straightforward process:
- WSL2 lets you run Linux directly on Windows without virtual machines or dual-boot
- You need Windows 10 version 2004 or later and Hyper-V support
- Enable WSL, then enable Virtual Machine Platform in PowerShell as administrator
- Set WSL2 as your default version
- Download Ubuntu 20.04 LTS from the Windows Store
- Create a Linux user account when you first launch Ubuntu
- Launch Ubuntu anytime from your Start menu or taskbar
Now you have a full Linux environment running on your Windows computer. You can use Linux command-line tools, run bash scripts, and more—all without leaving Windows.


Leave a Reply