You install phpMyAdmin with Apache on Windows WSL to manage MySQL and MariaDB databases via a web browser.
phpMyAdmin is a free, open-source graphical tool that simplifies complex database administration tasks, offering an alternative to command-line interfaces.
This guide shows you how to set up phpMyAdmin and Apache within Windows Subsystem for Linux (WSL 2), a powerful combination for developers and students working with databases.
You can perform essential operations like running SQL queries, creating new users, and backing up your databases directly from your web browser.
Install phpMyAdmin with Apache on Windows WSL by enabling WSL and Virtual Machine Platform features, installing Ubuntu from the Microsoft Store, then installing Apache and MariaDB within Ubuntu using apt commands.
Getting Started
Step 1Enable WSL in Windows
To get phpMyAdmin running on Windows WSL, you first need to turn on the Windows Subsystem for Linux (WSL) feature, which lets you run Linux right on your Windows computer.
- Click the Start button and type PowerShell
- Right-click on Windows PowerShell and select Run as administrator ⚠️ Requires admin privileges
In the PowerShell window, copy and paste this command:
dism.exe /online /enable-feature /featurename:Microsoft-Windows-Subsystem-Linux /all /norestart
You should see a success message like this:
Deployment Image Servicing and Management tool

Version: 10.0.19041.844

Image Version: 10.0.19042.844

Enabling feature(s)

[==========================100.0%==========================]

The operation completed successfully.
Step 2Enable Virtual Machine Platform
For the best performance when setting up phpMyAdmin on Windows WSL, you’ll want to use WSL 2, which requires turning on the Virtual Machine Platform feature.
In the same PowerShell window, copy and paste this command:
dism.exe /online /enable-feature /featurename:VirtualMachinePlatform /all /norestart
If you have Windows 10 version 2004 or older, use this command instead:
Enable-WindowsOptionalFeature -Online -FeatureName VirtualMachinePlatform -NoRestart
Now restart your computer to apply all changes.
After your computer restarts, open PowerShell as administrator again and run this command:
wsl --set-default-version 2
Step 3Install Ubuntu on Windows
Now that WSL and the Virtual Machine Platform are ready for your phpMyAdmin Windows WSL setup, it’s time to install Ubuntu, a popular Linux operating system, from the Microsoft Store.
Click this link to download Ubuntu from the Windows Store: Get Ubuntu 20.04 LTS – Microsoft Store
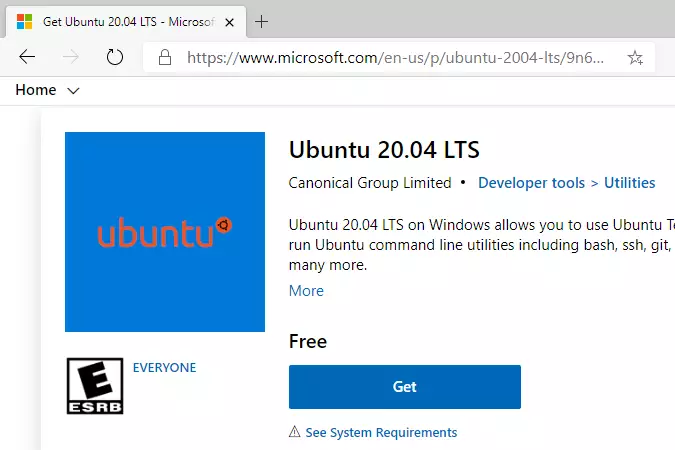
Click the Get button and wait for it to install.
When done, click Launch to start Ubuntu for the first time.
Ubuntu will ask you to create a username and password. Choose anything you want:
Enter new UNIX username: user123

New password: (type your password)

Retype new password: (type it again)

passwd: password updated successfully

Installation successful!
You’ll see a welcome message from Ubuntu. This means it’s working!
Welcome to Ubuntu 20.04.2 LTS (GNU/Linux 4.4.0-19041-Microsoft x86_64)

System information as of Mon Apr 12 17:57:37 CDT 2021

System load: 0.52 Processes: 7

Memory usage: 26% IPv4 address for eth0: 192.168.1.100
If you run into problems, try these commands:
wsl --set-default-version 1

bcdedit /set hypervisorlaunchtype auto start
Step 4Install Apache Web Server
Apache is the web server that will host your phpMyAdmin on Windows WSL, letting you access it from your web browser, and you’ll install it in Ubuntu using simple commands.
In Ubuntu, run these commands:
sudo apt update

sudo apt install apache2
⚠️ These commands require admin privileges (sudo)
To control Apache, use these commands:
sudo service apache2 stop (turns it off)
sudo service apache2 start (turns it on)
sudo service apache2 restart (restarts it)
Does it work? Open your web browser and go to:
http://localhost
You should see Apache’s test page.

Step 5Install MariaDB Database Server
MariaDB is the database system where phpMyAdmin will store all your data, and you’ll install it within your Ubuntu environment using the apt package manager.
Run these commands:
sudo apt-get install mariadb-server mariadb-client
⚠️ Requires admin privileges
To control MariaDB, use these commands:
sudo service mysql stop (turns it off)
sudo service mysql start (turns it on)
sudo service mysql restart (restarts it)
Now secure your database with a password:
sudo mysql_secure_installation
⚠️ Requires admin privileges
Answer the questions like this:
Enter current password for root (enter for none): Press Enter

Set root password? [Y/n]: Y

New password: (type your password)

Re-enter new password: (type it again)

Remove anonymous users? [Y/n]: Y

Disallow root login remotely? [Y/n]: Y

Remove test database and access to it? [Y/n]: Y

Reload privilege tables now? [Y/n]: Y
Did it work? Test by logging in to the database:
sudo mysql -u root -p
Type your password when asked. You should see:
Welcome to the MariaDB monitor. Commands end with ; or g.

Your MariaDB connection id is 46

Server version: 10.3.29-MariaDB-0ubuntu0.20.04.1 Ubuntu 20.04

MariaDB [(none)]>
Type exit to leave.
Step 6Install PHP
PHP is the programming language phpMyAdmin uses, and it’s essential for the application to run, so you’ll install it along with necessary modules for Apache and MariaDB in Ubuntu.
Run this command to install PHP and the tools it needs:
sudo apt install php libapache2-mod-php php-common php-mysql php-gmp php-curl php-intl php7.4-mbstring php-xmlrpc php-gd php-xml php-cli php-zip
⚠️ Requires admin privileges
Did it work? Check the PHP version:
php -v
You should see something like:
PHP 7.4.3 (cli) (built: Oct 6 2020 15:47:56) ( NTS )

Copyright (c) The PHP Group

Zend Engine v3.4.0, Copyright (c) Zend Technologies
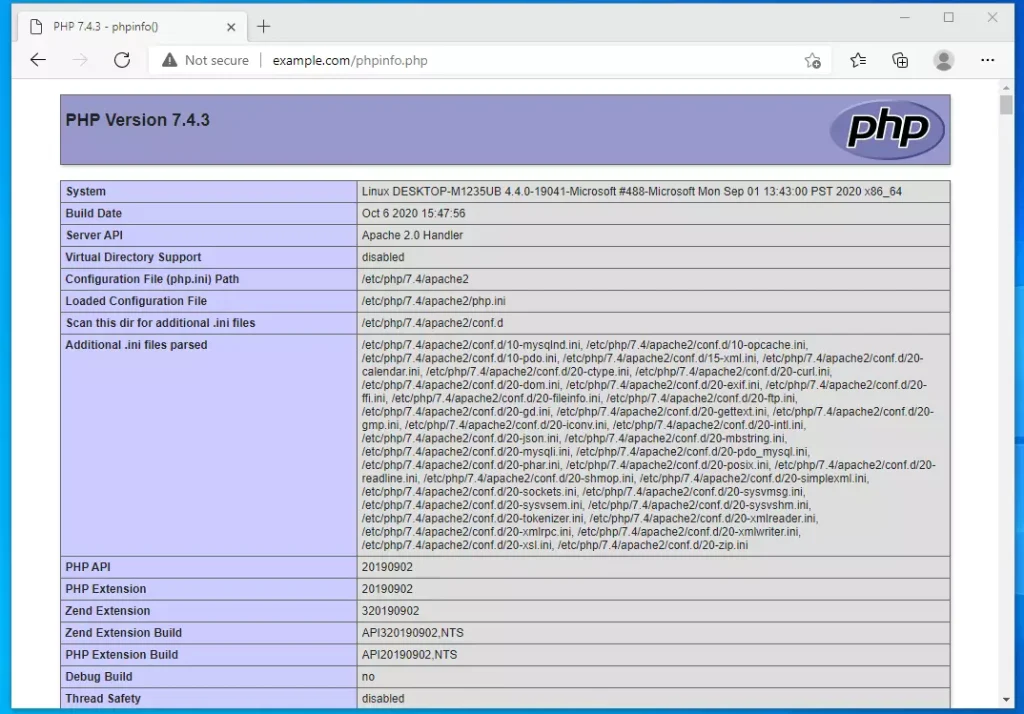
To test PHP more thoroughly, create a test file:
sudo nano /var/www/html/phpinfo.php
⚠️ Requires admin privileges
Type this inside the file:
<?php phpinfo( ); ?>
Press Ctrl+X, then Y, then Enter to save.
Restart Apache:
sudo service apache2 restart
Now open your browser and go to:
http://localhost/phpinfo.php
You should see a page showing all your PHP information.
Step 7Install phpMyAdmin
phpMyAdmin is the web tool that makes managing your MariaDB databases easy, and you’ll install it on your Windows WSL setup with a simple command in Ubuntu.
Run this command:
sudo apt install phpmyadmin
⚠️ Requires admin privileges
When asked which web server to use, select apache2 and press Enter.
Please choose the web server that should be automatically configured to run phpMyAdmin.

[*] apache2

[ ] lighttpd
When asked “Configure database for phpmyadmin with dbconfig-common?”, select Yes.
Create a password for phpMyAdmin when asked. Remember this password.
About root access: MariaDB has a special security feature that may block the root user from logging into phpMyAdmin. If you want to use the root account, follow these steps:
Log into MariaDB:
sudo mysql
⚠️ Requires admin privileges
Run these commands:
USE mysql;

UPDATE user SET plugin='' WHERE user ='root';

FLUSH PRIVILEGES;

EXIT;
Restart Apache:
sudo service apache2 restart
Now open phpMyAdmin by going to:
http://localhost/phpmyadmin
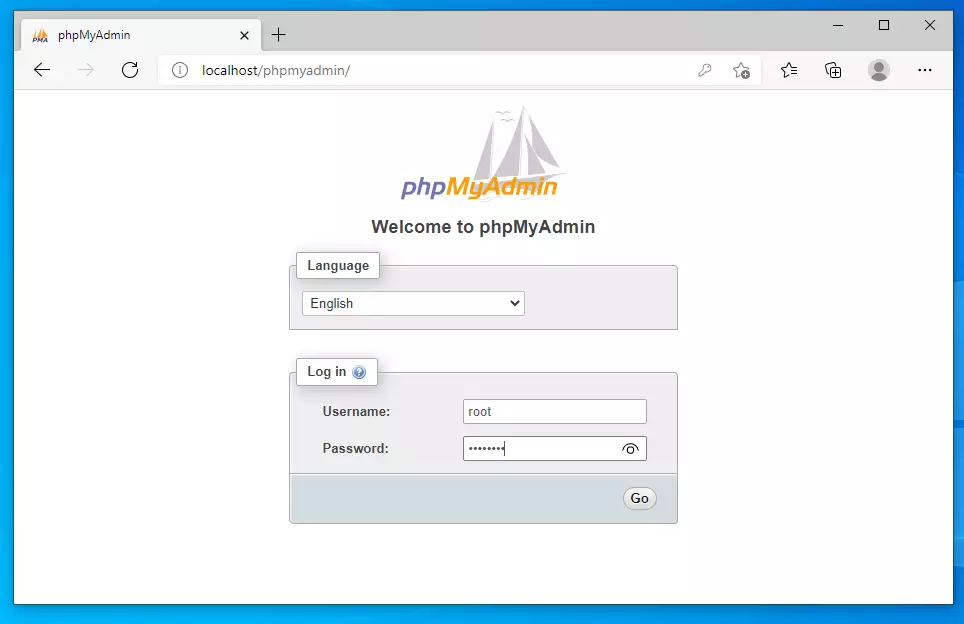
You should see a login page. Log in with your root username and password.
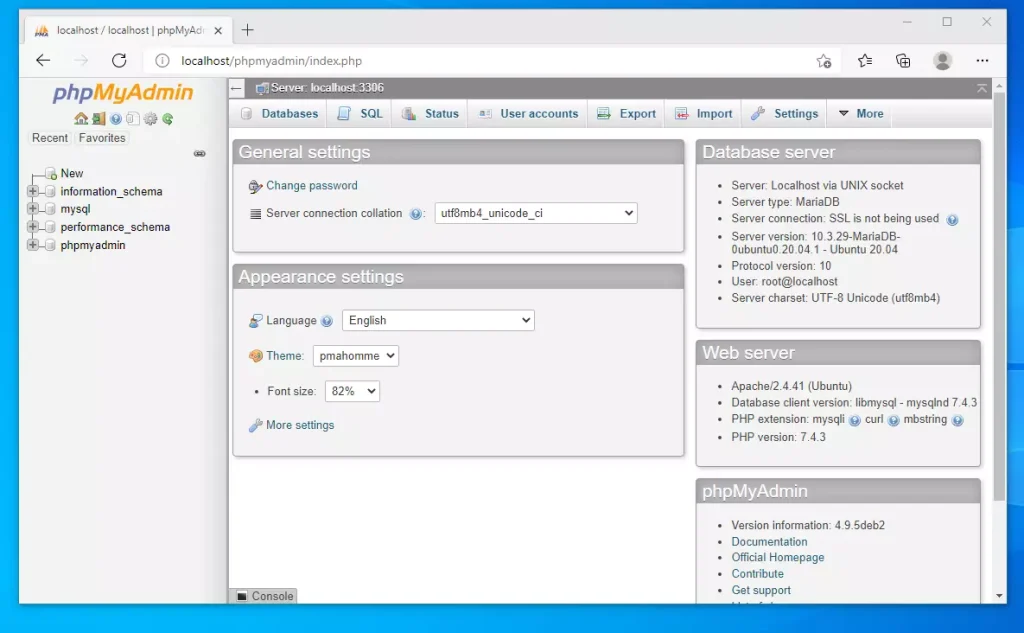
You’re done! You can now manage your databases from phpMyAdmin.
Summary
You’ve now learned how to install phpMyAdmin with Apache on Windows WSL, setting up a powerful system for managing your databases.
- Enabled WSL 2, which lets you run Linux on Windows
- Installed Ubuntu, a Linux operating system
- Installed Apache, a web server
- Installed MariaDB, a database system
- Installed PHP, a programming language
- Installed phpMyAdmin, a web tool to manage databases
Now you have a powerful system for storing and managing data. You can use phpMyAdmin’s simple interface instead of typing complicated database commands.
Was this guide helpful?

About the Author
Richard
Tech Writer, IT Professional
Richard, a writer for Geek Rewind, is a tech enthusiast who loves breaking down complex IT topics into simple, easy-to-understand ideas. With years of hands-on experience in system administration and enterprise IT operations, he’s developed a knack for offering practical tips and solutions. Richard aims to make technology more accessible and actionable. He's deeply committed to the Geek Rewind community, always ready to answer questions and engage in discussions.


thanks, that was helpful
Straight, clear. Very helpful
Thank you
Don’t use UPDATE user SET plugin=” WHERE user =’root’;
It will broke your authentication system when you define password earlier