How to Install OpenSSH Client on Windows 11
You install windows-11/" class="sal-link" rel="noopener" target="_blank" data-sal-id="22021">OpenSSH Client on Windows 11 to securely connect to and manage remote machines using the command line.
OpenSSH Client provides a robust, encrypted way to execute commands and transfer files over networks, making it an essential tool for system administrators and developers.
Good news: You can enable the built-in OpenSSH Client directly within Windows 11, often without needing to download third-party software, and it’s been a standard feature since Windows 10.
How to Install OpenSSH Client on 🪟 Windows 11
Follow these simple steps to get OpenSSH Client ready:
- Open Settings on your PC. You can do this two ways:
- Press Windows key + I on your keyboard
- Or click the Start button, then select Settings
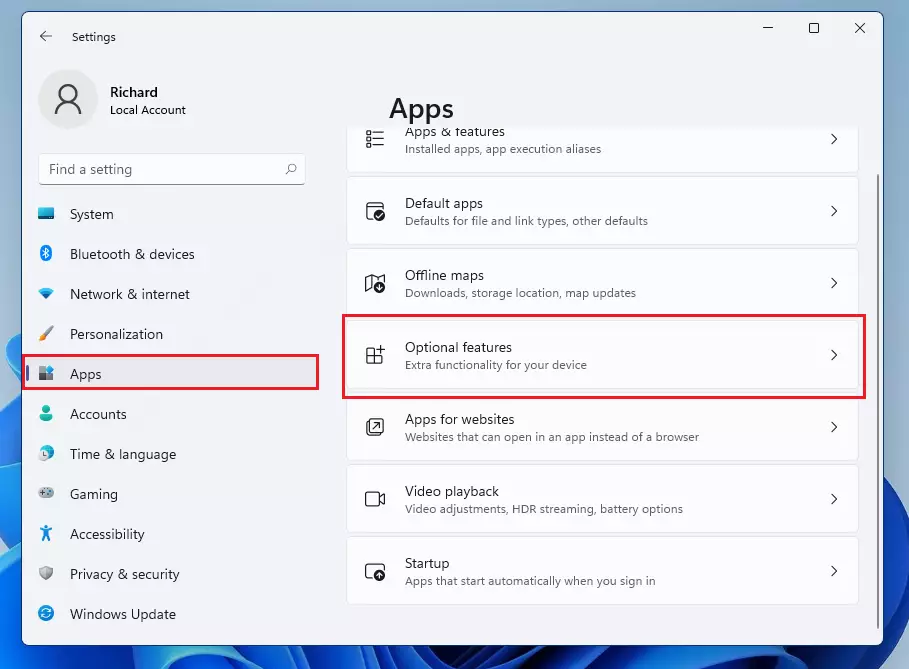
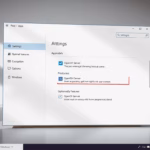
- In the Settings window, click on Apps from the left menu. Then click on Optional features on the right side.
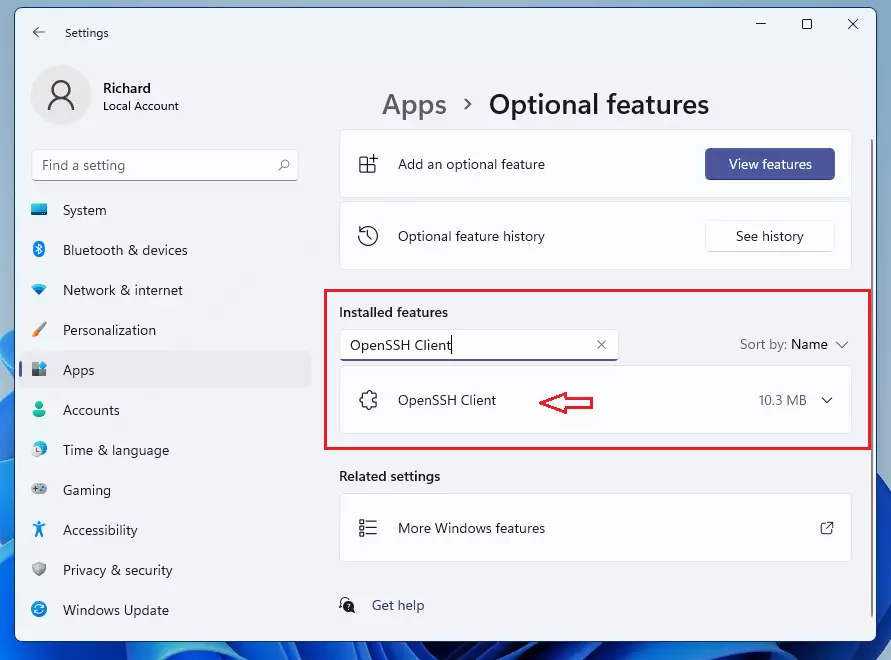
- Scroll down the list of installed features and look for OpenSSH Client. If you don’t see it, click Add an optional feature at the top.
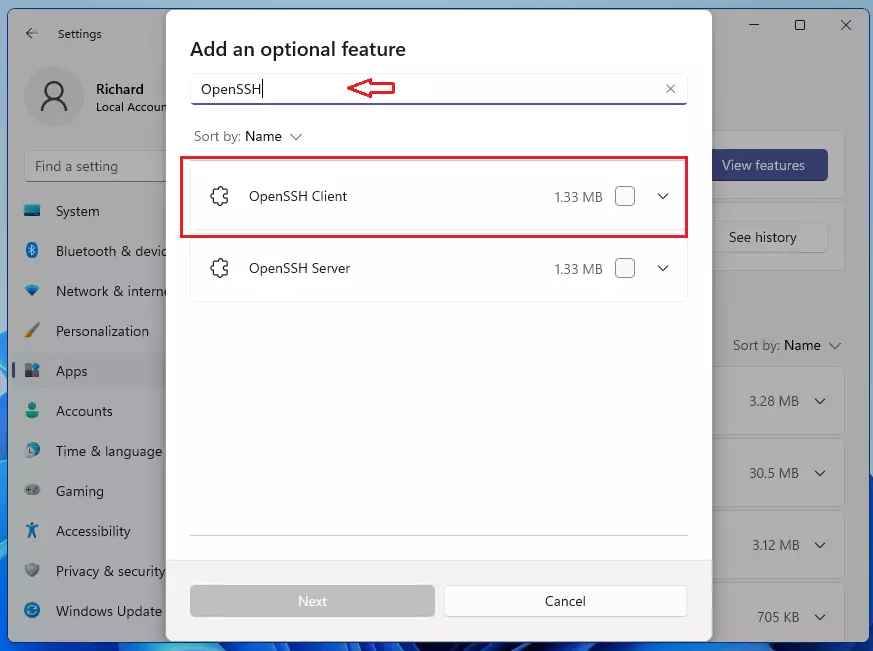
- In the search box, type OpenSSH Client. When you see it in the list, click on it, then select Install. Wait a few moments while Windows installs the feature.
What happens when you’re done? The OpenSSH Client is now installed and ready to use on your Windows 11 PC.
How to Use OpenSSH Client on 🪟 Windows 11
Here’s how you can connect to a remote computer using OpenSSH:
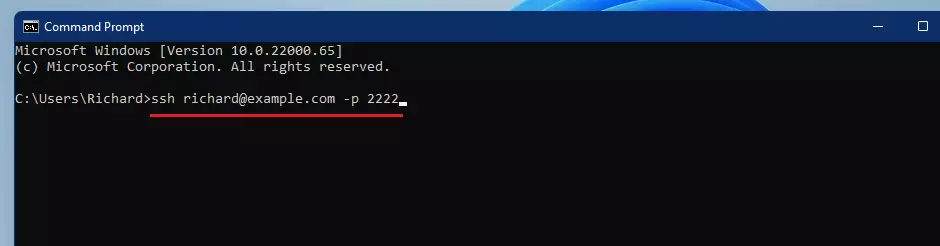
- Open Command Prompt or PowerShell on your PC. To do this, press Windows key, type
cmdorPowerShell, then press Enter. - In the window that opens, type the following command and press Enter:
ssh user@192.168.1.100
Replaceuserwith your login name on the remote computer, and192.168.1.100with the address or IP of the remote computer.Example:
ssh admin@server.example.com - If the connection is set up correctly, you will be asked for your password. Enter it, and then you can start working securely on the remote machine.
Summary
- Windows 11 includes a built-in OpenSSH client. You don’t need extra software to connect securely to other computers.
- You can install it easily through Settings > Apps > Optional features.
- Use Command Prompt or PowerShell to type
ssh user@192.168.1.100and connect securely. - This tool lets you send commands and files safely over the internet.
- For more info on SSH, you can visit the official Microsoft docs here: OpenSSH on Windows.
Was this guide helpful?

About the Author
Richard
Tech Writer, IT Professional
Richard, a writer for Geek Rewind, is a tech enthusiast who loves breaking down complex IT topics into simple, easy-to-understand ideas. With years of hands-on experience in system administration and enterprise IT operations, he’s developed a knack for offering practical tips and solutions. Richard aims to make technology more accessible and actionable. He's deeply committed to the Geek Rewind community, always ready to answer questions and engage in discussions.


No comments yet — be the first to share your thoughts!