

This article explains how to install Matomo Analytics with Apache on Ubuntu 24.04.
Installing Matomo analytics with Apache on Ubuntu provides a reliable and customizable solution for web analytics. Matomo Analytics offers in-depth insights into website traffic and visitor behavior while prioritizing data ownership and user privacy.
Integrating it with the Apache web server on Ubuntu ensures robust performance and flexibility, creating a powerful environment for monitoring and optimizing website performance.
This combination lets you control your website’s performance and make informed decisions, empowering you to drive its success.
The steps below walk you through installing Matomo Analytics with Apache on Ubuntu 24.04.
Install Apache HTTP server on Ubuntu
Matomo requires a web server. This post will install and use the Apache web server to run Matomo.
To do that, open the Ubuntu terminal and run the commands below to install the Apache web server.
sudo apt update
sudo apt install apache2
Once Apache is installed, the commands below can start, stop, and enable the Apache web server to start automatically when your server boots up.
sudo systemctl stop apache2
sudo systemctl start apache2
sudo systemctl enable apache2
You can test that the Apache web server is running by opening your web browser and browsing to the server’s localhost or IP address.
http://localhost
When you see the Apache2 Default Page, it means the Apache HTTP server is successfully installed.
Additional help on installing Apache on Ubuntu is in the link below.
How to install Apache on Ubuntu
Install the MariaDB database server on Ubuntu
The next component required to run Matomo is a database server. This post will install and use the MariaDB database server.
To install and use the MariaDB database server, use the instructions below.
Open the Ubuntu terminal and run the commands below to install the MariaDB database server.
sudo apt update
sudo apt install mariadb-server
Once the MariaDB database server is installed, use the commands below to stop, start, and enable the MariaDB server to start automatically when the server boots.
sudo systemctl stop mariadb
sudo systemctl start mariadb
sudo systemctl enable mariadb
Run the following commands to validate and test if the MariaDB database server is installed successfully.
sudo mariadb
Once you run the commands above, it will log you onto the MariaDB console and display a message similar to the one below.
Welcome to the MariaDB monitor.  Commands end with ; or g.
Your MariaDB connection id is 32
Server version: 10.11.2-MariaDB-1 Ubuntu 23.04

Copyright (c) 2000, 2018, Oracle, MariaDB Corporation Ab and others.

Type 'help;' or 'h' for help. Type 'c' to clear the current input statement.

MariaDB [(none)]>
The message tells you that the server is installed successfully.
Additional help on installing MariaDB.
- How to install MariaDB on Ubuntu Linux
- MariaDB without password prompt
Create a Matomo database
Upon successfully installing the MariaDB database server, create a blank database on the server specifically for the Matomo application.
As part of the setup, we will create a matomodb database and a user account called matomodbuser.
Finally, we’ll grant the matomodbuser full access to the matomodb database.
All the database steps above can be done using the commands below:
But first, log on to the MariaDB database server:
sudo mariadb
Then run the commands below to complete the steps:
CREATE DATABASE matomodb CHARACTER SET utf8mb4 COLLATE utf8mb4_general_ci;
CREATE USER matomodbuser@localhost IDENTIFIED BY 'type_your_password_here';
GRANT ALL ON matomodb.* TO matomodbuser@localhost WITH GRANT OPTION;
FLUSH PRIVILEGES;
exit
Ensure to replace ‘type_your_password_here ‘with your password.
Install PHP on Ubuntu Linux
The last component you will need to run Matomo is PHP. The Matomo application is PHP-based and supports the latest versions of PHP.
Run the commands below to install PHP.
sudo apt install php libapache2-mod-php php-intl php-mysql php-curl php-cli php-zip php-xml php-gd php-common php-mbstring php-xmlrpc php-json php-sqlite3 php-soap php-ldap php-zip
Additional help on installing PHP
How to install PHP on Ubuntu Linux
Download Matomo files
Let’s begin downloading and configuring the Matomo files on Ubuntu Linux.
To always install the latest version, check the Matomo’s download page. If a new version is available, replace the version number in the link below.
First, navigate to the /tmp/ directory and download Matomo files. After unzipping the file, move the content into the Matomo folder in the Apache root directory.
The final step is to change the permissions. This will allow the Apache web server to interact safely with the files, ensuring a secure environment for your Matomo installation.
cd /tmp
wget https://builds.matomo.org/matomo-latest.zip
sudo unzip matomo-latest.zip -d /var/www/
sudo chown -R www-data:www-data /var/www/matomo
Once you have completed all the above steps, continue configuring the Apache web server below to serve the Matomo content.
Run the commands below to create an Apache virtual host file for Matomo.
sudo nano /etc/apache2/sites-available/matomo.conf
Then, copy and paste the content block below into the Apache server block.
<VirtualHost *:80>
  ServerName matomo.example.com
  ServerAlias www.matomo.example.com
  ServerAdmin [email protected]
  DocumentRoot /var/www/matomo

  <Directory /var/www/matomo/>
       Options FollowSymlinks
       AllowOverride All
       Require all granted
  </Directory>

       ErrorLog ${APACHE_LOG_DIR}/error.log
       CustomLog ${APACHE_LOG_DIR}/access.log combined
</VirtualHost>
Save the file.
Then, run the commands below to enable the virtual host and restart the Apache server.
sudo a2ensite matomo.conf
sudo a2enmod rewrite
sudo systemctl restart apache2
Setup Let’s Encrypt SSL/TLS for Matomo
You may want to install an SSL/TLS certificate to secure your Matomo site. Secure your Matomo installation with HTTPS from Let’s Encrypt.
Please read the post below for additional resources on installing and creating Let’s Encrypt SSL certificates for Apache.
How to set up Let’s Encrypt SSL certificate for Apache on Ubuntu Linux
Once you have restarted the Apache web server, open your browser and browse to the server hostname or IP address defined in the Apache server block.
http://matomo.example.com
A Matomo installation wizard page should appear. Next to begin.

On the next page, confirm all requirements are met, then continue.

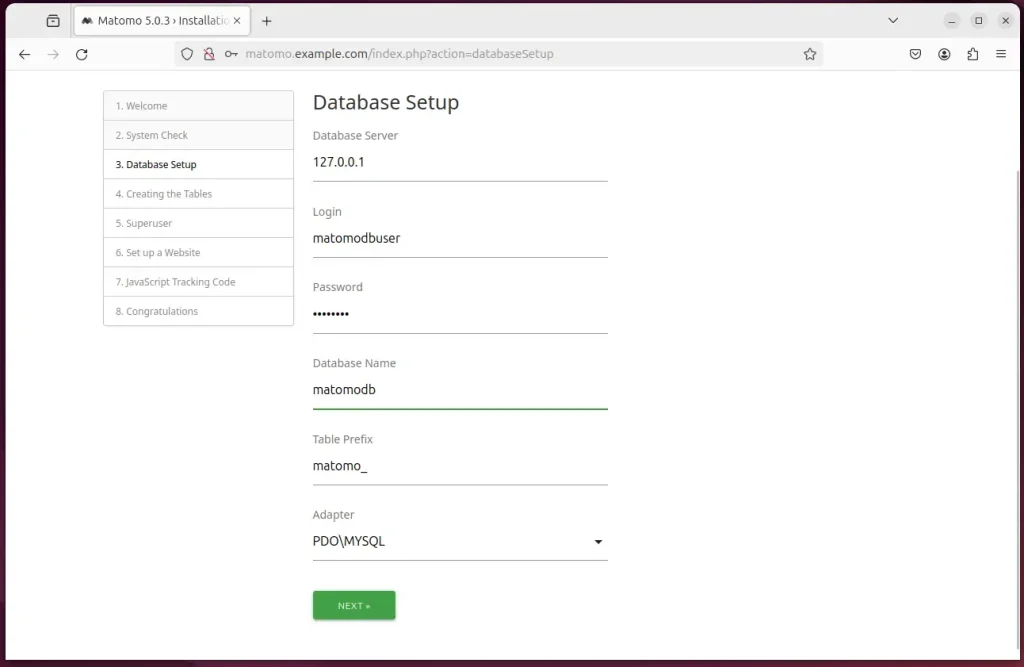
Next, enter the database name, account, and password and continue.
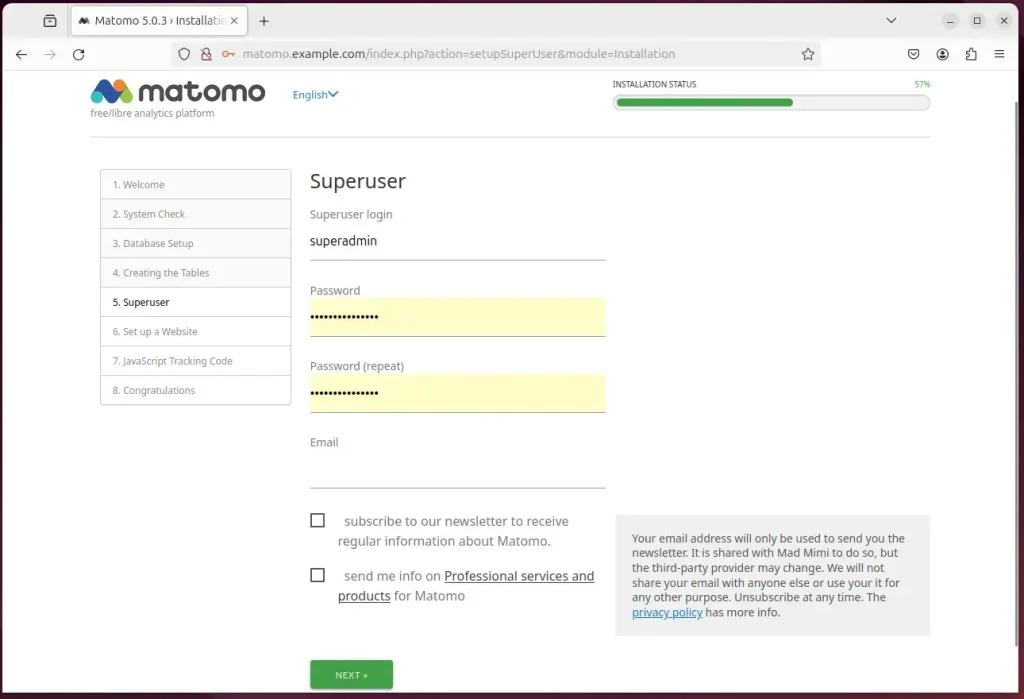
Next, create an admin account and continue.
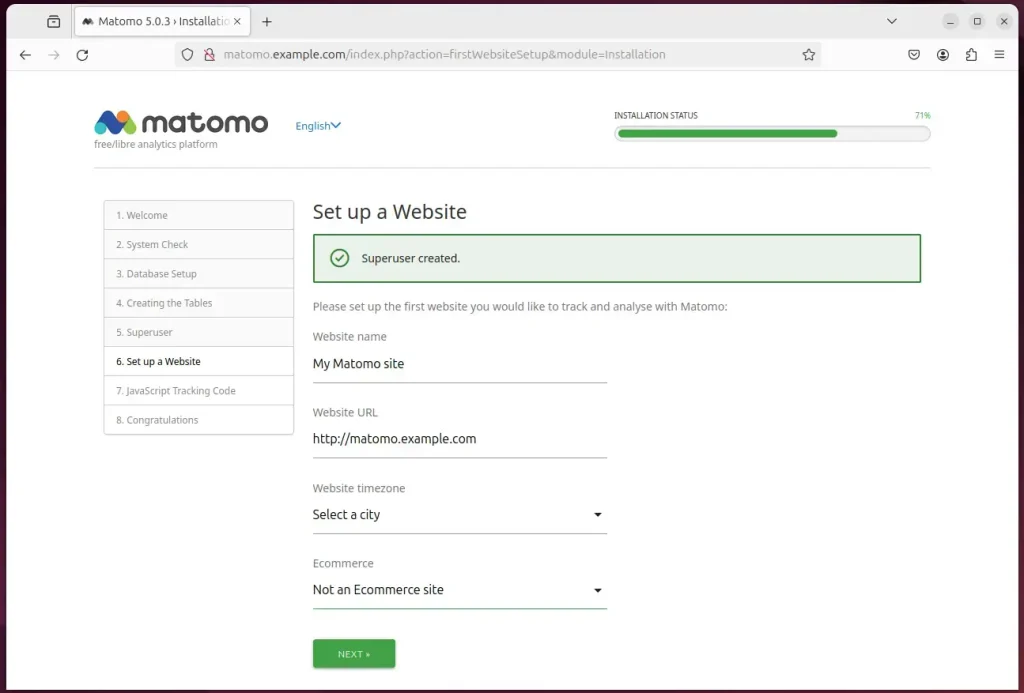
On the next screen, type in your site details and continue
Copy the JavaScript code if you’d like and continue.
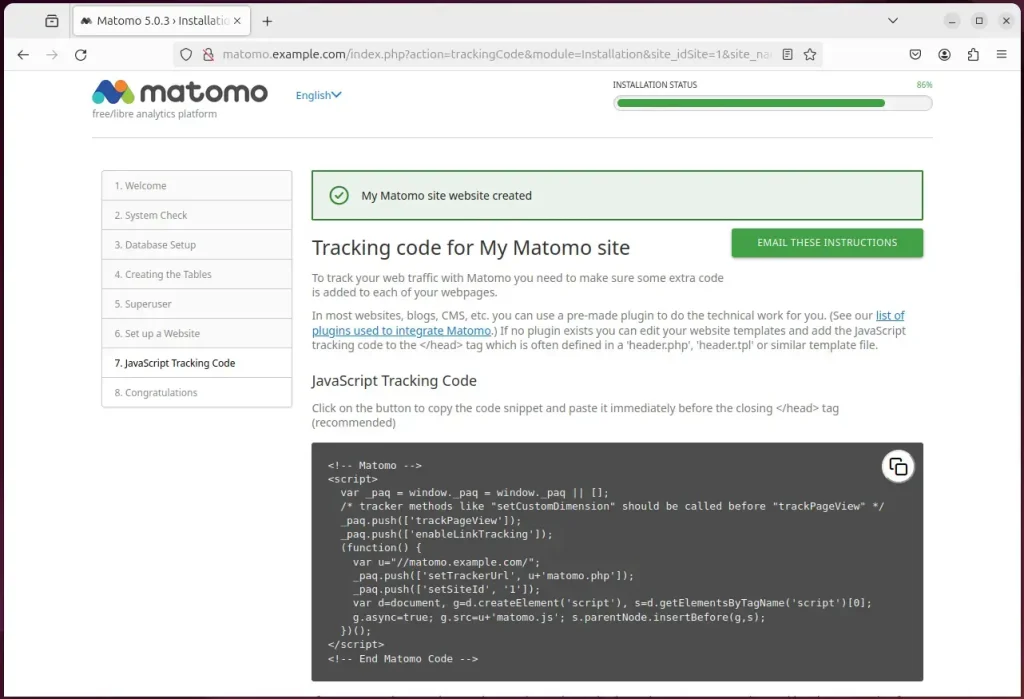
Your Matomo site should be set up and ready to use.
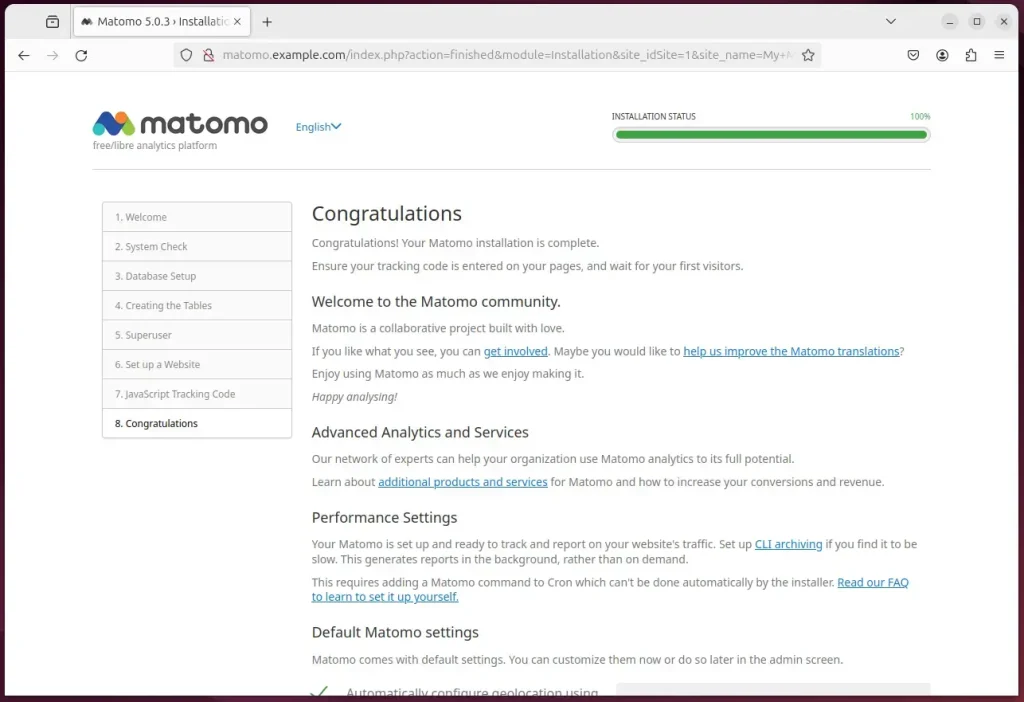
That should do it!
Conclusion:
- Installing Matomo Analytics with Apache on Ubuntu 24.04 provides a robust and customizable solution for web analytics. It empowers users with in-depth insights while prioritizing data ownership and user privacy.
- Integrating Matomo with the Apache web server on Ubuntu ensures reliable performance and flexibility, creating a robust environment for monitoring and optimizing website performance.
- By meticulously following the installation and setup procedures for Apache, MariaDB, PHP, and Let’s Encrypt SSL/TLS, users can gain full control over their website’s performance and make data-driven decisions to drive its success.
Frequently Asked Questions
What are the system requirements for installing Matomo Analytics on Ubuntu 24.04?
How do I check if Apache is running after installation?
What is the purpose of installing MariaDB for Matomo Analytics?
Can I use a different web server instead of Apache for Matomo Analytics?
Is Matomo Analytics free to use?


Leave a Reply